


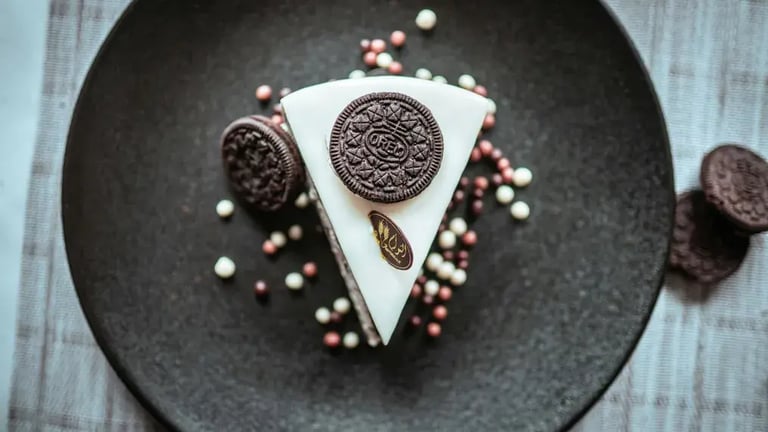
Make this Oreo crusted no oven chocolate cake if you’re looking for a dessert that’s essentially a classic but also stands out.
When it comes to creating a show stopping dessert without the hassle of preheating ovens or sifting flour, few recipes rival the elegance and ease of an Oreo crusted no oven chocolate cake. This crowd pleasing dessert is a brilliant option for last minute celebrations, potlucks, or simply when the craving for something rich and chocolatey strikes. This is a cake worth trying out because no bake cakes are incredibly convenient, especially when you’re short on time, you don’t want to heat up your kitchen or you lack access to an oven, and you prefer recipes that involve minimal equipment and cleanup. The Oreo crust adds a nostalgic crunch, while the creamy chocolate filling delivers indulgence with every bite. Best of all, it sets beautifully in the refrigerator, making it ideal for preparing ahead. Essentially, this cake strikes the perfect balance of texture and flavour, all without a single minute of baking. So here’s everything you need to know about this decadent yet simple creation so you can make it on your own at home.
Ingredients:
For the Oreo Crust:
- 24 Oreo cookies (with filling)
- ¼ cup unsalted butter (melted)
For the Chocolate filling:
- 1 cup heavy cream (chilled)
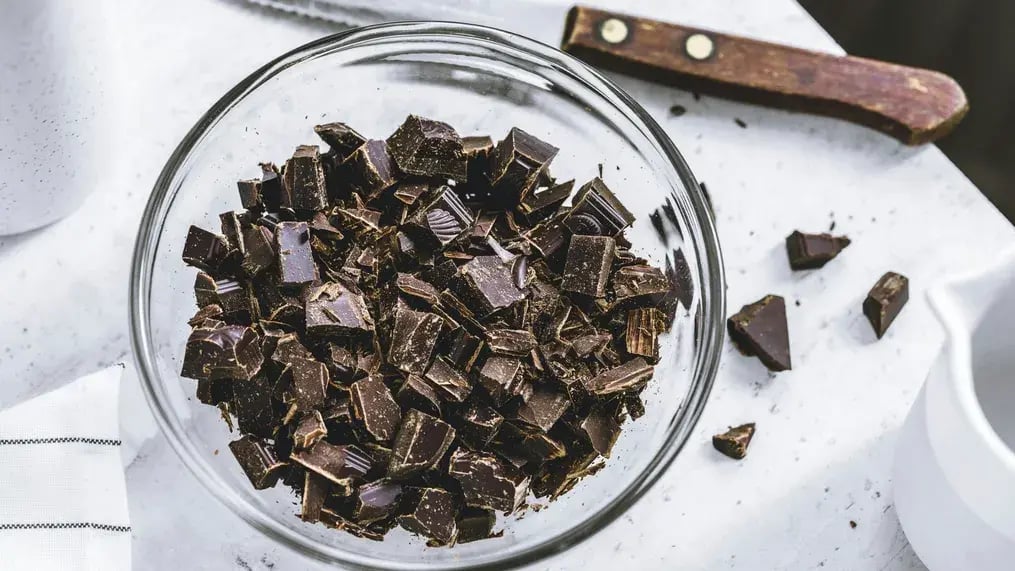
- 200 g dark chocolate (roughly chopped)
- ½ cup sweetened condensed milk
- 1 tsp vanilla extract
- A pinch of salt
Optional toppings:
- Chocolate shavings from a dark chocolate bar
- A dollop of whipped cream
- Crushed Oreos or a single whole Oreo
- Berries or cherries
- Jams or compotes
- A scoop of vanilla ice cream
Method:
- Place the Oreo cookies in a food processor and pulse until they form fine crumbs. You can also crush them in a ziplock bag by using a rolling pin.

- Pour in the melted butter and mix until the crumbs resemble wet sand.
- Press the mixture firmly into the base of a springform pan. Use the bottom of a glass or the back of a spoon to smooth and compact it.
- Chill in the refrigerator for 30 minutes to allow the crust to set.
- In the meantime, make the chocolate filling. In a saucepan, heat the heavy cream until it’s just about to boil but do not let it boil. Then remove from heat and add the chopped dark chocolate. Let it sit for a minute, then stir gently until the chocolate melts completely and the mixture is smooth. Now stir in the sweetened condensed milk, vanilla extract, and a pinch of salt for balance.

- Allow the filling to cool slightly, then pour it over the chilled Oreo crust.

- Tap the pan gently on the counter to remove any air bubbles and ensure an even surface.
- Cover with plastic wrap or a lid and refrigerate for at least 6 hours, or preferably overnight, for the best texture.
- Once set, run a knife around the edges before releasing the springform pan.
- Garnish with your choice of toppings, which can include chocolate curls, whipped cream swirls, or a dusting of cocoa powder.
- Slice using a warm knife.
Tips:
- Chill the crust thoroughly before adding the filling to prevent sogginess.
- Use high quality chocolate for a deeper, more luxurious flavor.
- Don’t overheat the cream, as this may affect how well the chocolate sets.
- If you're short on time, you can freeze the cake for 2 hours instead of refrigerating for 8, but note that freezing may slightly alter the texture.
- When mixing in the butter with the Oreo crumbs, make sure it is melted. If you use room temperature butter it won’t incorporate with the crumbs as easily and evenly. Cold butter will be solid and much harder to mix in, and that’s absolutely out of the picture. Once the butter is melted, it becomes liquidy and that, coupled with its heat, makes it perfect to bind with the coarse crumbs.
This base recipe is delicious on its own, but it’s also incredibly versatile. Here are some ways to make it your own:
- Add ½ tsp peppermint extract to the filling for a refreshing mint chocolate twist.
- Sprinkle chopped hazelnuts or almonds between the crust and filling for a nice nutty crunch.
- Stir in 2 tablespoons of Bournvita powder to the filling for a nostalgic chocolate flavor.
- Add a thin layer of chocolate sauce or peanut butter between the crust and the filling for extra richness.
Like This Article?
More Like This


Popular Articles


Trending Web Stories


Curated Recipes


