


Here’s how to layer a triple chocolate layer cake in a way that it turns out even and moist, so there’s indulgence in every bite.
Creating the perfect triple chocolate layer cake is more than just a feat of flavor. It's a structural and textural triumph. A moist crumb, rich chocolate flavor, and balanced layers are essential, but achieving an evenly layered cake can be tricky. One layer rises too high, another cracks, and the frosting squishes out the sides. It’s enough to make even a seasoned baker sweat. But with a few smart tips and techniques, you can achieve bakery level results every time.
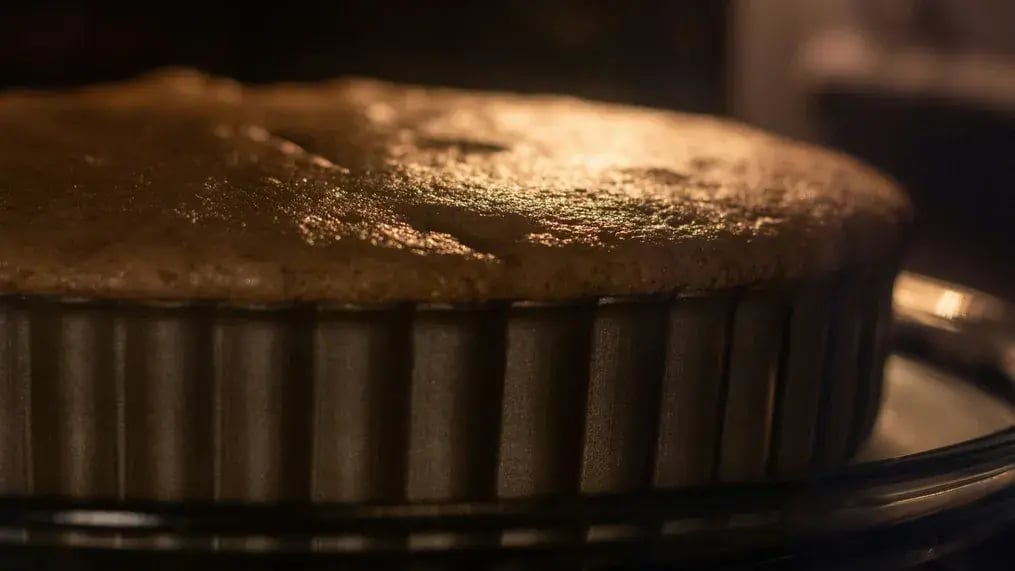
Use cake strips
One of the biggest culprits behind uneven layers is doming, when the center of the cake rises higher than the edges. This happens when the cake bakes too quickly on the outside, causing the middle to puff. Cake strips are fabric bands soaked in water and wrapped around your cake pans. They slow the baking process around the edges, allowing the cake to rise more evenly. The result is flat, uniform layers that don’t require excessive trimming.
Weigh your batter
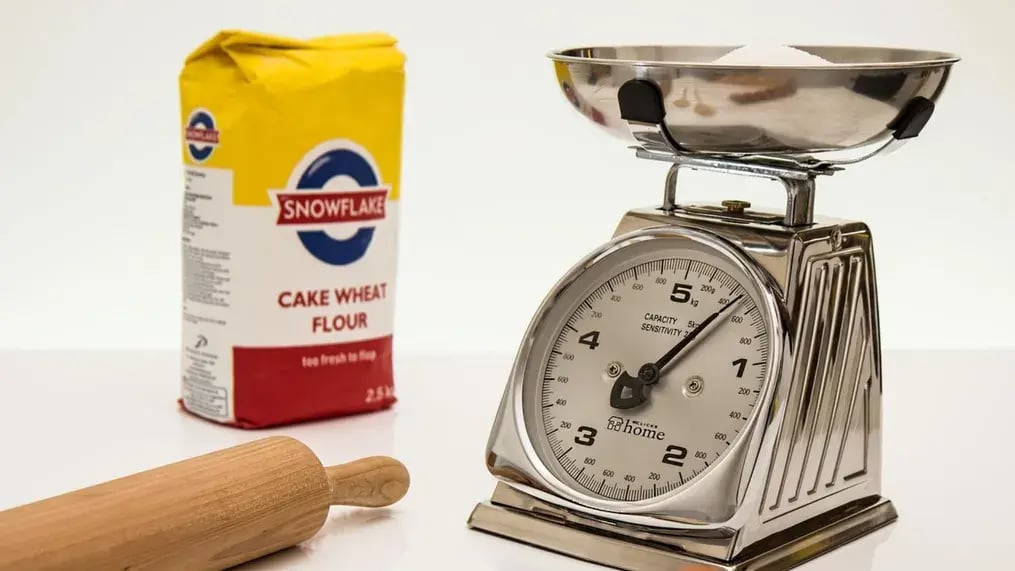
Eyeballing equal amounts of batter for each layer might seem harmless, but slight differences can add up and cause lopsided cakes. Use a kitchen scale to divide your batter evenly between pans. Simply weigh the full mixing bowl before pouring and subtract the bowl’s weight. Divide the total batter weight by the number of layers, and measure each one precisely into the pan. Evenly distributed batter leads to even baking and symmetrical layers that stack beautifully.
Cool the layers
It might be tempting to assemble your cake while the layers are still a bit warm, but this is a fast track to a gooey, unstable mess. Warm cake layers can melt frosting and slide out of place. So patience is key. Cool the cakes in the pan for 15 minutes after baking. Then transfer them to a wire rack and let them cool completely, preferably for an hour or more. For best results, wrap each layer in plastic wrap and chill in the fridge for at least 30 minutes before leveling or frosting. Chilled cakes are firmer, less crumbly, and far easier to work with when stacking.
Leveling the layers
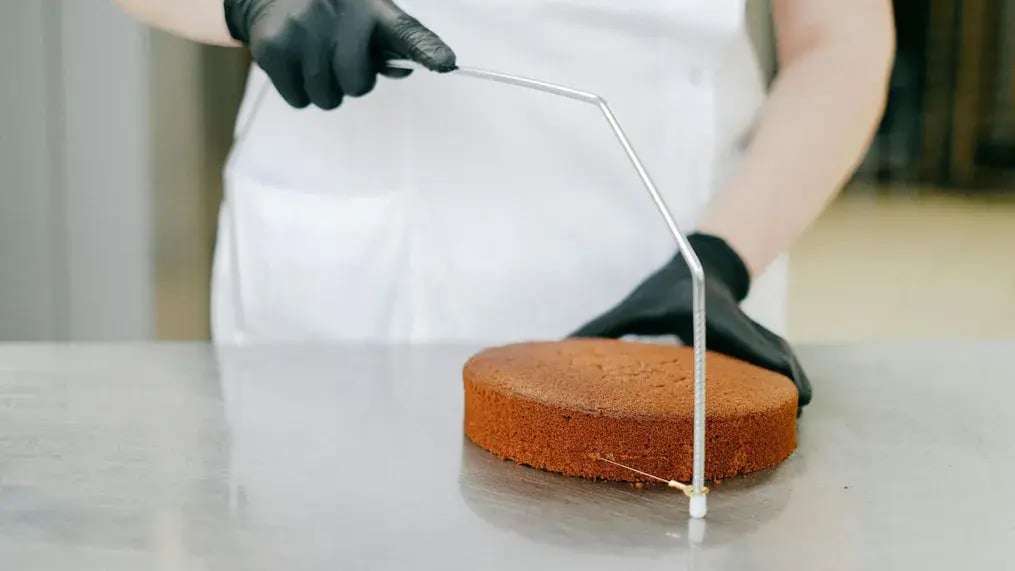
Uneven tops make for a wobbly tower. Even if your cakes look mostly flat, it’s a good idea to level them before stacking. Use a serrated knife or cake leveler to gently trim any domes or unevenness. Hold the knife parallel to the table and turn the cake as you slice to keep it even. Keep the trimmed tops to snack on or crumble them over ice cream later. For a professional finish, flip your layers upside down before stacking. The smooth bottom of the cake gives a sharper, cleaner edge on top.
The syrup
Want your chocolate cake to stay moist for days? Add a simple syrup soak. Combine equal parts water and sugar, bring to a boil, and cool. Optionally, add a splash of vanilla or coffee liqueur for extra flavor. Use a pastry brush to lightly coat each layer before frosting. This trick helps lock in moisture and adds a subtle sweetness that enhances the rich chocolate flavor.
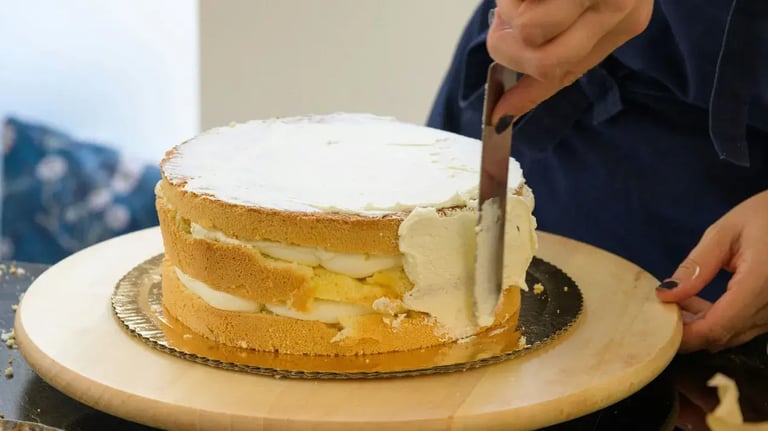
A frosting dam
When assembling a cake, it’s important to keep your filling in place. Frosting and ganache can easily spill out if not contained properly. Pipe a ring of frosting around the outer edge of each layer before adding your filling. Spread the filling inside the ring. Stack the next layer gently on top and repeat. The dam keeps everything tidy and ensures each bite has consistent filling from edge to edge.
The chilling

Refrigeration is your secret weapon when it comes to clean assembly. After stacking your layers, chill the cake for 30 minutes before applying the final frosting coat. This firms up the filling, prevents slipping, and makes smoothing the outer frosting much easier. If you're doing a crumb coat, which is a thin first layer of frosting to catch crumbs, chill again before applying the final coat.
Trimming the sides
If your layers aren’t perfectly aligned after stacking, don’t panic. You can trim the sides for a neater finish. Use a long, sharp knife and gently shave off any uneven bits along the sides. Rotate the cake as you go for an even cut. Be sure to do this before applying the final frosting to avoid crumbs in your smooth outer layer.
Like This Article?
More Like This


Popular Articles


Trending Web Stories


Curated Recipes


