


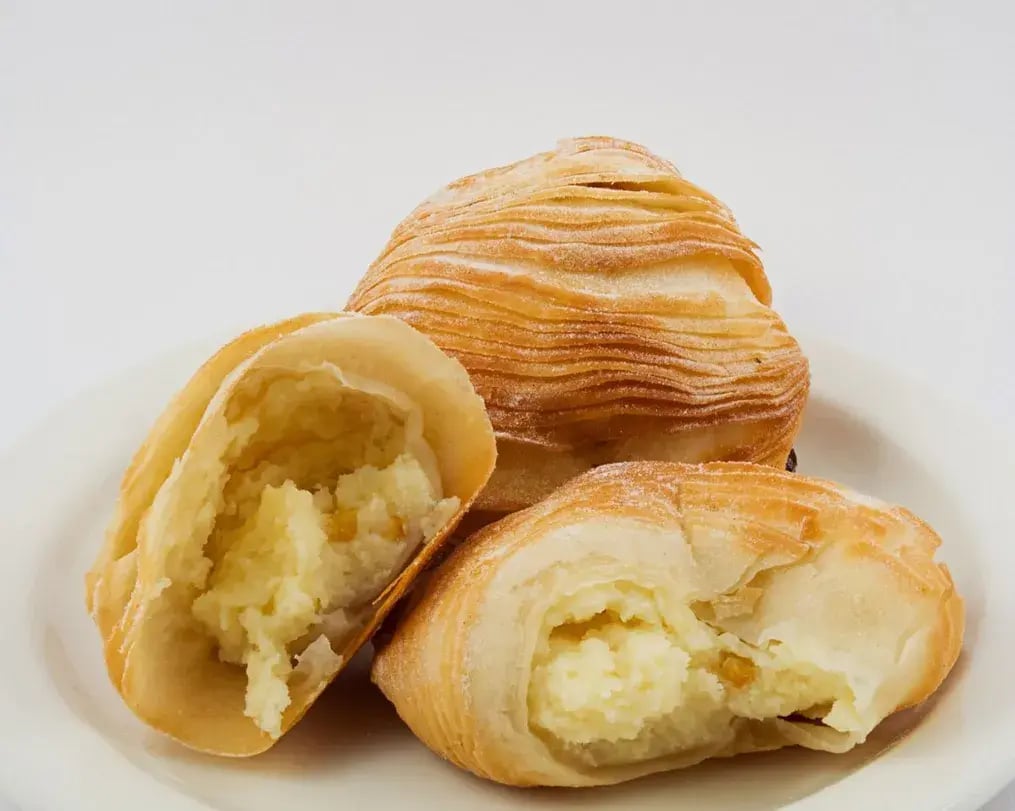
Thinking of baking a batch of matcha chocolate cream puffs? Then here are some tips and tricks to get the puffs just right

Puff shells depend entirely on technique, whether you are making some classic like a profiterole or something modern like a matcha chocolate cream puff. Unlike most pastries, they don’t rely on baking powder or yeast. Instead, they rise from steam generated inside the dough, meaning any misstep in mixing, shaping, or baking can lead to collapsed, dense results. The structure is delicate but not fragile, provided every stage is handled correctly. If your shells deflate after baking or never rise properly, the problem can almost always be traced to one of a few key technical flaws.
1. Cook the Dough Well on the Stove
After boiling water, butter, and salt together, flour must be added all at once. Stir immediately with a stiff spatula or wooden spoon, and continue cooking the paste over medium heat for about 2-3 minutes. The dough should pull away cleanly from the sides of the pan and form a cohesive ball. This step isn't about getting the flavor right, it's about getting the dough to dry. Excess water in the dough will later become uncontrolled steam, which weakens the internal walls and causes collapse as soon as the shell begins to cool.
2. Add Eggs Slowly and Watch the Consistency
Let the dough a bit before incorporating eggs, if it’s too hot, the eggs will scramble and ruin the entire thing. Add one egg at a time, mixing well after each addition. Use a stand mixer or strong arm; the mixture resists at first, but smooths out. You're aiming for a shiny, pipeable batter that’s thick but not stiff. It should form a soft peak or ribbon when lifted. If the dough runs like pancake batter or breaks apart, you've added too much egg. At that point, it’s better to start over than try to salvage. Volume depends on consistency, not quantity.
3. Pipe Evenly with Minimal Disturbance
Transfer the choux dough into a piping bag fitted with a round or open star tip. Pipe directly onto parchment-lined or silicone-lined trays; avoid greased trays, which interfere with the base grip. Maintain consistent pressure as you pipe mounds or lines, depending on your intended shape. The size should be uniform, or else baking will be uneven. Leave space between each one to allow for expansion. If peaks form, press them gently with a damp finger; otherwise, they’ll brown too quickly and crack.
4. Use a Two-Stage Oven Heat Strategy

Puff shells rise because of rapid steam generation, so high heat at the start is non-negotiable. Begin at 200°C to set the structure and encourage maximum lift. After 15 minutes, lower the temperature to 180°C without opening the oven. This prevents the exterior from overbaking while the interior sets. A sudden drop in oven temperature or opening the door during this phase will deflate the shells instantly. If your oven has uneven heating, rotate trays only after the structure has fully set, about 20 minutes in.
5. Do Not Undercook
Ignore the timer and watch the color, because ovens vary. Puff shells are ready only when they turn a deep golden brown across all surfaces. Pale shells look delicate but are structurally weak; they’ll sink as they cool because the inner moisture hasn’t fully escaped. If in doubt, bake 3-5 minutes longer. A properly baked shell feels hollow when tapped and resists gentle pressure without squishing. Don’t rely on appearance alone; open one to verify. If the interior feels gummy or steamy, they need more time. Underbaking is one of the most common causes of deflation post-oven.
6. Dry in the Oven to Set
When baking is done, turn the oven off and leave the shells inside with the door propped open a few inches. Let them sit for 5-10 minutes. This step allows residual moisture inside the shell to evaporate gradually, preventing condensation from softening the crust. Immediate removal into cooler air can cause shrinkage due to steam pressure equalizing too quickly. This drying phase is particularly important if you're in a humid environment or if the shells will be stored before filling.
7. Cool Completely Before Filling
Once out of the oven, transfer the shells to a wire rack to cool. Airflow underneath prevents trapped steam from softening the bottoms. Do not fill them while warm; doing so traps condensation and destroys the crisp shell texture. Whether you're using pastry cream, whipped ganache, or savory mousses, wait until the shells are completely at room temperature. If storing, avoid airtight containers unless you plan to re-crisp them in the oven.
Like This Article?
More Like This


Popular Articles


Trending Web Stories


Curated Recipes


