


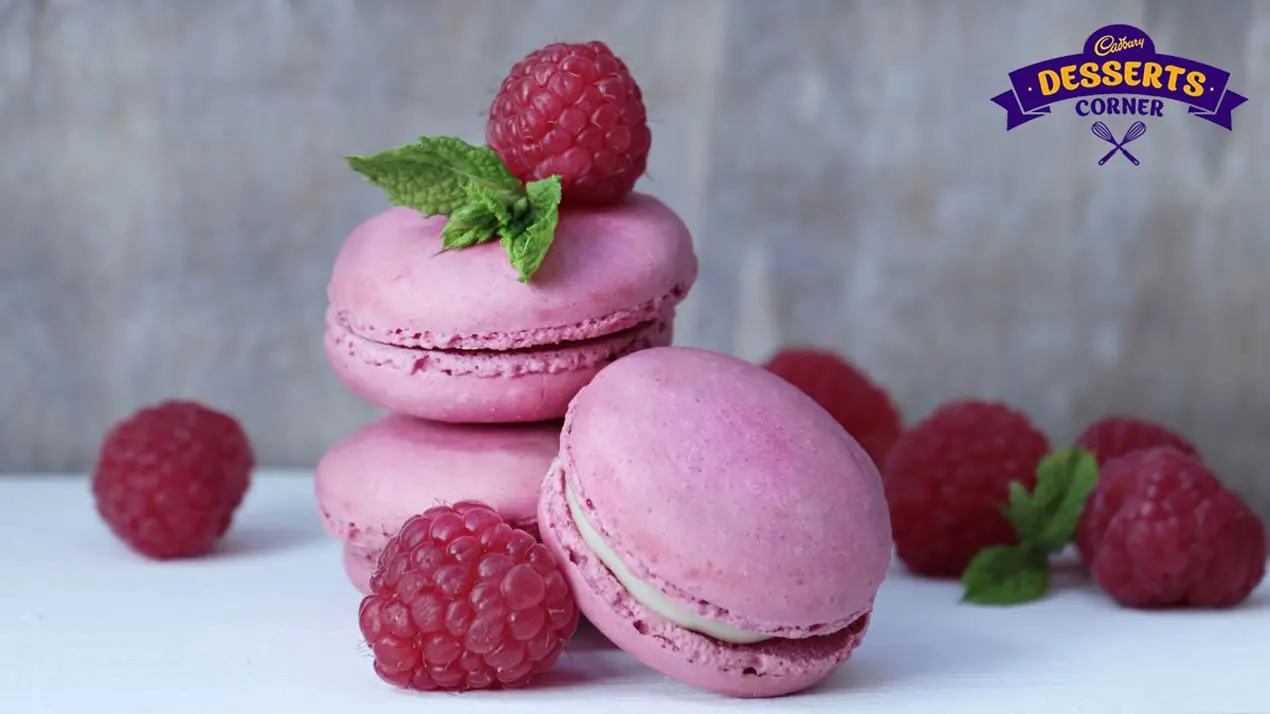
Want to make a rich brownie cake for Friendship Day? Bake this gooey twist for celebrations. Read more to learn how to make it.
With Friendship Day approaching on the 3rd of August, this year it's obvious to be part of school reunions, office potlucks, lazy Sunday meetups, or celebrate with just your girl gang. And if the group is special, so should be the offering. We all love brownies; the bite-sized treat is easy to grab and enjoy. But what to do when there is a large group of people? This Friendship Day, why not bake a brownie cake?
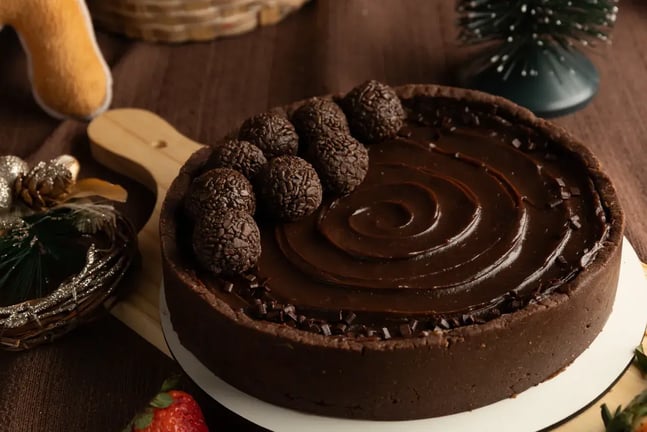
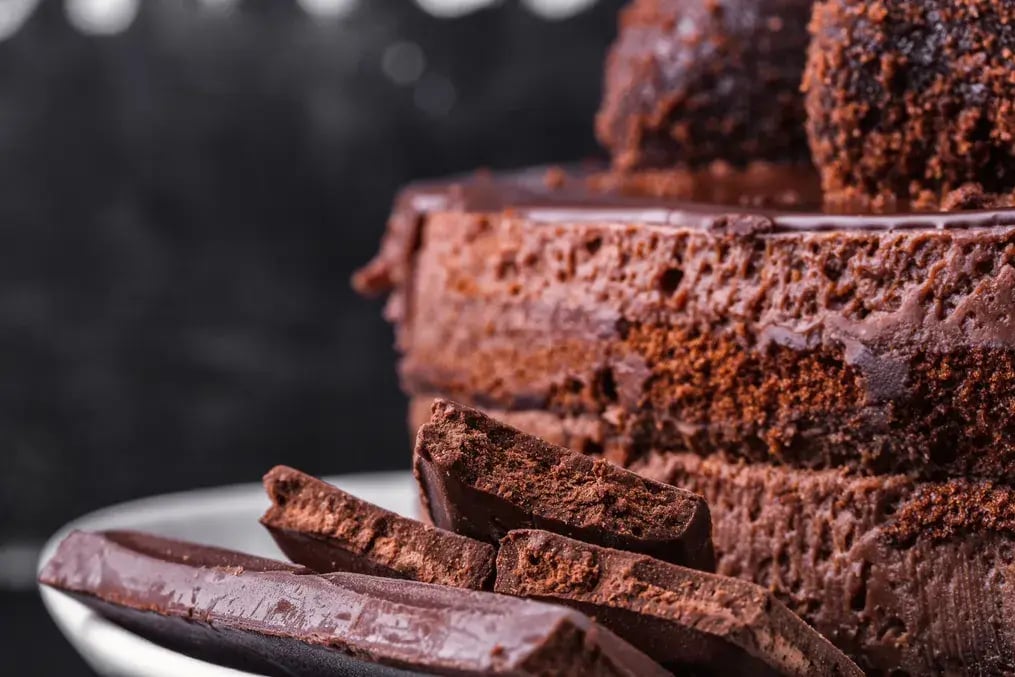
This brownie cake recipe brings the best of both worlds. The richness of a fudgy brownie and the softness of a cake, offering a dessert that's simple to cut and pleasing to share. Unlike standard brownies that are appropriate for squares and quick bites, this one gets the light rise of a cake without losing the richness that makes brownies so popular. It's perfect for a big group, looks impressive on a platter, and fills the air with that comforting chocolate smell that brings everyone together.
Baked in a round pan, unlike the square-shaped brownies, topped with ganache, or left plain with chopped nuts, this brownie cake is all love. You don't require special ingredients or skills. Just a few essentials, a simple whisk, and the pleasure of sharing. Let's begin. Plus, you can all bake it together in one place and enjoy the warmth of baking while sharing old memories together.
Brownie Cake Recipe
Prep Time: 15 mins | Bake Time: 30-35 mins | Serves: 10–12 people
Ingredients:
- Dark chocolate – 200 g, chopped
- Unsalted butter – 100 g
- Powdered sugar – 1¼ cups
- Eggs – 3 large
- All-purpose flour – 1 cup
- Cocoa powder – ¼ cup
- Baking powder – ½ tsp
- Salt – a pinch
- Vanilla essence – 1½ tsp
- Milk – ¼ cup
- Walnuts or dark choco chips – ½ cup
7 Tips to Follow
1. Melt Chocolate and Butter Slowly
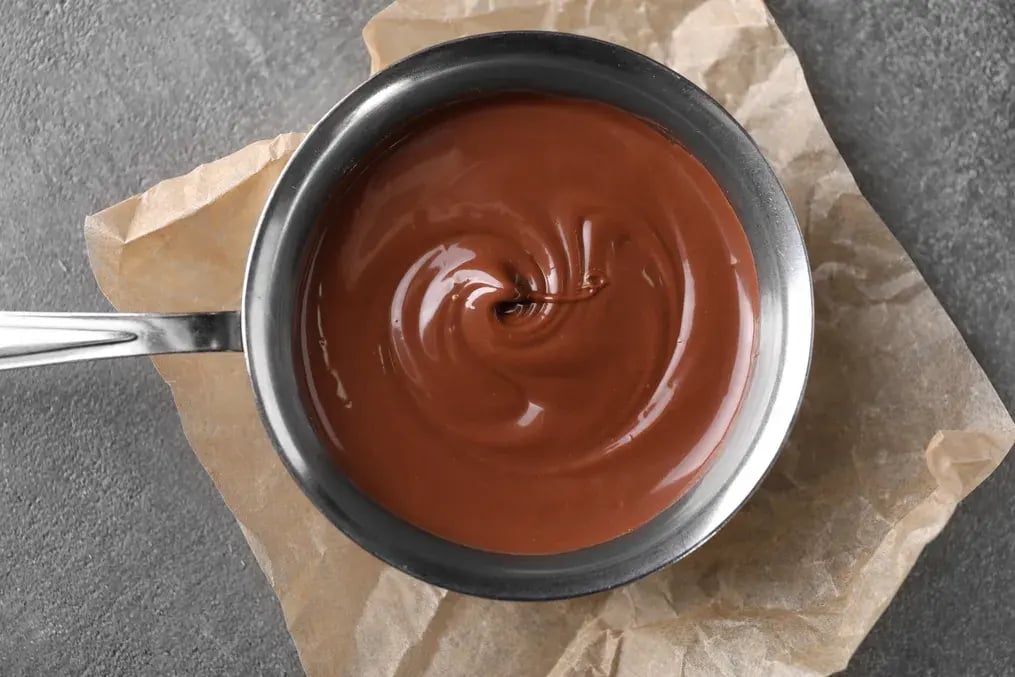
Melt the dark chocolate, chopped, and butter in a thick-bottomed pan or microwave-safe bowl. Maintain low heat or microwave in short intervals to prevent burning. Stir frequently until it becomes smooth. Let it cool down for a few minutes after it has melted. If the mixture is too hot, the eggs you put in afterwards could cook rather than blend.
2. Beat Eggs and Sugar Until Pale and Light
In a big mixing bowl, beat together the powdered sugar and eggs for approximately 3-4 minutes. The combination should become pale and a little thick. This gives lightness to the batter without it being too light, so the cake will rise well, although it's dense. Hand whisk or electric beat for the best results. Remember, we don't want stiff peaks, just a thick, ribbon consistency. Add the vanilla essence at this point so the scent seeps into the batter evenly.
3. Fold in the Chocolate Mixture Very Gently
After your chocolate-butter mixture has cooled down, pour it into your egg-sugar mixture. Using a spatula, fold it very gently to mix, no quick mixing here. The intent is to retain the air while ensuring the chocolate is fully incorporated. This is what ensures that the top of the cake is light while maintaining the middle as gooey. The batter should now be shiny and even.
4. Sift the Dry Ingredients for Even Mixing
Put a sieve on the bowl and add maida, cocoa powder, baking powder, and salt. Sift them over the wet batter so they don't form lumps. Now, gradually fold these dry ingredients into the batter with a spatula. Mix just until you can no longer see any dry flour, don't overmix. This adds structure to the cake without making it hard enough to cut. The baking powder only provides a subtle rise, sufficient to give the sensation of cake but not so much that it becomes light as a sponge.
5. Add Milk and Crunch for Balance
Add approximately ¼ cup of milk to thin the batter slightly. It allows the batter to settle down in the tin and bake evenly. If you prefer a bit of bite in your cake, now's the time to introduce chopped walnuts or dark choco chips. These provide a contrast to the tender center. You can also sprinkle a few on top of the cake before baking. Fold them in lightly, ensuring they are evenly distributed. This step is optional but provides a personal touch, particularly for group bakes.
6. Use the Right Tin and Spread Evenly
Grease and line an 8-inch round or square baking tin. If you’re using a non-stick tin, just a light greasing will do. Pour the batter in and tap the tin lightly to remove any air bubbles. Use a spatula to spread the batter evenly across the surface; it will be thick but should level out with a gentle push. If you are making for a group, this will make sure each slice turns out neat and uniform. You can also double the recipe and make it in a larger tray for more servings.
7. Bake Steadily and Cool Before Cutting

Put the tin into a preheated oven at 180°C and bake for 30–35 minutes. The top should crack lightly, and the sides will begin to pull away from the tin. Stick a toothpick into the center, it should pull out with damp crumbs, not wet batter. Leave the cake in the tin for 15–20 minutes before taking it out. Cooling is essential as it makes the cake set and provides neater slices. Serve warm as is, or top with a scoop of vanilla ice cream for that little something extra.
Like This Article?
More Like This


Popular Articles


Trending Web Stories


Curated Recipes


