


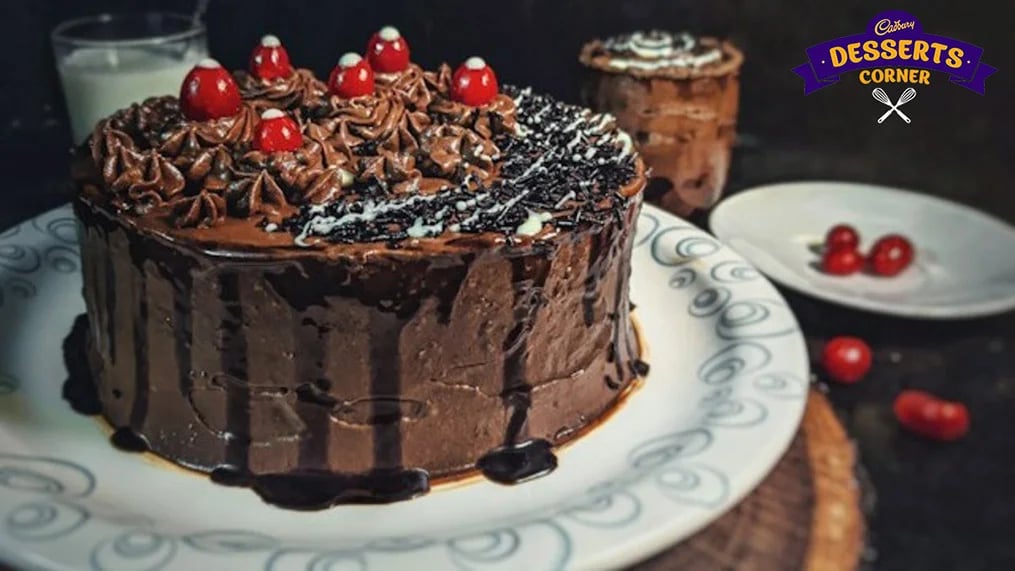
Enjoy themed desserts like fruit & nut chocolate cake and classic treats that combine simple ingredients with structured recipes for consistent homemade results.

Full House had eight seasons and created characters whose defining traits stayed the same from the first episode to the last. For example, Danny Tanner was always neat, Uncle Jesse loved rock and roll, Michelle was always happy as a child, DJ was always reliable, and Comet was always linked to the sweet comfort of peanut butter and jelly cupcakes through Joey's funny humor.
When you turn those traits into dessert recipes, you get five that are not only fan tributes but also really good recipes. The format is easy to understand, all the ingredients are common pantry items, and the results are perfect for any family gathering or themed party.
Why Full House Inspires Fun Dessert Recipes
Danny Tanner's need to be clean all the time is like a parfait with many layers. Uncle Jesse's over-the-top rock-and-roll style is like rich, decadent ice cream sandwiches. Michelle's childhood energy is like a bright, colorful cupcake.
DJ's dependability is like a classic milkshake. These connections come from the characters' most consistent traits. This is why the themed idea works as a real dessert guide instead of just a way to label things.
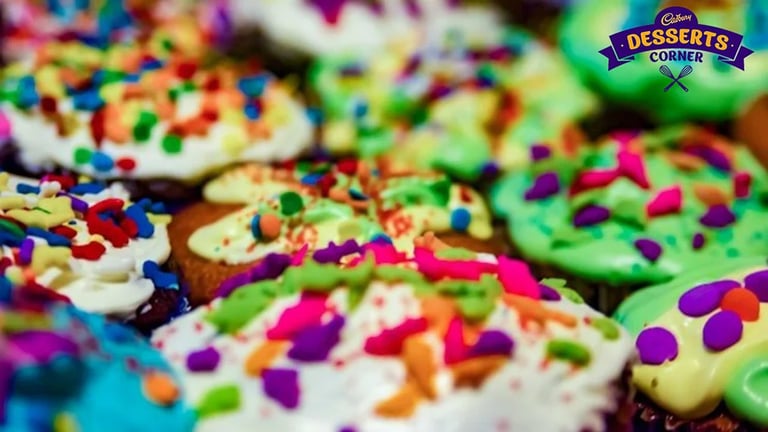
Michelle’s Rainbow Cupcake Delight
Key Ingredients & Flavor Combinations
- 120 grams / 1 cup plain flour
- 100 grams / ½ cup caster sugar
- 115 grams / ½ cup unsalted butter, softened
- 2 large eggs
- 60 ml / ¼ cup whole milk
- 1 teaspoon vanilla extract
- 1 teaspoon baking powder
- Gel food coloring — red, orange, yellow, green, blue, purple
- Rainbow sprinkles for decoration
- Edible glitter for topping
Flavor Combinations Table
| Sponge | Flavoring | Frosting | Decoration |
|---|---|---|---|
| Vanilla butter cake | Vanilla extract | White or pastel buttercream | Rainbow sprinkles, edible glitter |
How to Make
Step 1 — Cream Butter and Sugar
Mix the softened butter and caster sugar on medium speed for about 3 minutes, or until the mixture is pale, fluffy, and noticeably larger. This step makes the air structure that gives the cupcake its light, soft crumb.
Step 2 — Add Eggs and Vanilla
Add one egg at a time, and with the second egg, add the vanilla extract. If the mixture looks like it's curdling, add one tablespoon of the measured flour to keep it from curdling before moving on.
Step 3 — Fold and Divide
In two parts, add the sifted flour and baking powder to the milk and mix them together. Put the batter in six small bowls, one for each color of gel food coloring. Mix each bowl briefly to combine.
Step 4 — Layer the Colors
Put one small spoonful of each color batter in each lined cupcake case, starting with red at the bottom and ending with purple at the top. Two-thirds of the way up the height of each case should be filled.
Step 5 — Bake and Decorate
At 180°C, bake for 18 to 20 minutes, or until a skewer comes out clean. Let it cool all the way down, frost it with buttercream, and then add rainbow sprinkles and edible glitter right before you serve it.
Tips & Tricks
Use Gel Food Coloring
Gel food coloring gives you bright, rich colors without adding any liquid to the batter. Liquid food coloring, on the other hand, requires a lot to achieve the same color depth and changes the batter's consistency. A small drop of gel can match the color of a full teaspoon of liquid coloring. The colors should be sufficiently different that they appear as separate bands in the final cross-section.
Layer Colors in Rainbow Sequence
When you bite into the cupcake, the cross-section looks like a rainbow because you added the colors in order: red, orange, yellow, green, blue, and purple. Putting the colors in a random order makes the picture less clear. The order makes the Michelle Tanner connection unique, rather than general.
Do Not Overbake
When you press down on the center of a vanilla butter cake that has been baked just right, it should spring back a little. If you bake it too long, it will be dry, dense, and lose the soft crumb that makes these cupcakes so good. Taking it out of the oven after 18 minutes and checking with a skewer always gives better results than waiting the full 20 minutes.
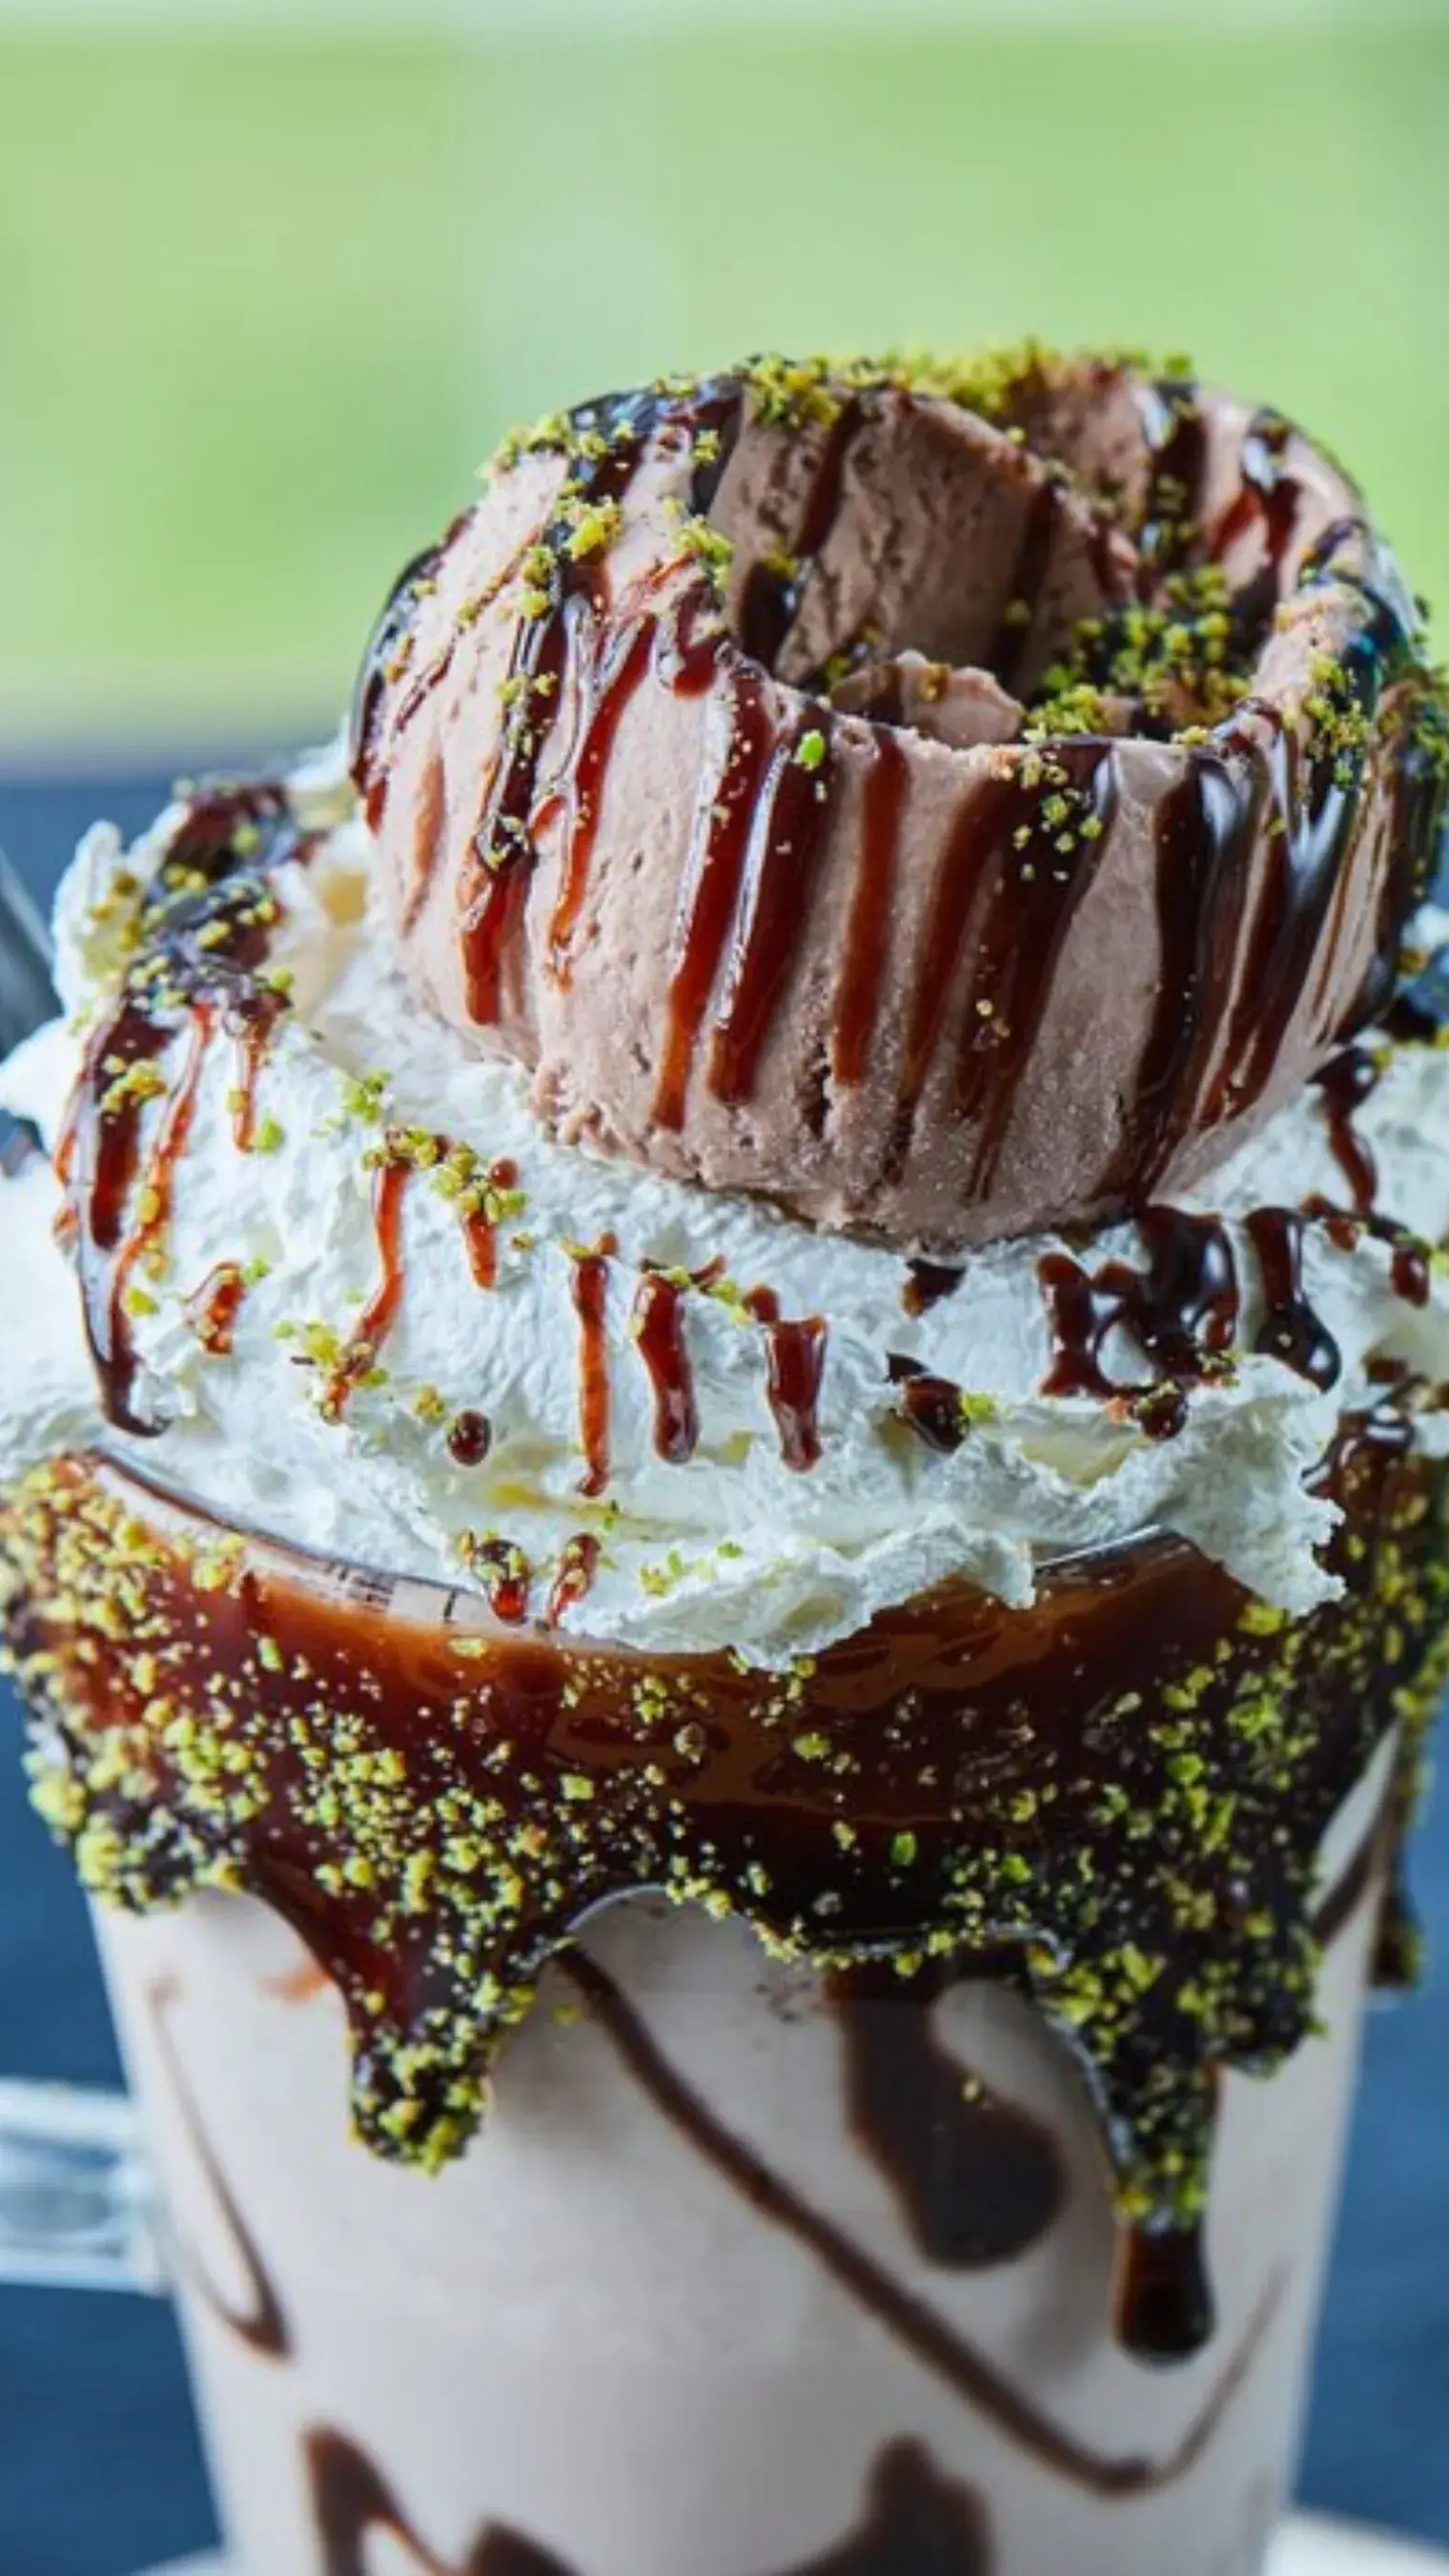
Uncle Jesse’s Rock ‘n’ Roll Ice Cream Sandwiches
Key Ingredients & Flavor Combinations
- 200 grams / 7 oz dark chocolate, for cookie dough
- 115 grams / ½ cup unsalted butter
- 200 grams / 1 cup caster sugar
- 2 large eggs
- 180 grams / 1½ cups plain flour
- 30 grams / 4 tablespoons natural cocoa powder
- 500 ml / 2 cups good-quality vanilla ice cream
- 60 grams / 4 tablespoons rainbow sprinkles or crushed toasted nuts for rolling
- Caramel sauce for drizzle
Flavor Combinations Table
| Cookie | Filling | Coating | Drizzle |
|---|---|---|---|
| Dark chocolate | Vanilla ice cream | Rainbow sprinkles, crushed nuts | Caramel sauce< |
How to Make
Step 1 — Melt Chocolate and Butter
Put the dark chocolate and butter in a double boiler and stir until the mixture is smooth. Take it off the heat and let it cool for five minutes before adding the eggs.
Step 2 — Mix the Batter
Whisk the eggs and caster sugar into the cooled chocolate mixture until well combined. Add the sifted flour and cocoa powder and mix until just combined. The dough should be thick and fudgy.
Step 3 — Bake the Cookies
Scoop even rounds onto lined baking sheets, about 2 tablespoons per cookie, and bake at 180°C for 10 to 12 minutes, or until the edges are set but the centers are still a little soft. Let it cool all the way down.
Step 4 — Assemble the Sandwiches
Let the vanilla ice cream sit at room temperature for 10 minutes to soften. Put a big scoop of ice cream on the flat side of one cookie. Press a second cookie on top until the ice cream reaches the edges. Then, right away, roll the edge of the ice cream that is showing in sprinkles or crushed nuts.
Step 5 — Freeze and Serve
Put the sandwiches you made on a tray lined with parchment paper and freeze them for at least 2 hours before serving. Instead of freezing, drizzle with caramel sauce just before serving.
Tips & Tricks
Freeze Cookies Before Assembly
When you press ice cream between cold cookies, the edges are cleaner and less compressed. When you put room-temperature cookies on top of ice cream, they soak up moisture and become soft in a few minutes. This makes them hard to roll. Putting the parts in the freezer for 15 minutes before putting them together fixes both problems.
Use Correctly Softened Ice Cream
For clean assembly, the ice cream needs to be soft enough to spread but not so soft that it melts. When ice cream melts completely, it refreezes with too many ice crystals, making a filling that is grainy and icy rather than smooth and creamy. A standard 500-ml container will reliably get the right spreadable consistency after sitting at room temperature for ten minutes.
Store in An Airtight Container
The cookie surface dries out, and the ice cream gets freezer burn on the exposed edges within 24 hours of being in the freezer. Wrapping each item in plastic wrap before putting it in an airtight container keeps it fresh for up to a week. For the best texture, you should make these desserts at home a day ahead of time.
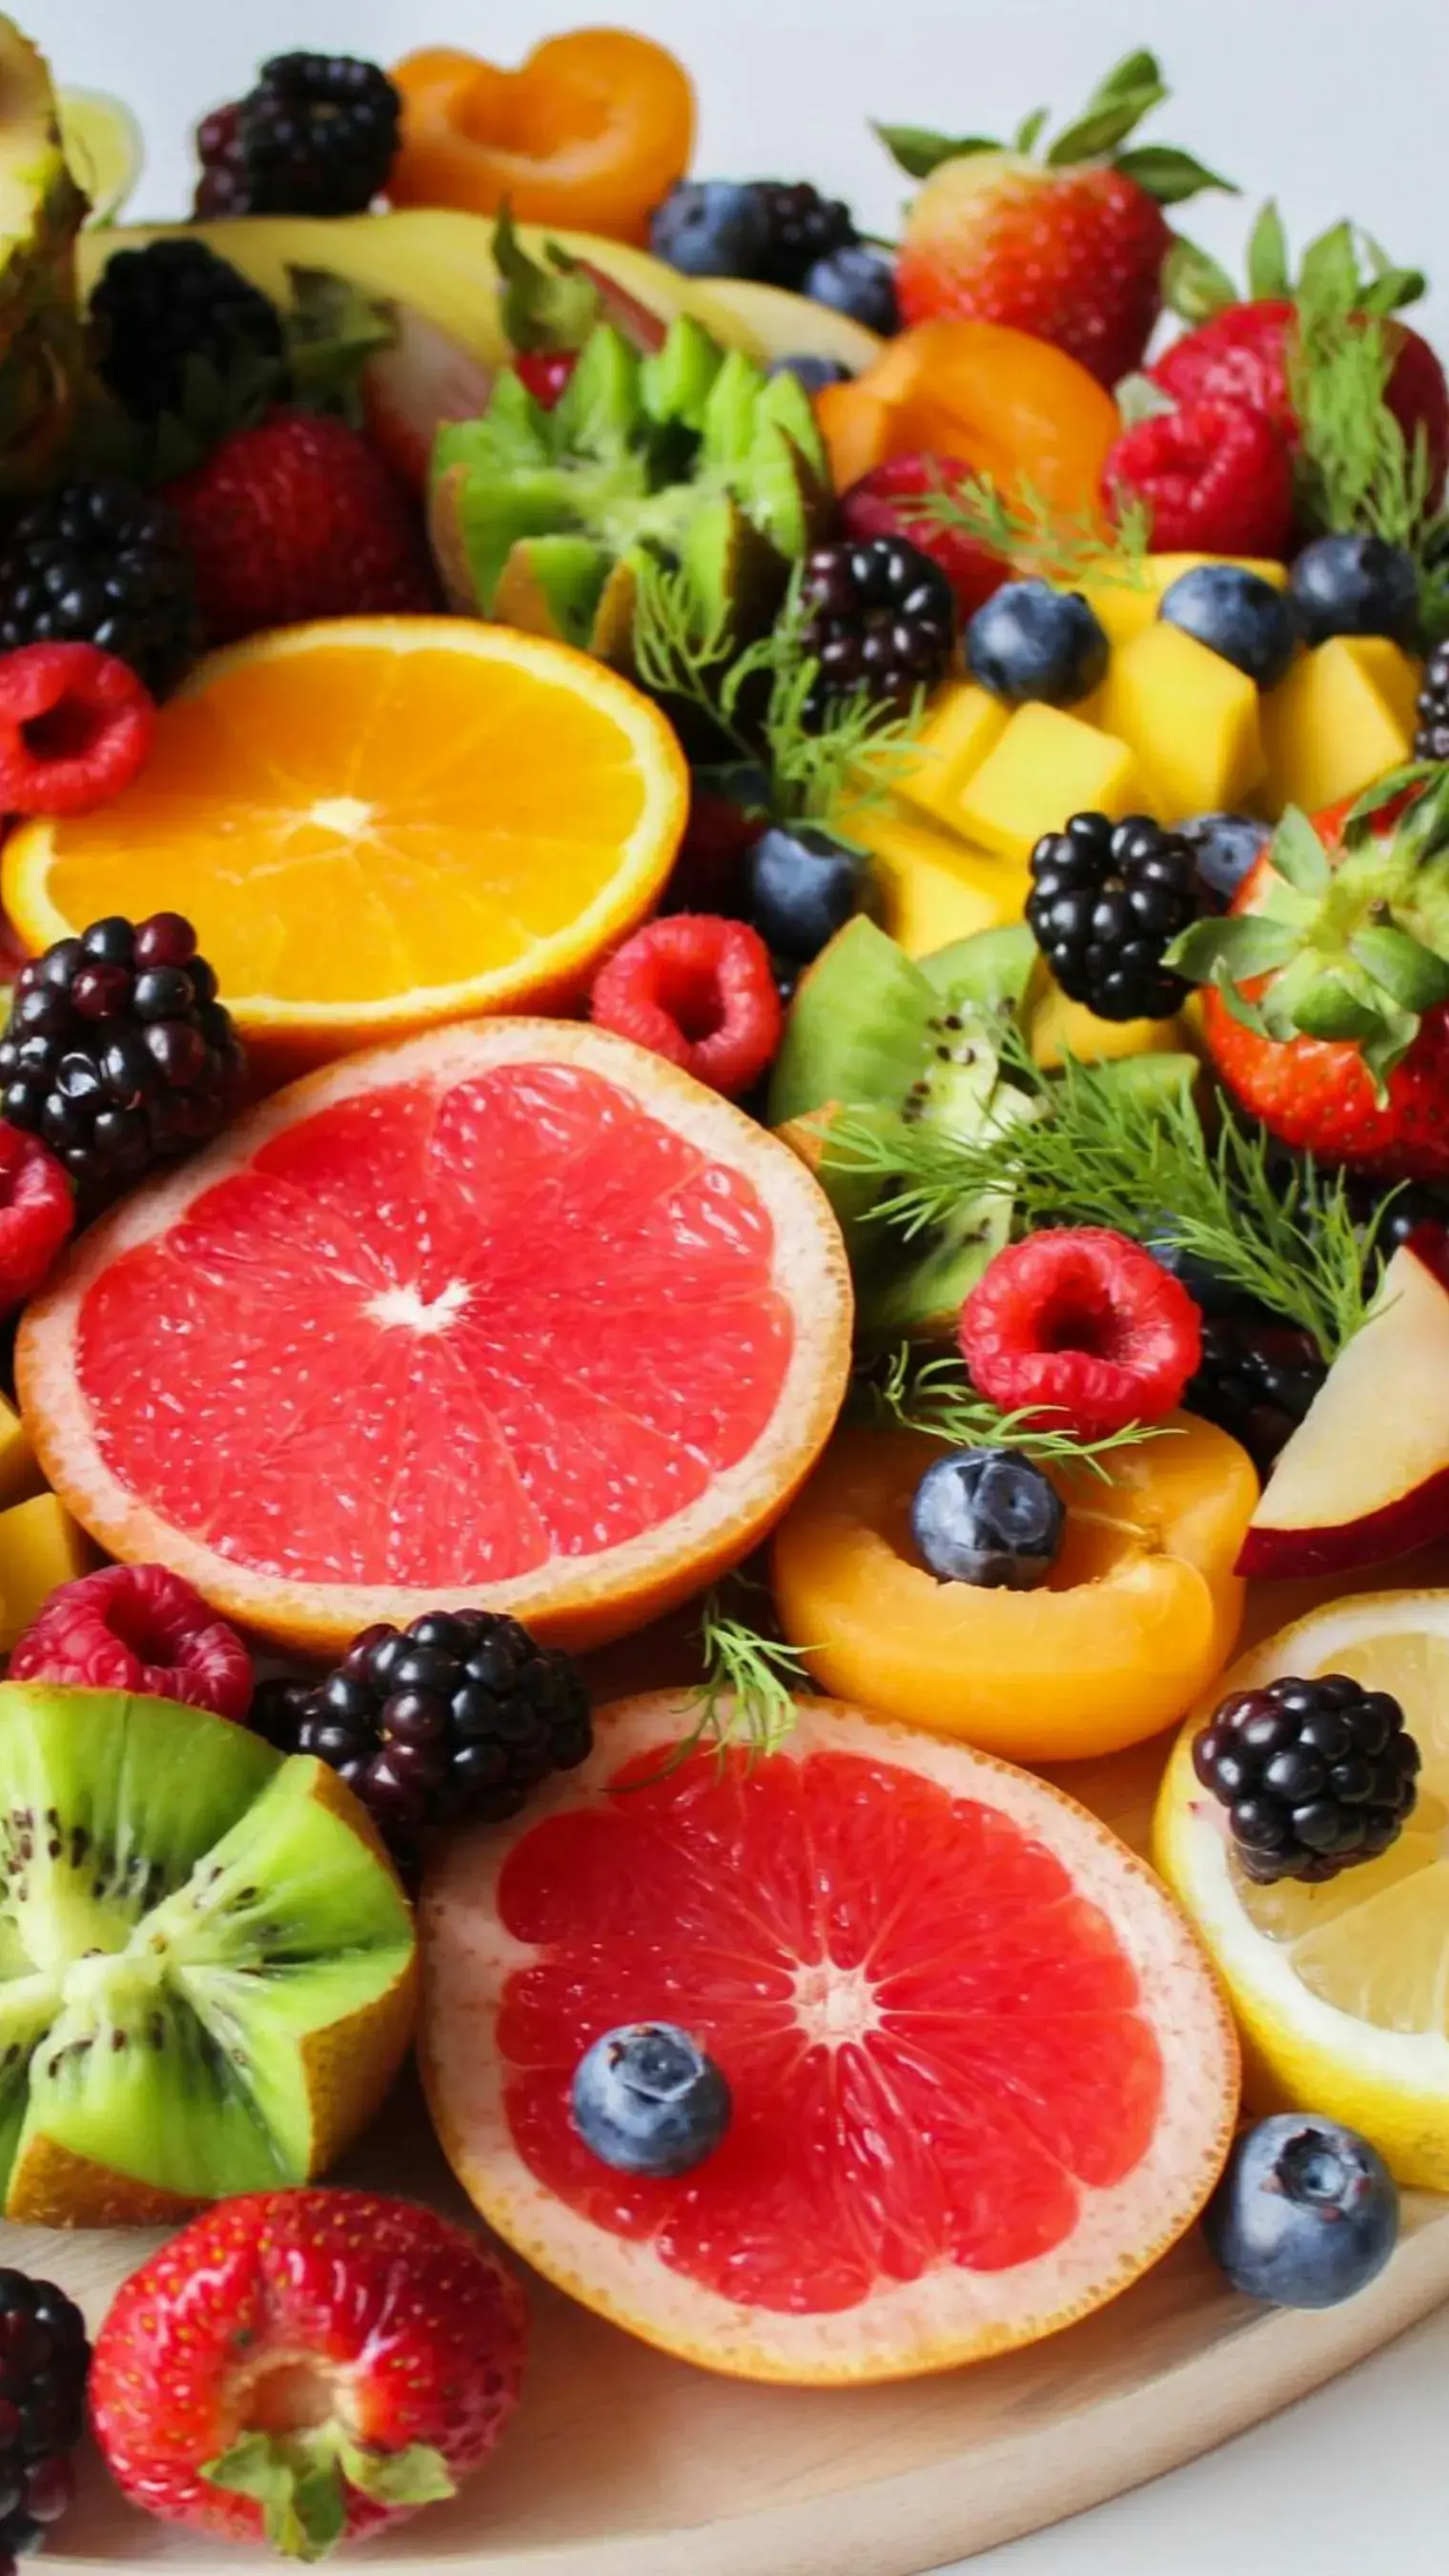
Danny Tanner’s Clean Fruit Parfait
Key Ingredients & Flavor Combinations
- 300 grams / 1¼ cups full-fat Greek yogurt
- 100 grams / ¾ cup fresh strawberries, hulled and sliced
- 80 grams / ½ cup fresh blueberries
- 80 grams / ½ cup fresh kiwi, peeled and diced
- 60 grams / ½ cup granola
- 2 tablespoons honey
- ½ teaspoon vanilla extract
Flavor Combinations Table
| Base | Fruit | Crunch | Sweetener |
|---|---|---|---|
| Full-fat Greek yogurt | Strawberries, blueberries, kiwi | Granola | Honey, vanilla |
How to Make
Step 1 — Prepare the Yogurt
Mix the vanilla extract into the full-fat Greek yogurt until evenly combined. If the yogurt looks thin instead of thick, strain it through a fine sieve for 30 minutes before using it.
Step 2 — Layer the Granola Base
Put two tablespoons of granola in the bottom of a clear glass and press down with the back of a small spoon to make the surface flat and even. This base layer gives the first crunch before you add the yogurt.
Step 3 — Add the Yogurt Layer
Spread three tablespoons of the prepared yogurt over the granola layer, starting in the middle and working your way out with a small spoon so you don't disturb the granola underneath.
Step 4 — Add the Fruit Layer
Put a big layer of mixed fruit on top of the yogurt. Use all three types of fruit instead of just one at each layer. This will give each spoonful a different color and flavor.
Step 5 — Repeat and Finish
Do the same thing with the granola, yogurt, and fruit for a second full layer. Put a layer of fruit on top and drizzle one tablespoon of honey over the top right before serving.
Tips & Tricks
Add Berries Immediately Before Serving
When you put berries on yogurt more than 30 minutes before serving, the juice from the berries seeps into the yogurt layer and softens the granola underneath. The parfait's whole texture logic is based on how the granola crunches against the cold, smooth yogurt. As the berries release moisture, this difference slowly goes away.
Use Full-Fat Greek Yogurt Only
Full-fat Greek yogurt is thick enough to keep a clean layer between it and the granola. Low-fat or regular yogurt releases whey within minutes of being put together and flows into the layers around it, making the result look the same. The way the layers are put together is what makes this dessert recipe look good.
Chill the Glasses Before Assembly
Putting the glasses in the fridge for 20 minutes before putting them together keeps the yogurt's structure thick while it layers. When yogurt comes into contact with glass at room temperature, it softens faster, weakening the layer boundaries before the parfait reaches the table.
DJ’s Classic Milkshake Cups
Key Ingredients & Flavor Combinations
- 3 scoops / approximately 200 grams vanilla ice cream
- 150 ml / ¾ cup full-fat chilled milk
- Whipped cream for topping
- 2 tablespoons chocolate syrup
- Rainbow sprinkles for garnish
Flavor Combinations Table
| Base | Liquid | Topping | Finish |
|---|---|---|---|
| Vanilla ice cream | Full-fat chilled milk | Whipped cream | Chocolate syrup, sprinkles |
How to Make
Step 1 — Chill the Glass
Put the glass you will be serving in the freezer for ten minutes before blending. A cold glass keeps the milkshake's temperature and thickness for a lot longer than a room-temperature glass during the service period.
Step 2 — Blend Ice Cream and Milk
First, put the cold, full-fat milk in the blender, and then add the vanilla ice cream. Blend on medium speed for 20 to 30 seconds, or until the mixture is smooth and thick all the way through.
Step 3 — Check Consistency
When you tilt the blender, the milkshake should flow slowly, not pour out easily, or not move at all. Add milk one tablespoon at a time if it is too thick. If it's too thin, add another half scoop of ice cream and mix it in for a few seconds.
Step 4 — Pour and Top
Take the cold glass out of the freezer and pour the milkshake right away. Add a lot of whipped cream on top, piping it over the whole thing.
Step 5 — Garnish and Serve
Before serving, drizzle chocolate syrup in a spiral pattern over the whipped cream and sprinkle rainbow sprinkles on top. For the thickest, coldest result, serve within three minutes of mixing.
Tips & Tricks
Start with Less Milk
Starting the blend with 100 ml of milk instead of the full 150 ml and only adding the rest if the blender has trouble processing the ice cream keeps the thick, milkshake-like body that the recipe calls for. If you add too much liquid at the beginning, you'll end up with a thin, drink-like result rather than the thick, cold texture that makes this a dessert recipe rather than just a flavored drink.
Serve Within Three Minutes
When you blend milkshakes, they tend to separate and lose thickness after 3 to 5 minutes. This is because the ice cream keeps melting at room temperature. Getting everything ready ahead of time, like the toppings and the chilled glass, so that the blending step is the last thing you do before serving, keeps the consistency you want when you eat it.
Add Toppings Last
If you put whipped cream on a milkshake more than five minutes before serving, it will soften and fall, losing the height and visual contrast that make the finished glass look good. To keep the classic desserts at home format looking good, all toppings should be added right before serving, not during preparation.
Comet’s Peanut Butter & Jelly Cupcakes
Key Ingredients & Flavor Combinations
- 120 grams / 1 cup plain flour
- 100 grams / ½ cup caster sugar
- 115 grams / ½ cup unsalted butter, softened
- 2 large eggs
- 60 ml / ¼ cup whole milk
- 1 teaspoon vanilla extract
- 1 teaspoon baking powder
- 4 tablespoons smooth peanut butter
- 4 tablespoons strawberry jam
- Frosting: 115 grams softened butter, beaten with 200 grams powdered sugar and 3 tablespoons smooth peanut butter
Flavor Combinations Table
| Sponge | Filling | Frosting | Flavour Profile |
|---|---|---|---|
| Vanilla butter cake | Peanut butter and strawberry jam | Peanut butter buttercream | Sweet-salty, fruity |
How to Make
Step 1 — Bake the Cupcakes
To make the vanilla cupcake batter, follow the same steps as Michelle's cupcakes: cream the butter and sugar, add the eggs, and then mix in the flour and baking powder with the milk and vanilla. Bake at 180°C for 18 to 20 minutes, then let cool completely.
Step 2 — Core the Cupcakes
Cut a cylinder of sponge out of the middle of each cooled cupcake with a small, sharp knife or cupcake corer. The cut should be about two centimeters deep. Keep the sponge plugs. You will put them back over the filling.
Step 3 — Fill the Cavities
Put half a teaspoon of smooth peanut butter in each cavity, then half a teaspoon of strawberry jam on top of the peanut butter. Don't fill it too much; the filling should be level with or just below the top of the hole.
Step 4 — Replace the Plugs
Gently put the reserved sponge plugs on top of the filling in each hole. The plug doesn't have to fit tightly; it just needs to be a surface for the frosting to sit on.
Step 5 — Frost and Serve
Mix the softened butter, powdered sugar, and peanut butter until smooth and even. Use a piping bag with a star tip to pipe onto each cupcake. Let it cool for 15 minutes before serving in warm weather.
Tips & Tricks
Do Not Overfill the Cavities
Before putting in the sponge plug, the filling should be level with or just below the top of the cavity. If there is too much filling, the plug will be pushed off-center, making the surface uneven, so the frosting won't be able to cover up. For each cavity, you need half a teaspoon of peanut butter and half a teaspoon of jam. At this point, accuracy is what makes the finished peanut butter and jelly cupcakes look clean and polished.
Warm Peanut Butter Before Using
Cold peanut butter straight from the fridge is too stiff to fill the cavity and makes lumps in the buttercream frosting that no amount of beating can smooth out. Ten seconds in the microwave makes peanut butter smooth and easy to spoon, filling the cavity cleanly and mixing into the buttercream without lumps.
Chill Before Serving
Peanut butter buttercream melts faster at room temperature than regular vanilla buttercream. This is because the oil in the peanut butter lowers the melting point of the fat structure in the frosting. A 15-minute chill in the fridge after piping makes the buttercream firm enough that the piped star tip pattern stays in place while it's being served instead of spreading out flat within minutes of plating.
Key Ingredients for Full House Dessert Recipes
- Plain flour — all sponge preparations
- Unsalted butter — creaming base for all cakes and buttercreams
- Full-fat Greek yogurt — Danny's parfait; structural base
- Smooth peanut butter — Comet's cupcakes; filling and frosting
- Strawberry jam — cupcake filling; fruit-sweet component
- Good-quality vanilla ice cream — Jesse's sandwiches, DJ's milkshake
- Gel food coloring — Michelle's cupcakes; vibrant color without batter disruption
- Fresh mixed berries and kiwi — Danny's parfait; color, freshness, acidity
Tips & Tricks for Themed Dessert Styling
Assign Visual Identity to Each Character
Michelle's cupcakes are bright and full of flavor; Danny's parfait is neat and organized; Jesse's sandwich is dark and layered; and DJ's milkshake is classic and big. The four different visual identities make a table that looks good on its own, with no need for any extra decorations besides the food.
Use Character Name Labels
The story context helps guests who don't know the character connections, and fans get more involved when the connection is made clear. The name "Danny Tanner" is followed by a short character description: "clean, fresh, and precisely layered." This keeps people interested without needing a lot of text to explain it.
Prepare in Advance Where Possible
You can make the ice cream sandwiches and cupcakes a day ahead, so you only have to put together the parfait and milkshake on the day of the event. This split preparation timeline means that all of the desserts are being made at the same time, so none of them have been sitting around for hours while others are being made.
Creative Variations to Try
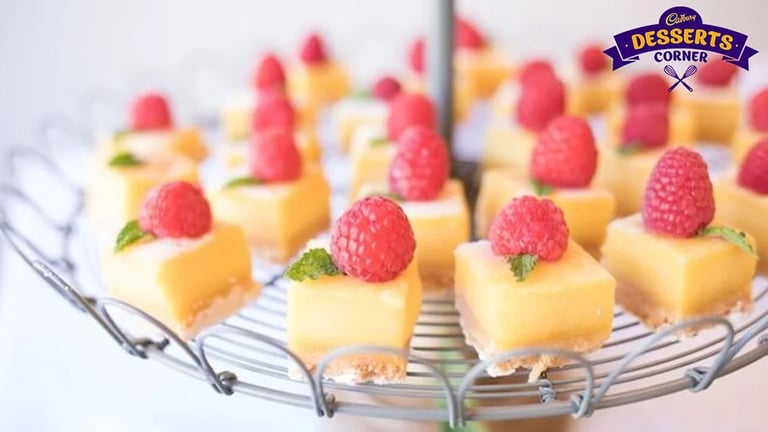
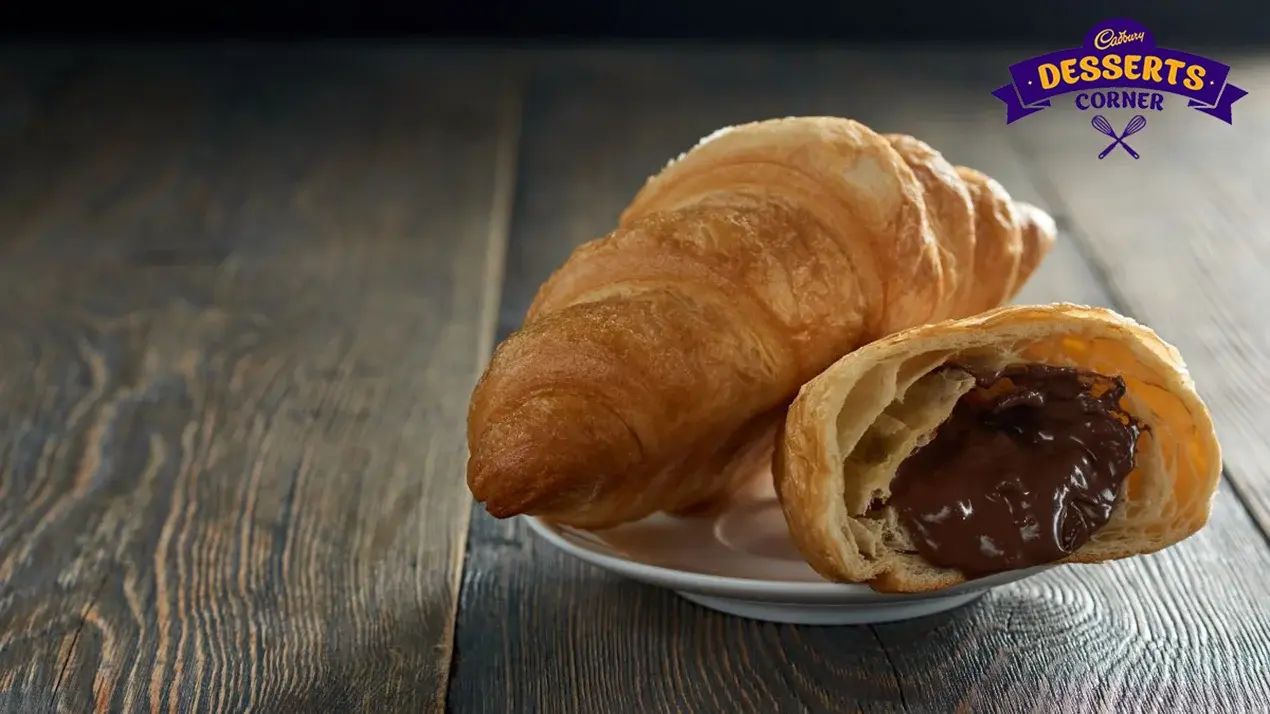
A fruit & nut chocolate cake version of Uncle Jesse's sandwich uses a slice of dense chocolate cake instead of a cookie. Danny Tanner's lemon bars show how organized he is by using a clean geometric shape. Berry cheesecake parfait jars take the parfait idea to the next level by using cream cheese instead of Greek yogurt, making a dessert that is more like a dessert.
Serving Ideas for a Full House Dessert Party
Before anyone eats, the separate labeled stations, bright platters, mismatched colorful servingware, and character name cards at each station all make it clear what the theme is. Themed non-alcoholic drinks, like strawberry milkshake next to the DJ's station and fruit punch next to Michelle's, add to the character references by being part of the drinks.
Frequently Asked Questions
What are some Full House-inspired dessert recipes? 
Michelle's rainbow cupcakes, Jesse's chocolate ice cream sandwiches, Danny's fruit parfait, DJ's classic milkshake, and Comet's peanut butter and jelly cupcakes all showcase the characters' unique personalities through their flavors and appearances.
Can I make these Full House desserts for themed parties?
Yes, it's best to make ice cream sandwiches and cupcakes the day before. You should combine the parfait and milkshake right before serving. All five of these desserts can be made at home with no special tools needed.
Why is Full House a good inspiration for dessert recipes?
Like This Article?
More Like This


Popular Articles


Trending Web Stories
Curated Recipes


