


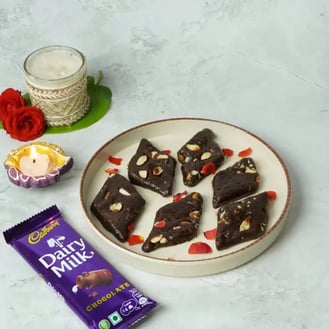


When making truffle cake with walnuts and Oreo base or any other cake that uses Oreos, avoid these mistakes to get it right.
The Oreo cookie crust is a game-changer when it comes to no-bake cakes and cheesecakes. Its rich, chocolatey flavor and crunchy texture provide the perfect contrast to creamy fillings. Whether you’re making a silky mousse cake or a decadent truffle cake with walnuts and an Oreo base, the right execution of that crust makes all the difference. But despite its popularity, using Oreo as a crust comes with its own set of pitfalls. From soggy bottoms to structural issues, it’s easy to get it wrong. If you're looking to nail the perfect Oreo base every time, here are the key mistakes to avoid.
The cream filling
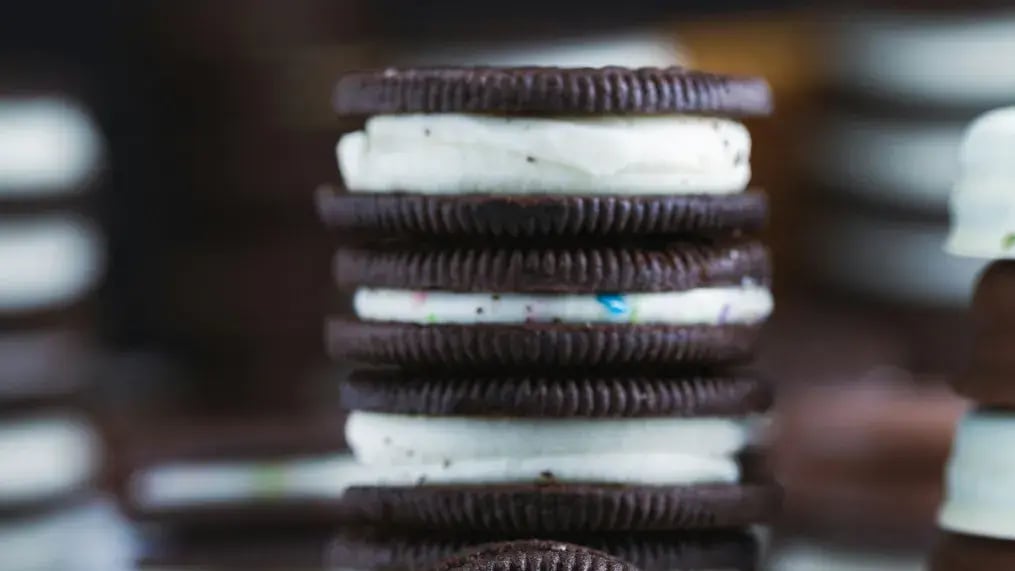
One of the most common debates in the Oreo crust world is whether to scrape the cream filling or not. The answer depends on the dessert. For no-bake cakes or chilled desserts like a truffle cake, keeping the cream filling can actually help bind the crust together. However, if your filling is already rich or your crust needs to be baked, leaving the cream in can make it overly greasy and prone to melting or separating. If you’re baking the crust or layering it under a heavy filling, remove the cream to prevent excessive oiliness. For no-bake cakes, leave them in for cohesion, but be mindful of the added sweetness.
The butter
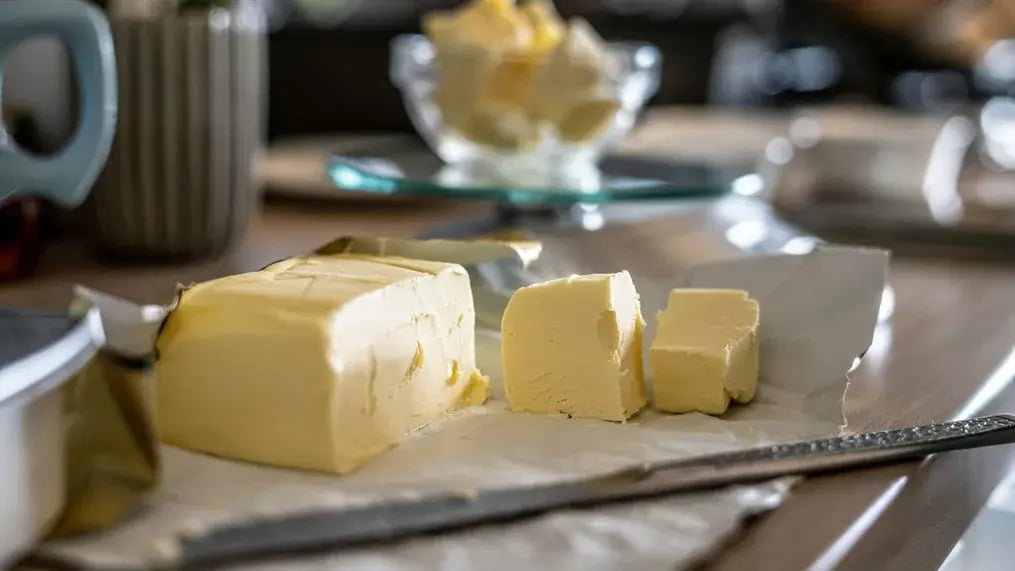
Oreo cookies already contain some fat, but it’s not enough to bind the crumbs effectively, especially if you’ve scraped off the filling. The right amount of butter is essential for holding the crust together without making it oily or overly dense. So don’t eyeball the butter. The general rule is 5 tablespoons of melted butter for every 1½ cups of crushed cookies. Adding too much butter makes the crust soggy and unstable. Too little, and it’ll crumble when sliced.
Also, warm melted butter is crucial to properly moisten the Oreo crumbs. Cold or partially melted butter won’t distribute evenly and can cause uneven patches, especially at the edges. Always use fully melted, warm, but not boiling, butter and mix thoroughly with the crumbs until the mixture resembles wet sand.
The crust
Many people loosely press their Oreo crust into the pan, thinking it will settle on its own. But a loosely packed crust will crumble, shift, or collapse under the weight of a rich filling, especially with creamy textures like ganache. Use a flat bottomed glass, measuring cup, or spoon to firmly and evenly press the crust into the bottom of the pan. If it’s going up the sides, make sure those are compacted too.
The chilling or pre-baking
If you’re making a no-bake dessert, chilling the crust is not optional. It helps solidify the butter and lock everything into place before the filling goes in. For baked cakes, a quick pre-bake helps to stabilize the base and avoid sogginess. For no-bake cakes, chill the crust for at least 30 minutes. For baked desserts, bake the crust at 350°F or 175°C for 10 minutes and let it cool before adding the filling.
The baking

If you're baking the Oreo crust, remember that it's delicate. Overbaking will dry it out and make it hard, even burnt. Oreos don’t behave like flour-based crusts; instead, they toast quickly. So stick to a short bake time, about 10 minutes. It’s ready when it’s just set and fragrant, but not crispy.
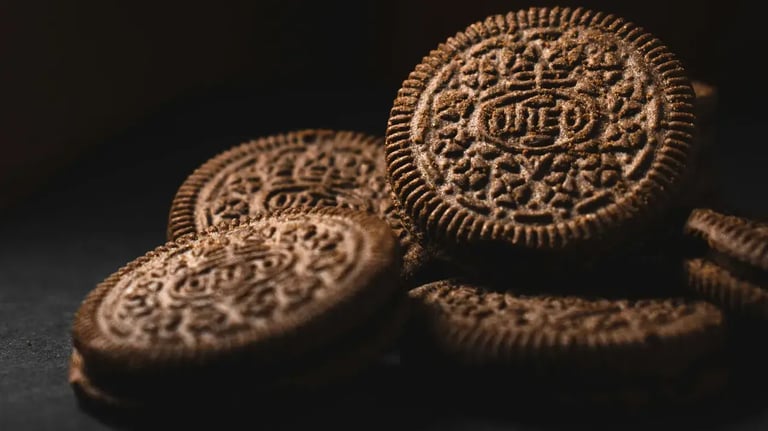
The cookies
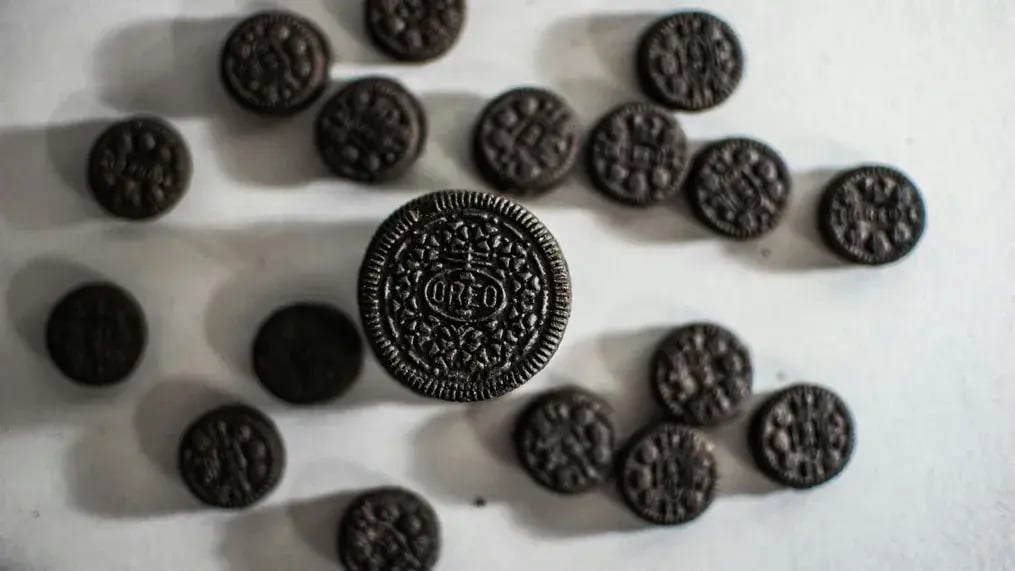
Not all chocolate sandwich cookies are created equal. Generic brands or flavored versions of Oreos, like mint or peanut butter, may not have the right texture, fat content, or flavor for a balanced crust. Use original Oreos for the most reliable texture and taste. If experimenting with flavored Oreos, test in small batches first to see how they affect the final result.
The pan
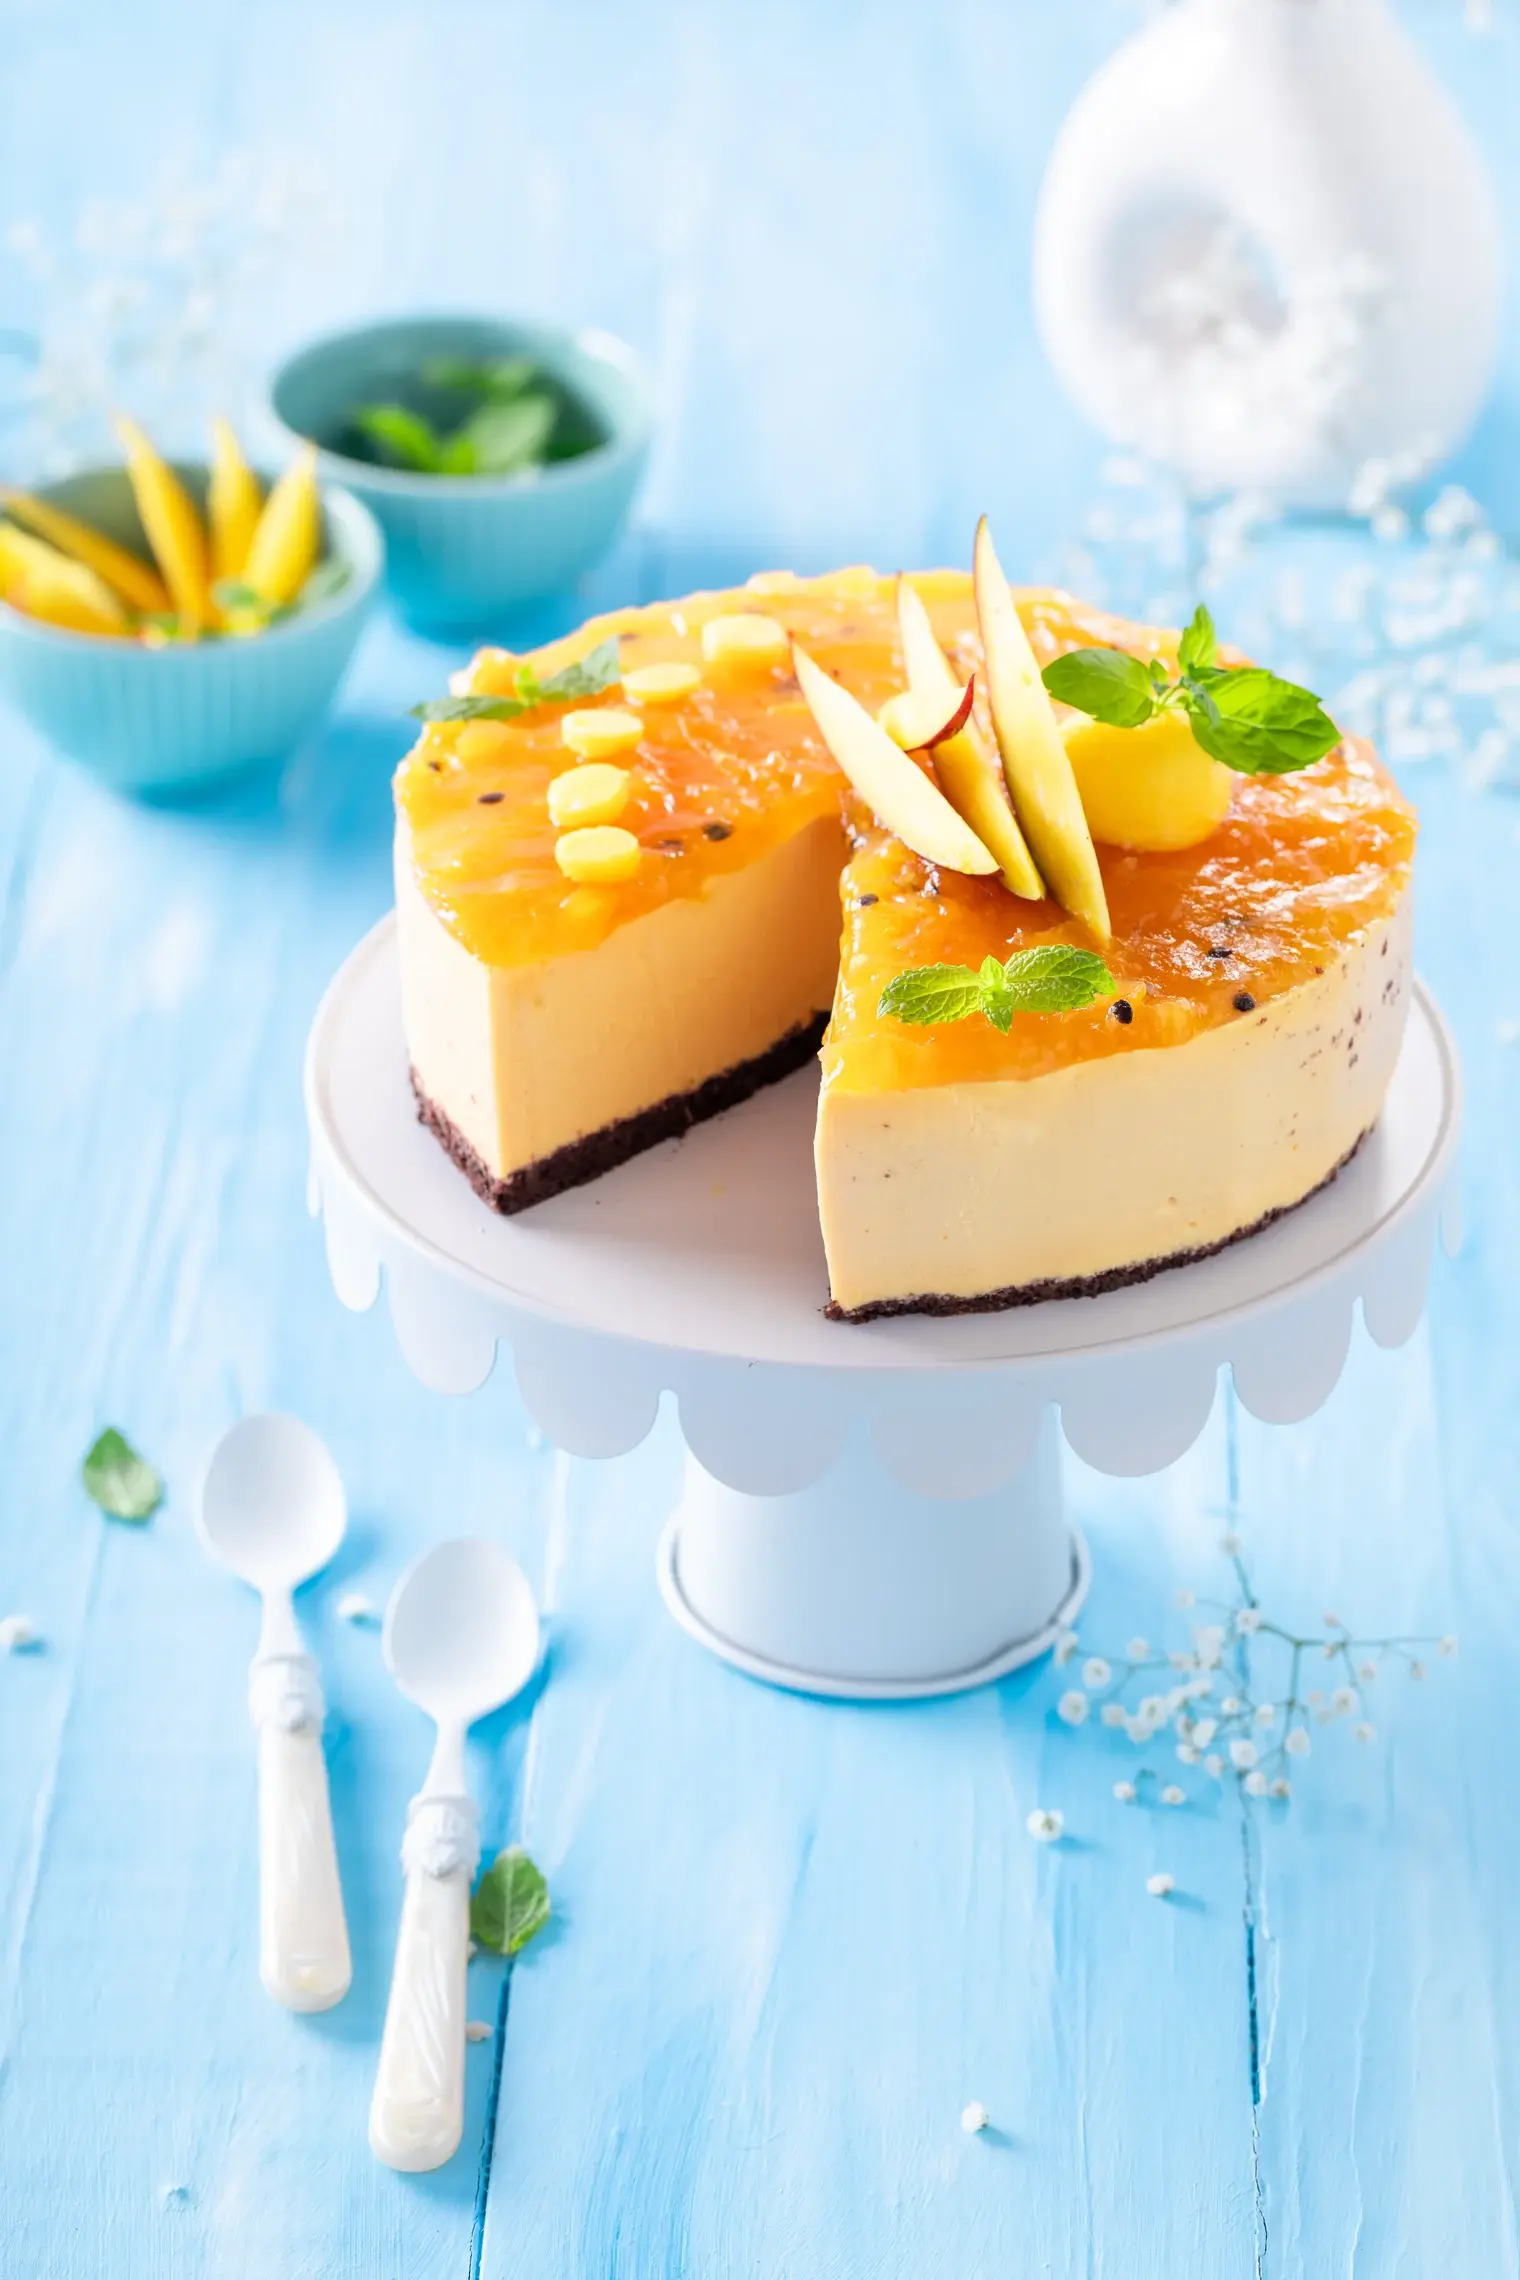
Springform pans are ideal for Oreo crusts, especially for no bake desserts like cheesecakes or truffle cakes because they allow easy removal without cracking the crust. Regular cake tins or deep pans without a removable base can make it hard to extract your dessert without damage. Always use a springform pan or one with a removable bottom. Line the base with parchment for added insurance.
The fillings
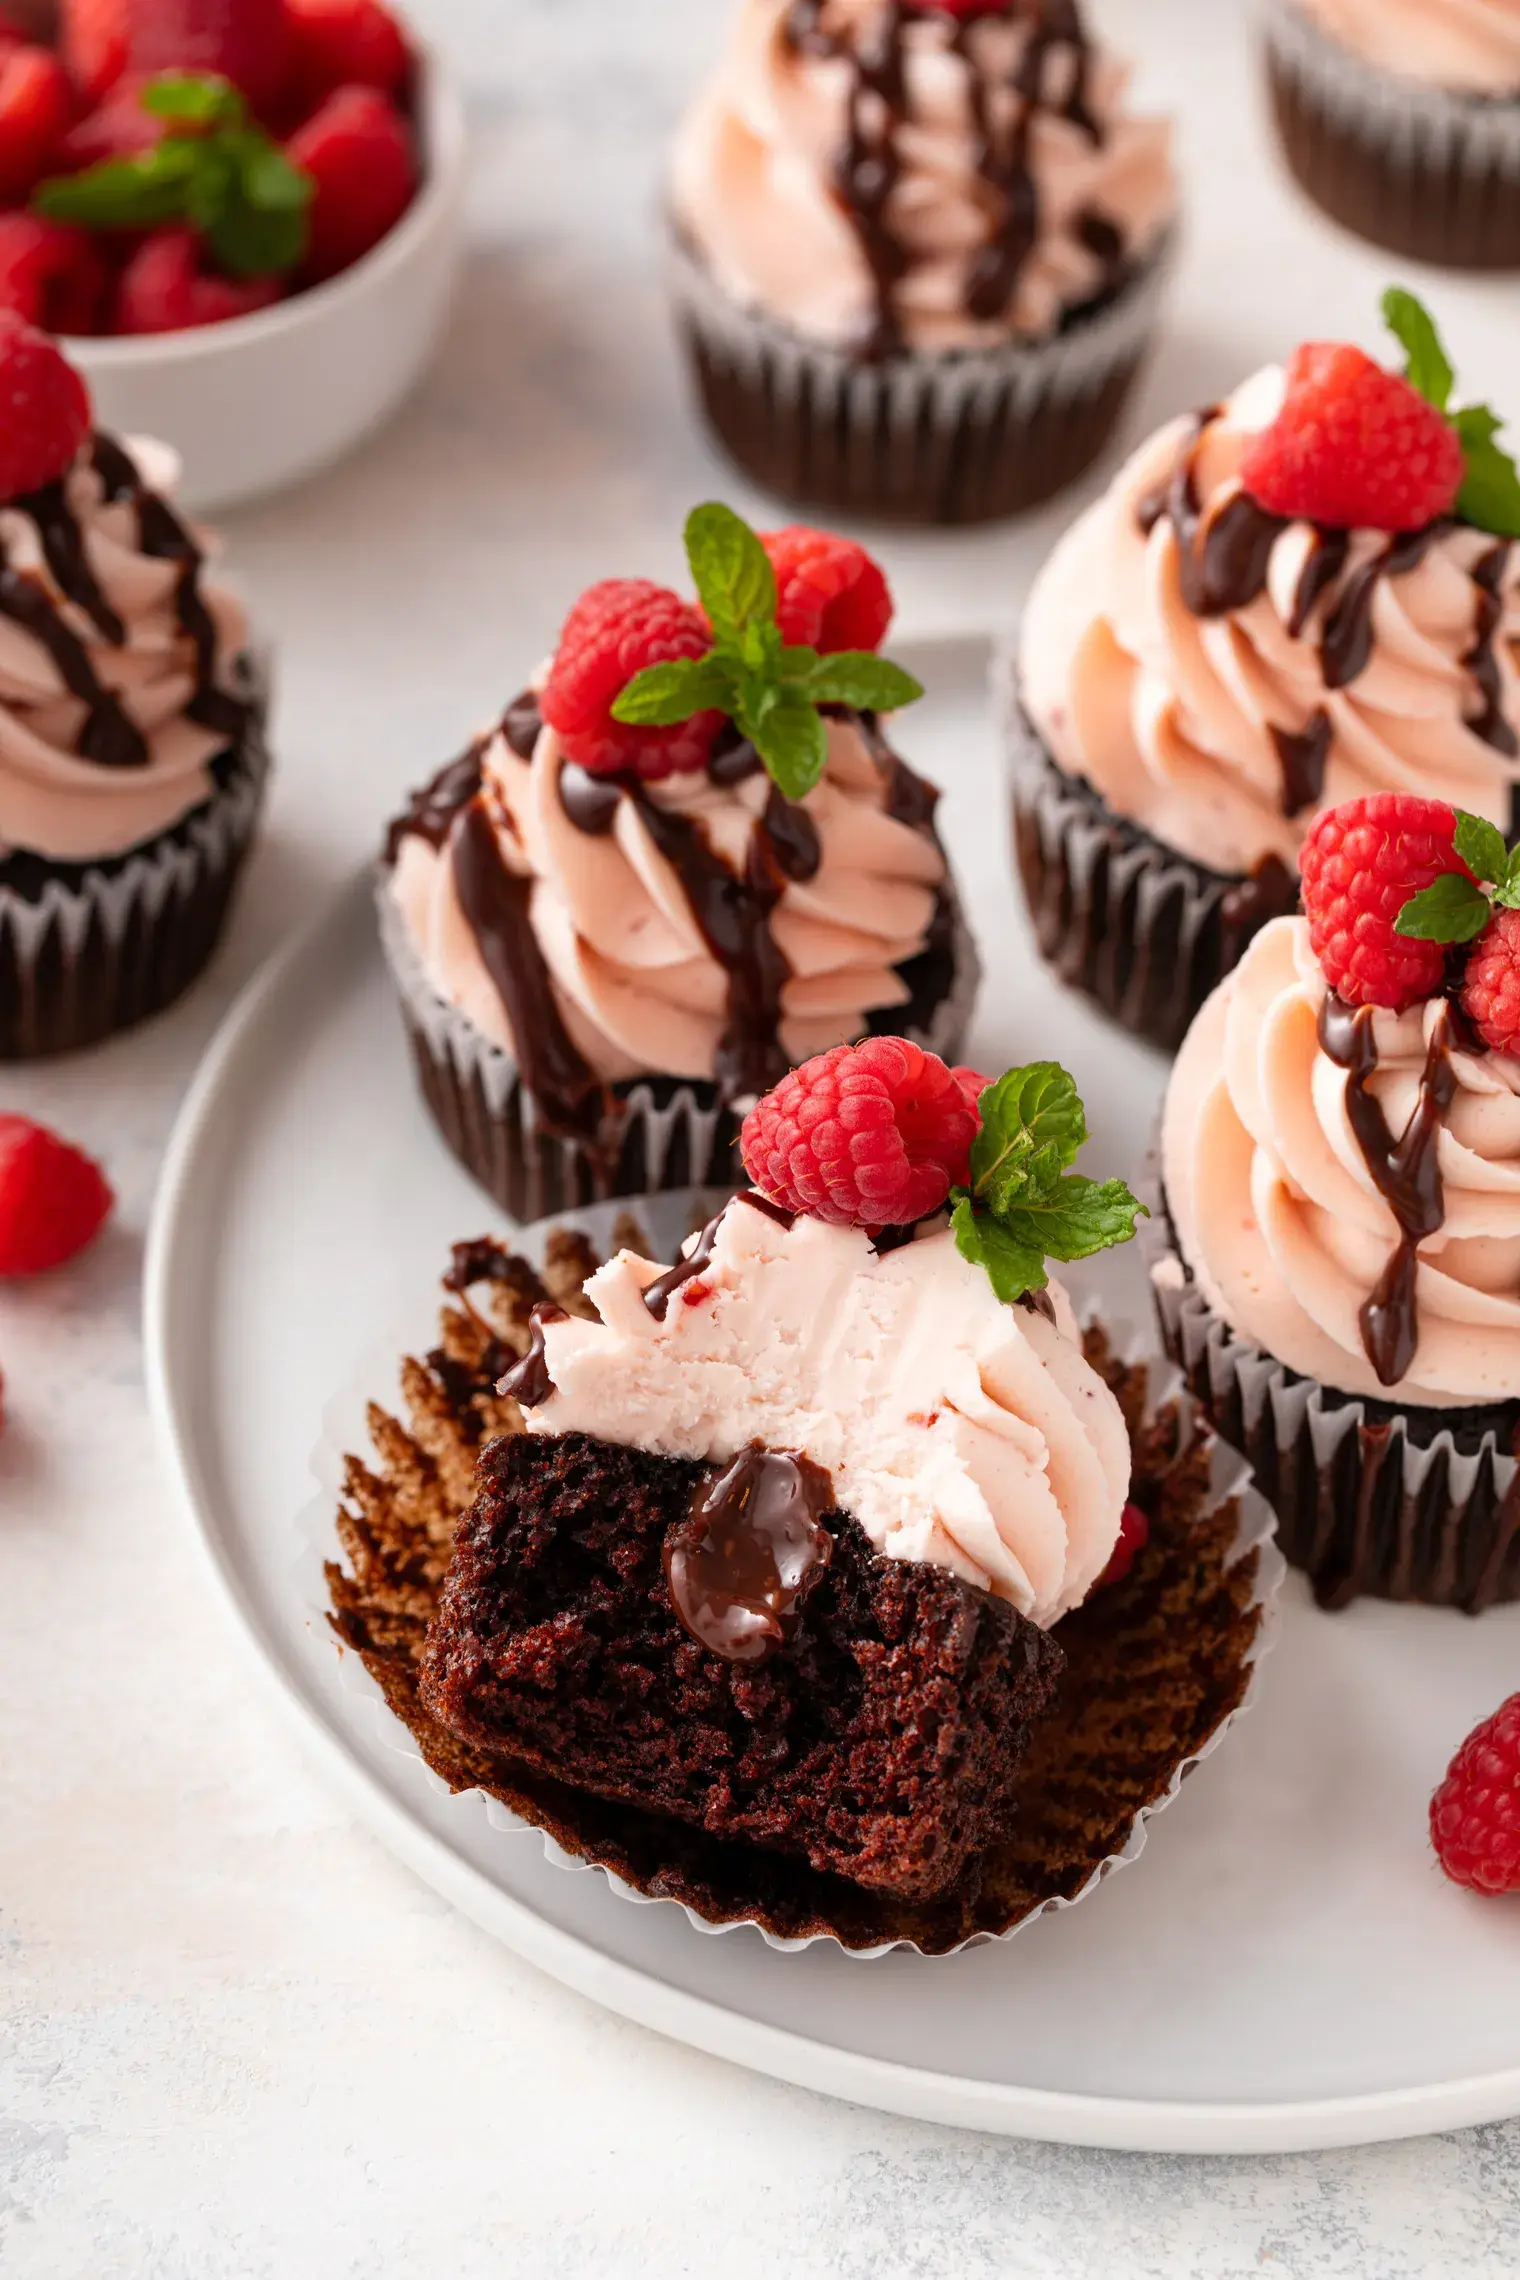
If your filling is high in liquid content, like mousse, fruit purees, or custards, it can seep into the Oreo crust and make it soggy over time. So, create a moisture barrier by brushing the melted chocolate or ganache over the crust before adding the filling. Let it harden in the fridge to form a protective layer.
Like This Article?
More Like This


Popular Articles


Trending Web Stories

Curated Recipes


