


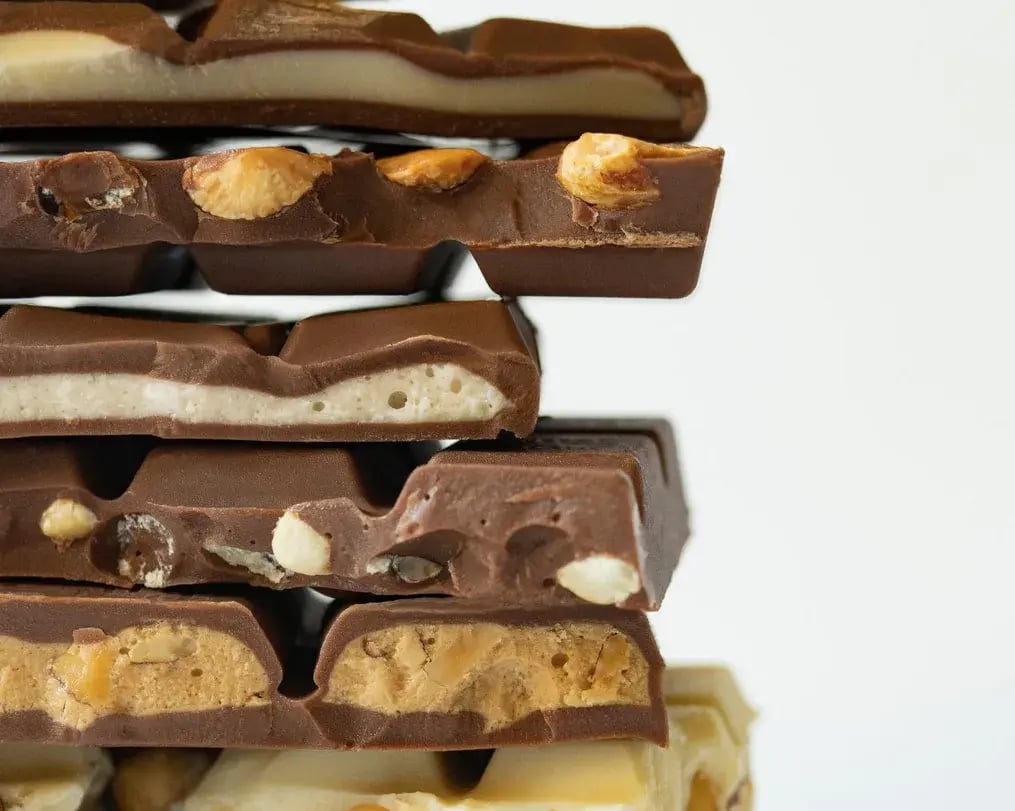
Want something sweet and snacky? Try chocolate covered dry fruits with nuts, which are the perfect way to use up quality Cadbury chocolate bars
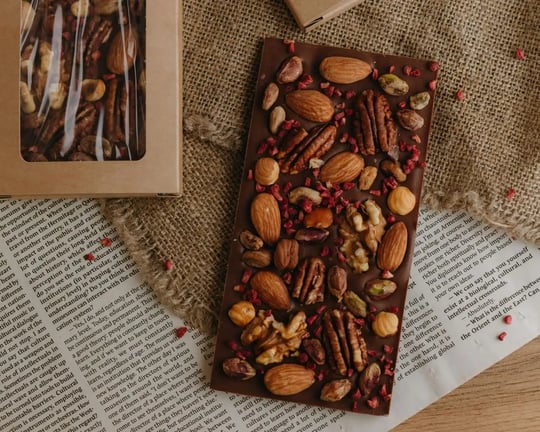
Chocolate-covered anything should feel like a treat with a clean snap, a smooth finish, and the kind of bite that makes people pause mid-sentence. But plenty can go wrong between the double boiler trick of melting the chocolate and the chocolate covered dry fruits on the drying rack. So, here’s how to get the best out of your dry fruit and nut chocolate bits that are perfect for snacking when the craving for something sweet hits.
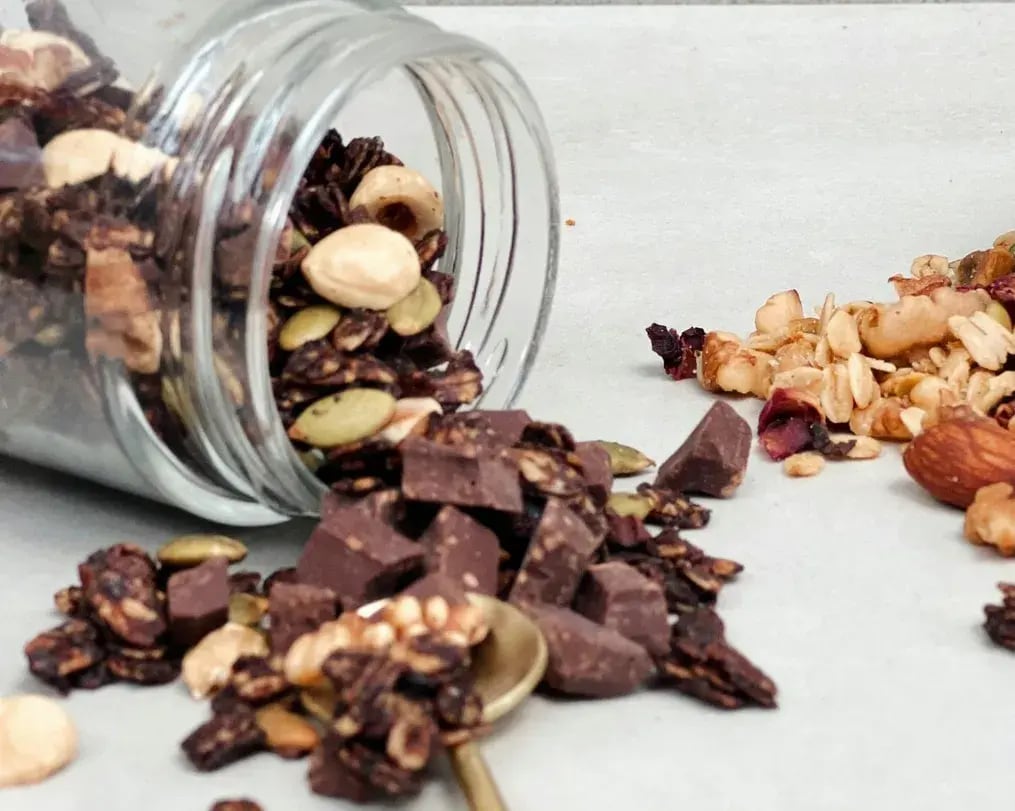
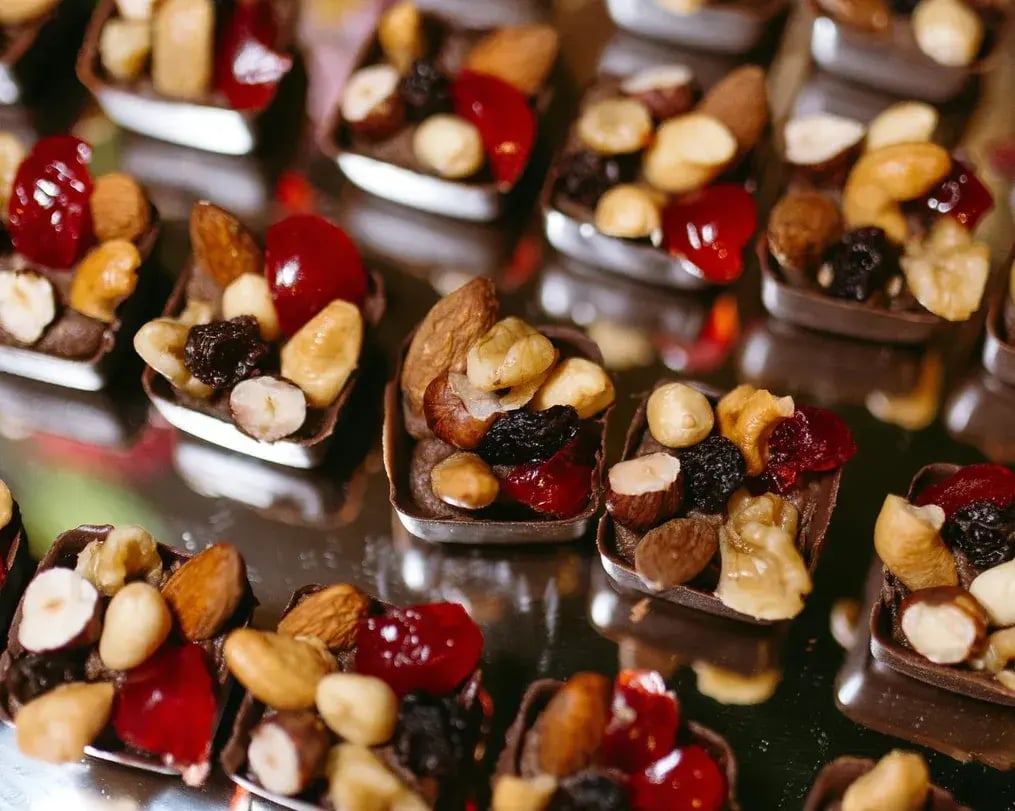
Stick to Dry Fruits and Nuts
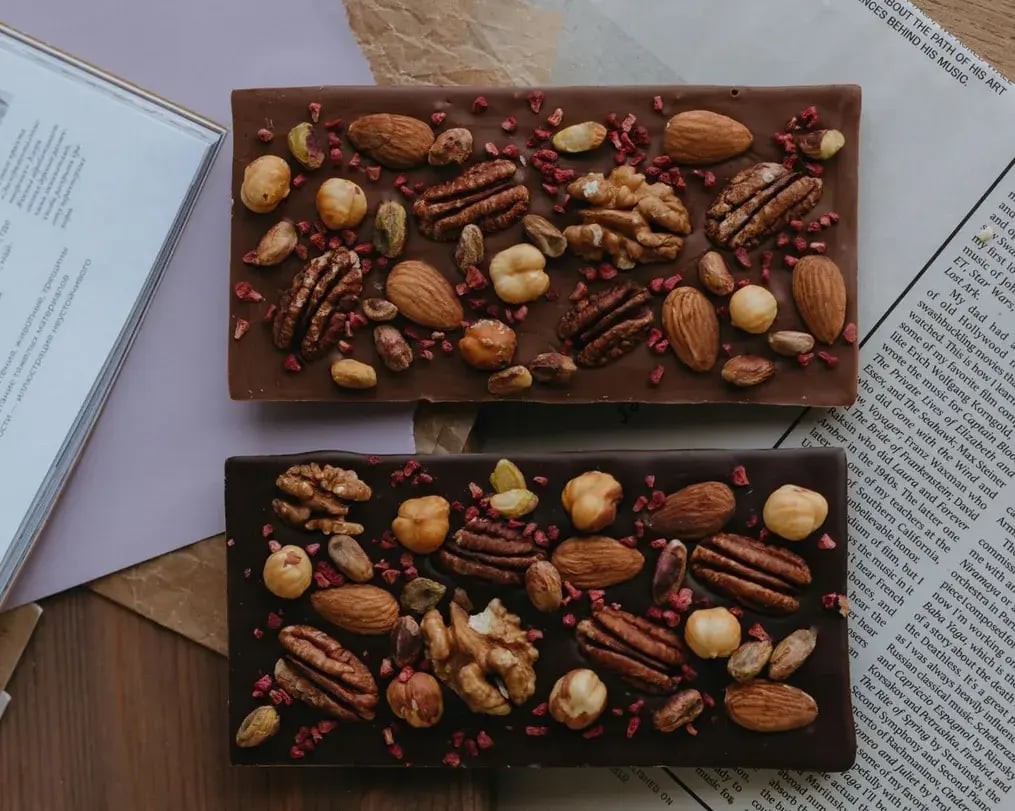
Moisture causes problems, and if you are using dry fruit and nuts, make sure you do not wash them. In case you do, and you don't wipe away the wetness, and dip them in chocolate, the chocolate won’t stick. It might clump, turn grainy, or slide off. Wash fruit ahead of time, if at all doing that, and dry it completely – use a towel, let it air-dry, or both. Even a little water left on the surface can mess things up.
Don’t Skip the Extra Step of Toasting the Nuts
Raw nuts are bland. Roasting brings out their natural oils and makes them crisp. Unroasted nuts can taste flat or even slightly sour under the chocolate. This step brings out natural oils in the nuts, deepens the nut’s natural bite, and gives you that golden edge that holds its own under a rich coat of chocolate. Toasted walnuts, for example, go from bitter and soft to bold and buttery in just 10 minutes. Use a baking sheet, a 180°C oven, and don’t walk away. A minute too long and you’ve got scorched edges and a bitter aftertaste. Let them cool completely before dipping, or the chocolate may melt off or pool at the base.
Don’t Use Cheap Quality Chocolate
Go the cheap route with chocolate, and you’ll end up with waxy, overly sweet, or grainy results. Many inexpensive brands cut corners by adding palm oil or extra sugar, which can mess with the melt and make the final bite taste more like candy coating than real chocolate. Choose bars or chips labeled as couverture or at least 50% cocoa for dark chocolate (like Cadbury Bournville). Milk chocolate is also okay, think Cadbury Dairy Milk chocolate or Silk, with their rich smoothness.
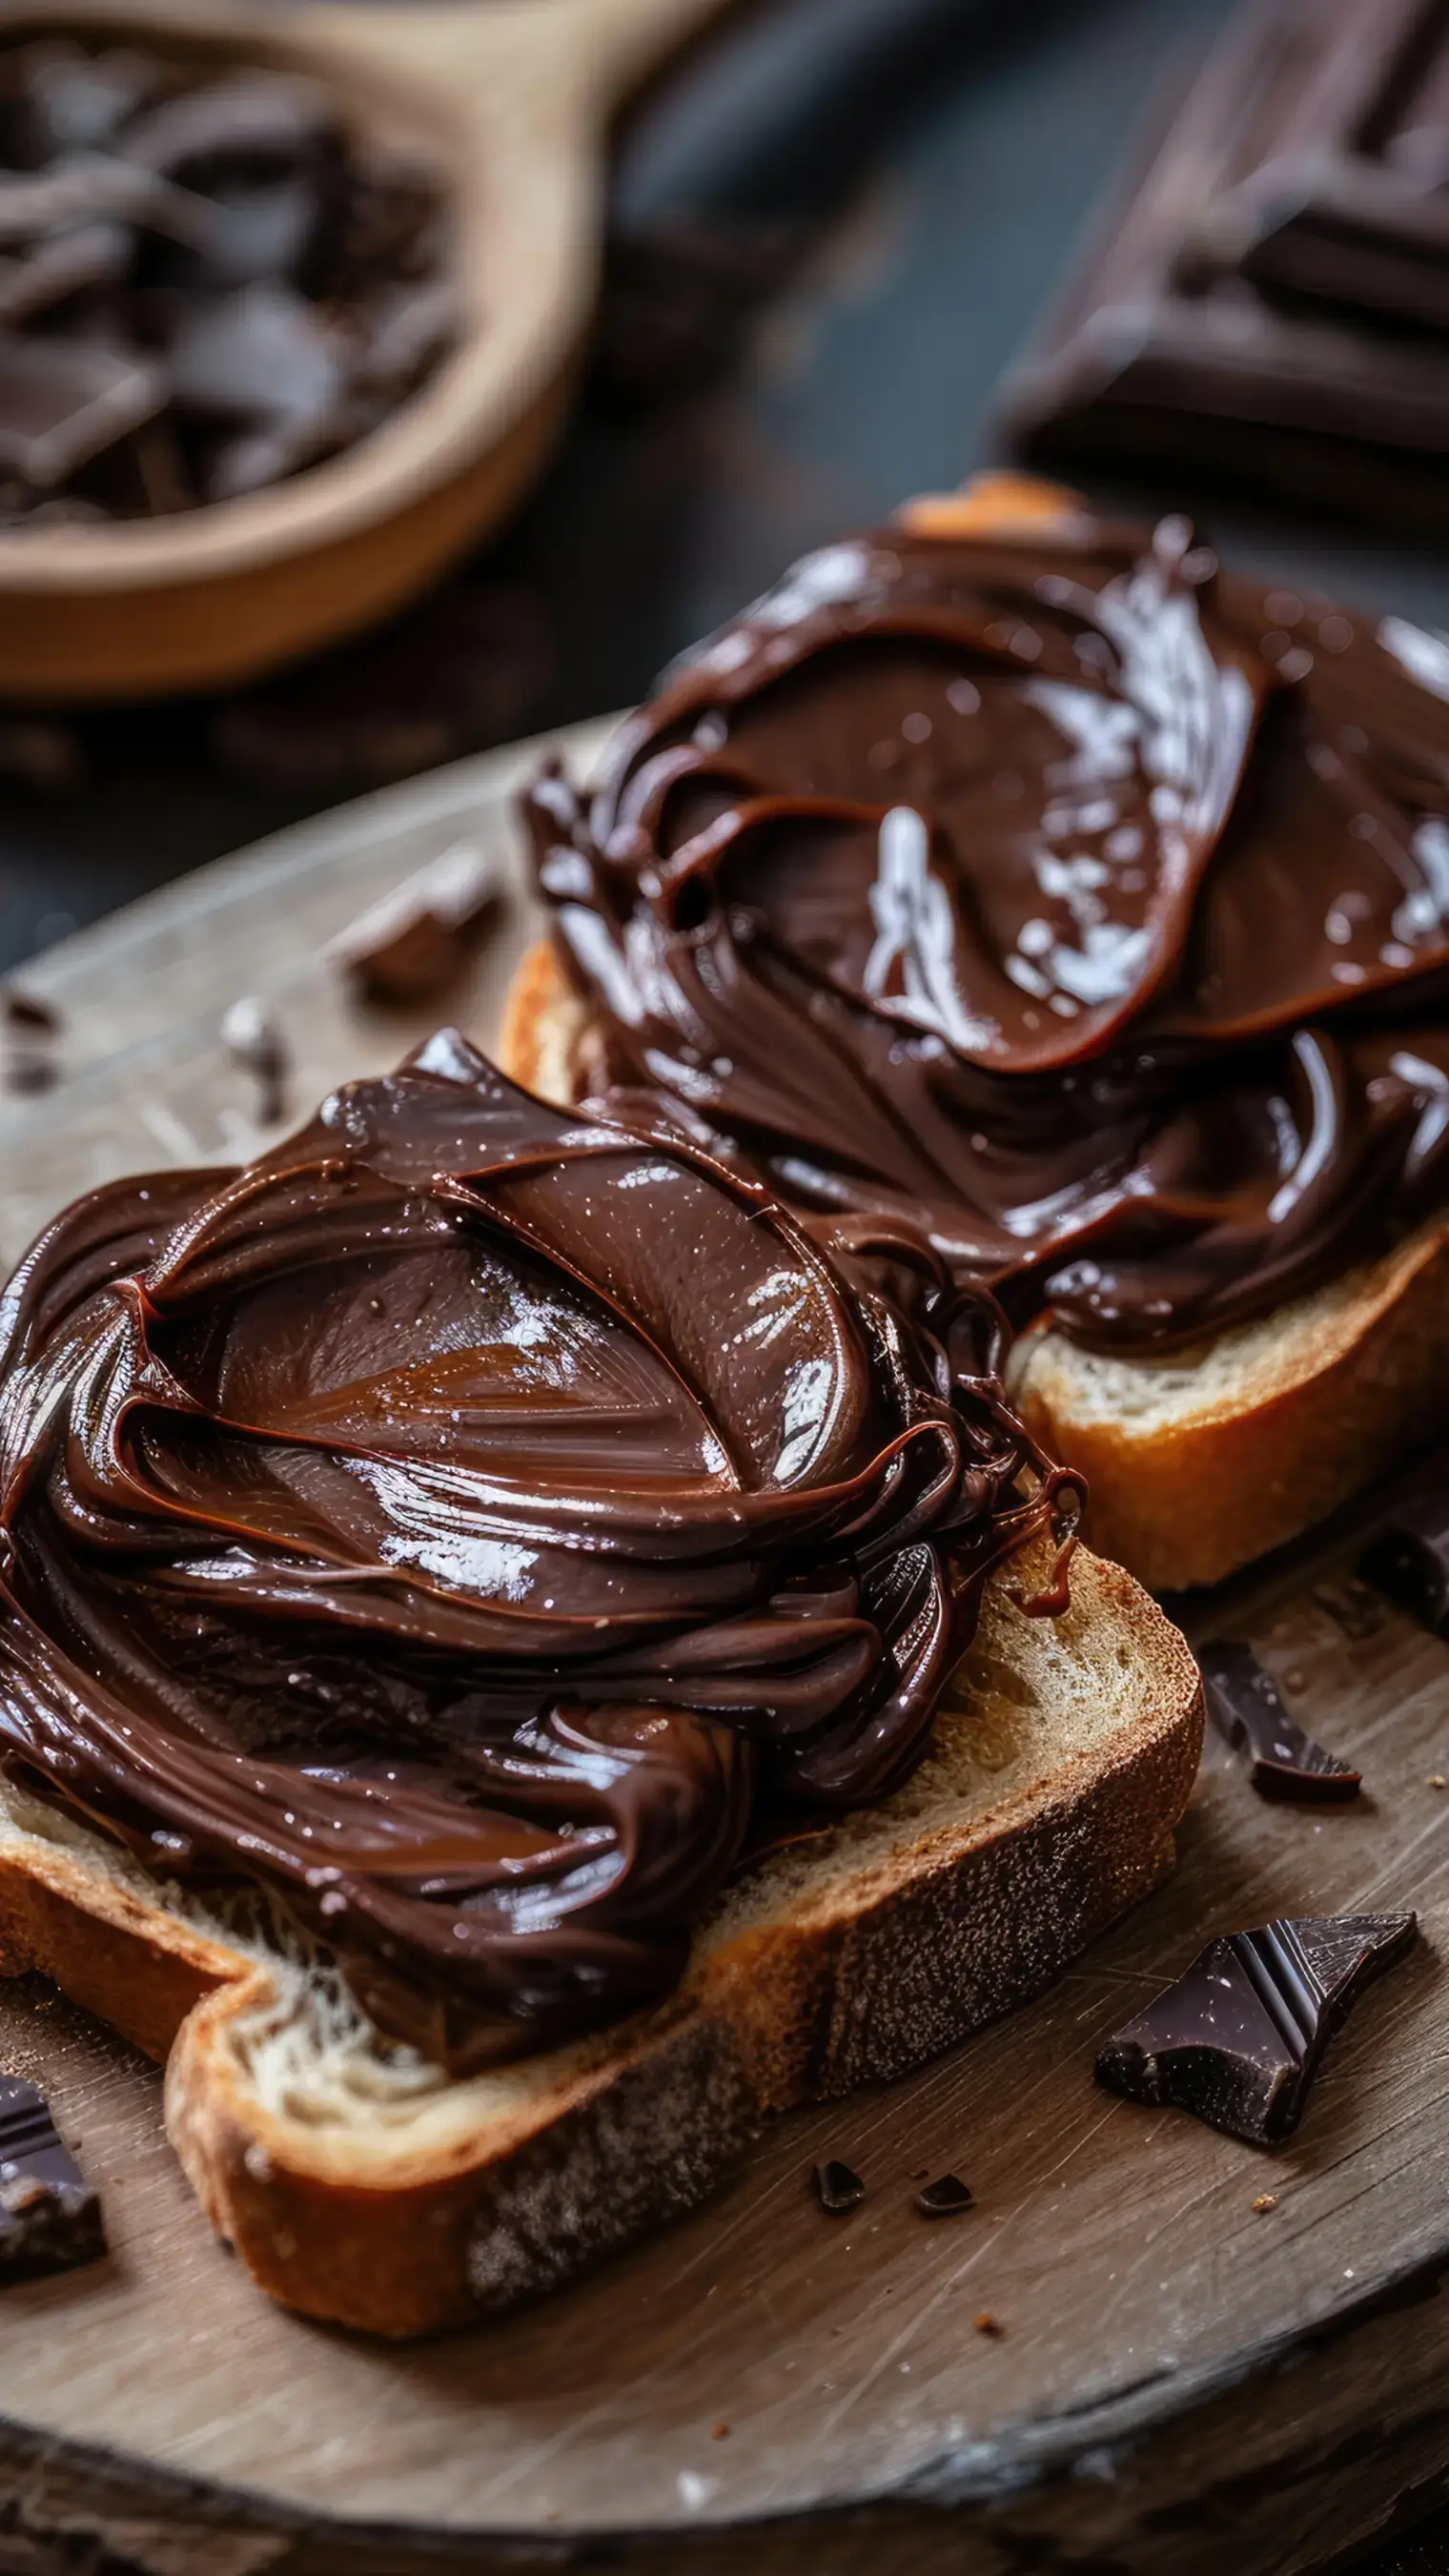
Don’t Skip the Tempering Part
Untempered chocolate dries with a dull finish. It may stay soft, pick up fingerprints, or develop a white film (called bloom) over time. Tempering is a way to control how chocolate hardens. It sounds technical, but you can do it by melting the chocolate slowly, stirring constantly, and cooling it slightly before use. The goal is to keep it under control—not too hot, not too cold. It should dry hard and shiny at room temperature.
Only Coat Fruit and Nut While at Room Temperature
Temperature mismatch is a silent saboteur. Warm nuts fresh out of the oven can melt the chocolate before it sets, causing slippage or odd blotches. Cold fruit straight from the fridge can shock the chocolate, making it form a cloudy film. Always let everything rest until it feels neutral to the touch. Room temperature may sound vague, but it’s the sweet spot where chocolate behaves: spreads evenly, sets slowly, and wraps around the fruit or nut without pulling away or cracking.
Don’t Drown It in Toppings
The temptation to roll chocolate-dipped pieces in sprinkles, sea salt, chopped nuts, or edible glitter is real. But too much “stuff” turns a clean bite into chaos. Toppings should highlight, not smother. A single flake of sea salt on dark chocolate can add a spark. A pinch of finely chopped pistachios brings color and crunch. But overdo it, and your creation will look messy, feel unstable, and drop bits with every bite. Aim for a light dusting or a single press-in. Let the chocolate speak first – everything else is backup.
Don’t Rush the Drying
Letting chocolate set takes more than tossing it on a tray and hoping for the best. Don’t stack them, crowd them, or jiggle the tray. Spread them out on parchment or wax paper in a cool, dry spot away from heat and direct light. If you chill them too soon, the chocolate can develop condensation – little drops of water that ruin the look and shorten shelf life. You might also end up with sugar bloom, which gives your treats a dull, dusty coat. Letting them set slowly in calm air is the difference between professional-looking treats and something that looks thrown together.
Like This Article?
More Like This


Popular Articles


Trending Web Stories


Curated Recipes


