


Try this cold chocolate fudge cake minus the hassle of using an oven or too many equipments for a little treat or dessert after dinner
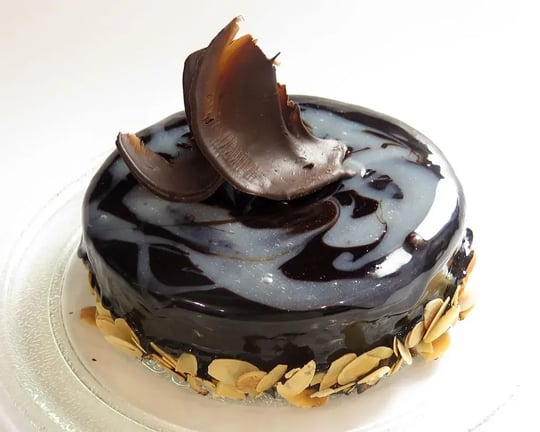
Who says you cannot make a cake sans oven? Meet this cold chocolate fudge cake, which is made with a base of ladyfingers, and a soft and fudgy cake layer with zero flour that is rich, cold with a luxurious feeling to it. All it needs is some hours in the fridge and you have a cake that is equally good as its baked counterparts. So, if you want a cake with plenty of chocolate, have less time on your hands to invest in baking, this recipe is a must try. It’s perfect for serving as an after-meal treat, or whether you want to make it solely as an emergency treat to indulge in cravings, a slice at a time.
Rich Ovenless Chocolate Fudge Cake
Ingredients:
- 12 oz powdered milk
- 1 cup Cadbury cocoa powder
- 5 tbsp honey
- ⅜ cup brown sugar
- ⅔ cup butter, softened
- ⅞ cup water
- 2 tsp vanilla extract
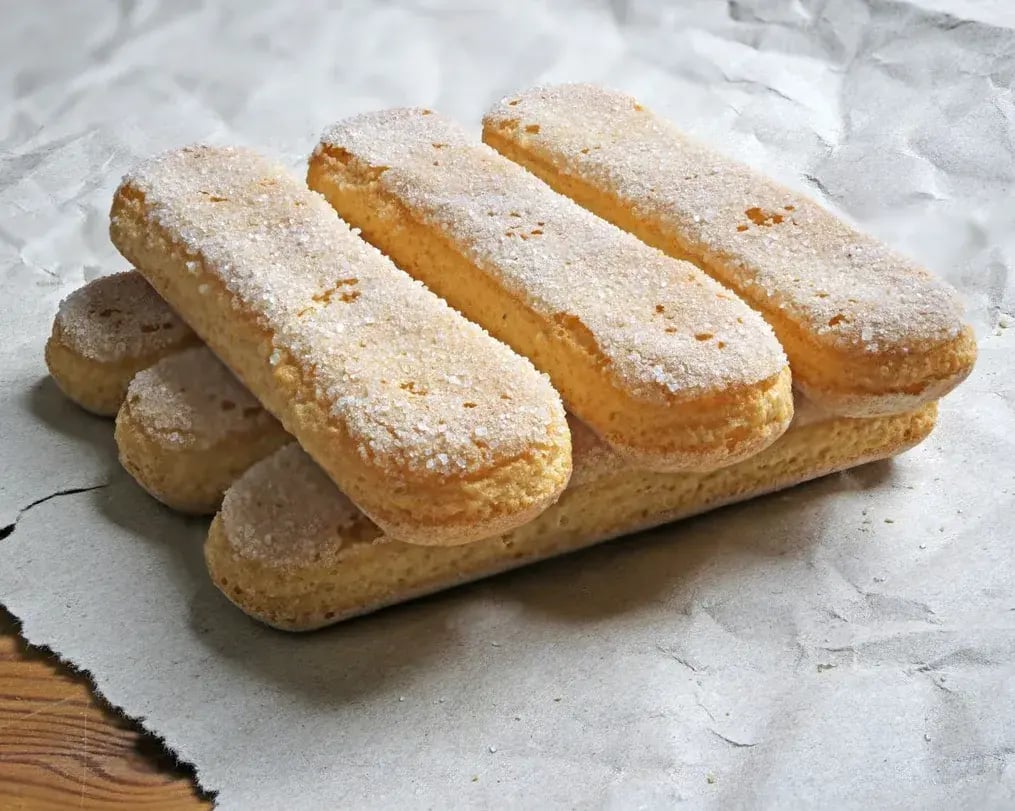
- 10 ladyfingers
- ½ cup milk
- Chocolate coated dried fruits, optional

Instructions:
- Lightly grease the sides and base of a 6 or 7-inch springform pan with butter and line the bottom with parchment paper.
- Pour milk into a shallow dish. Quickly dip each ladyfinger into the milk, don’t let them soak too long or they’ll become soggy and fall apart.
- Arrange the soaked ladyfingers in a tight single layer at the bottom of the pan. Trim some to fit the gaps neatly, for a solid base.
- Take a small saucepan and heat water with brown sugar on low. Stir continuously until the sugar dissolves completely, into a light syrup. This will take about 3-4 minutes.
- Remove the saucepan from heat, then immediately mix the honey and vanilla extract. Set aside to cool slightly.
- Sift powdered milk and cocoa powder into a big mixing bowl, to remove lumps, if any. Add the softened butter to the bowl.
- Use a hand mixer, on low speed to mix, while pouring the sugar syrup into the bowl.
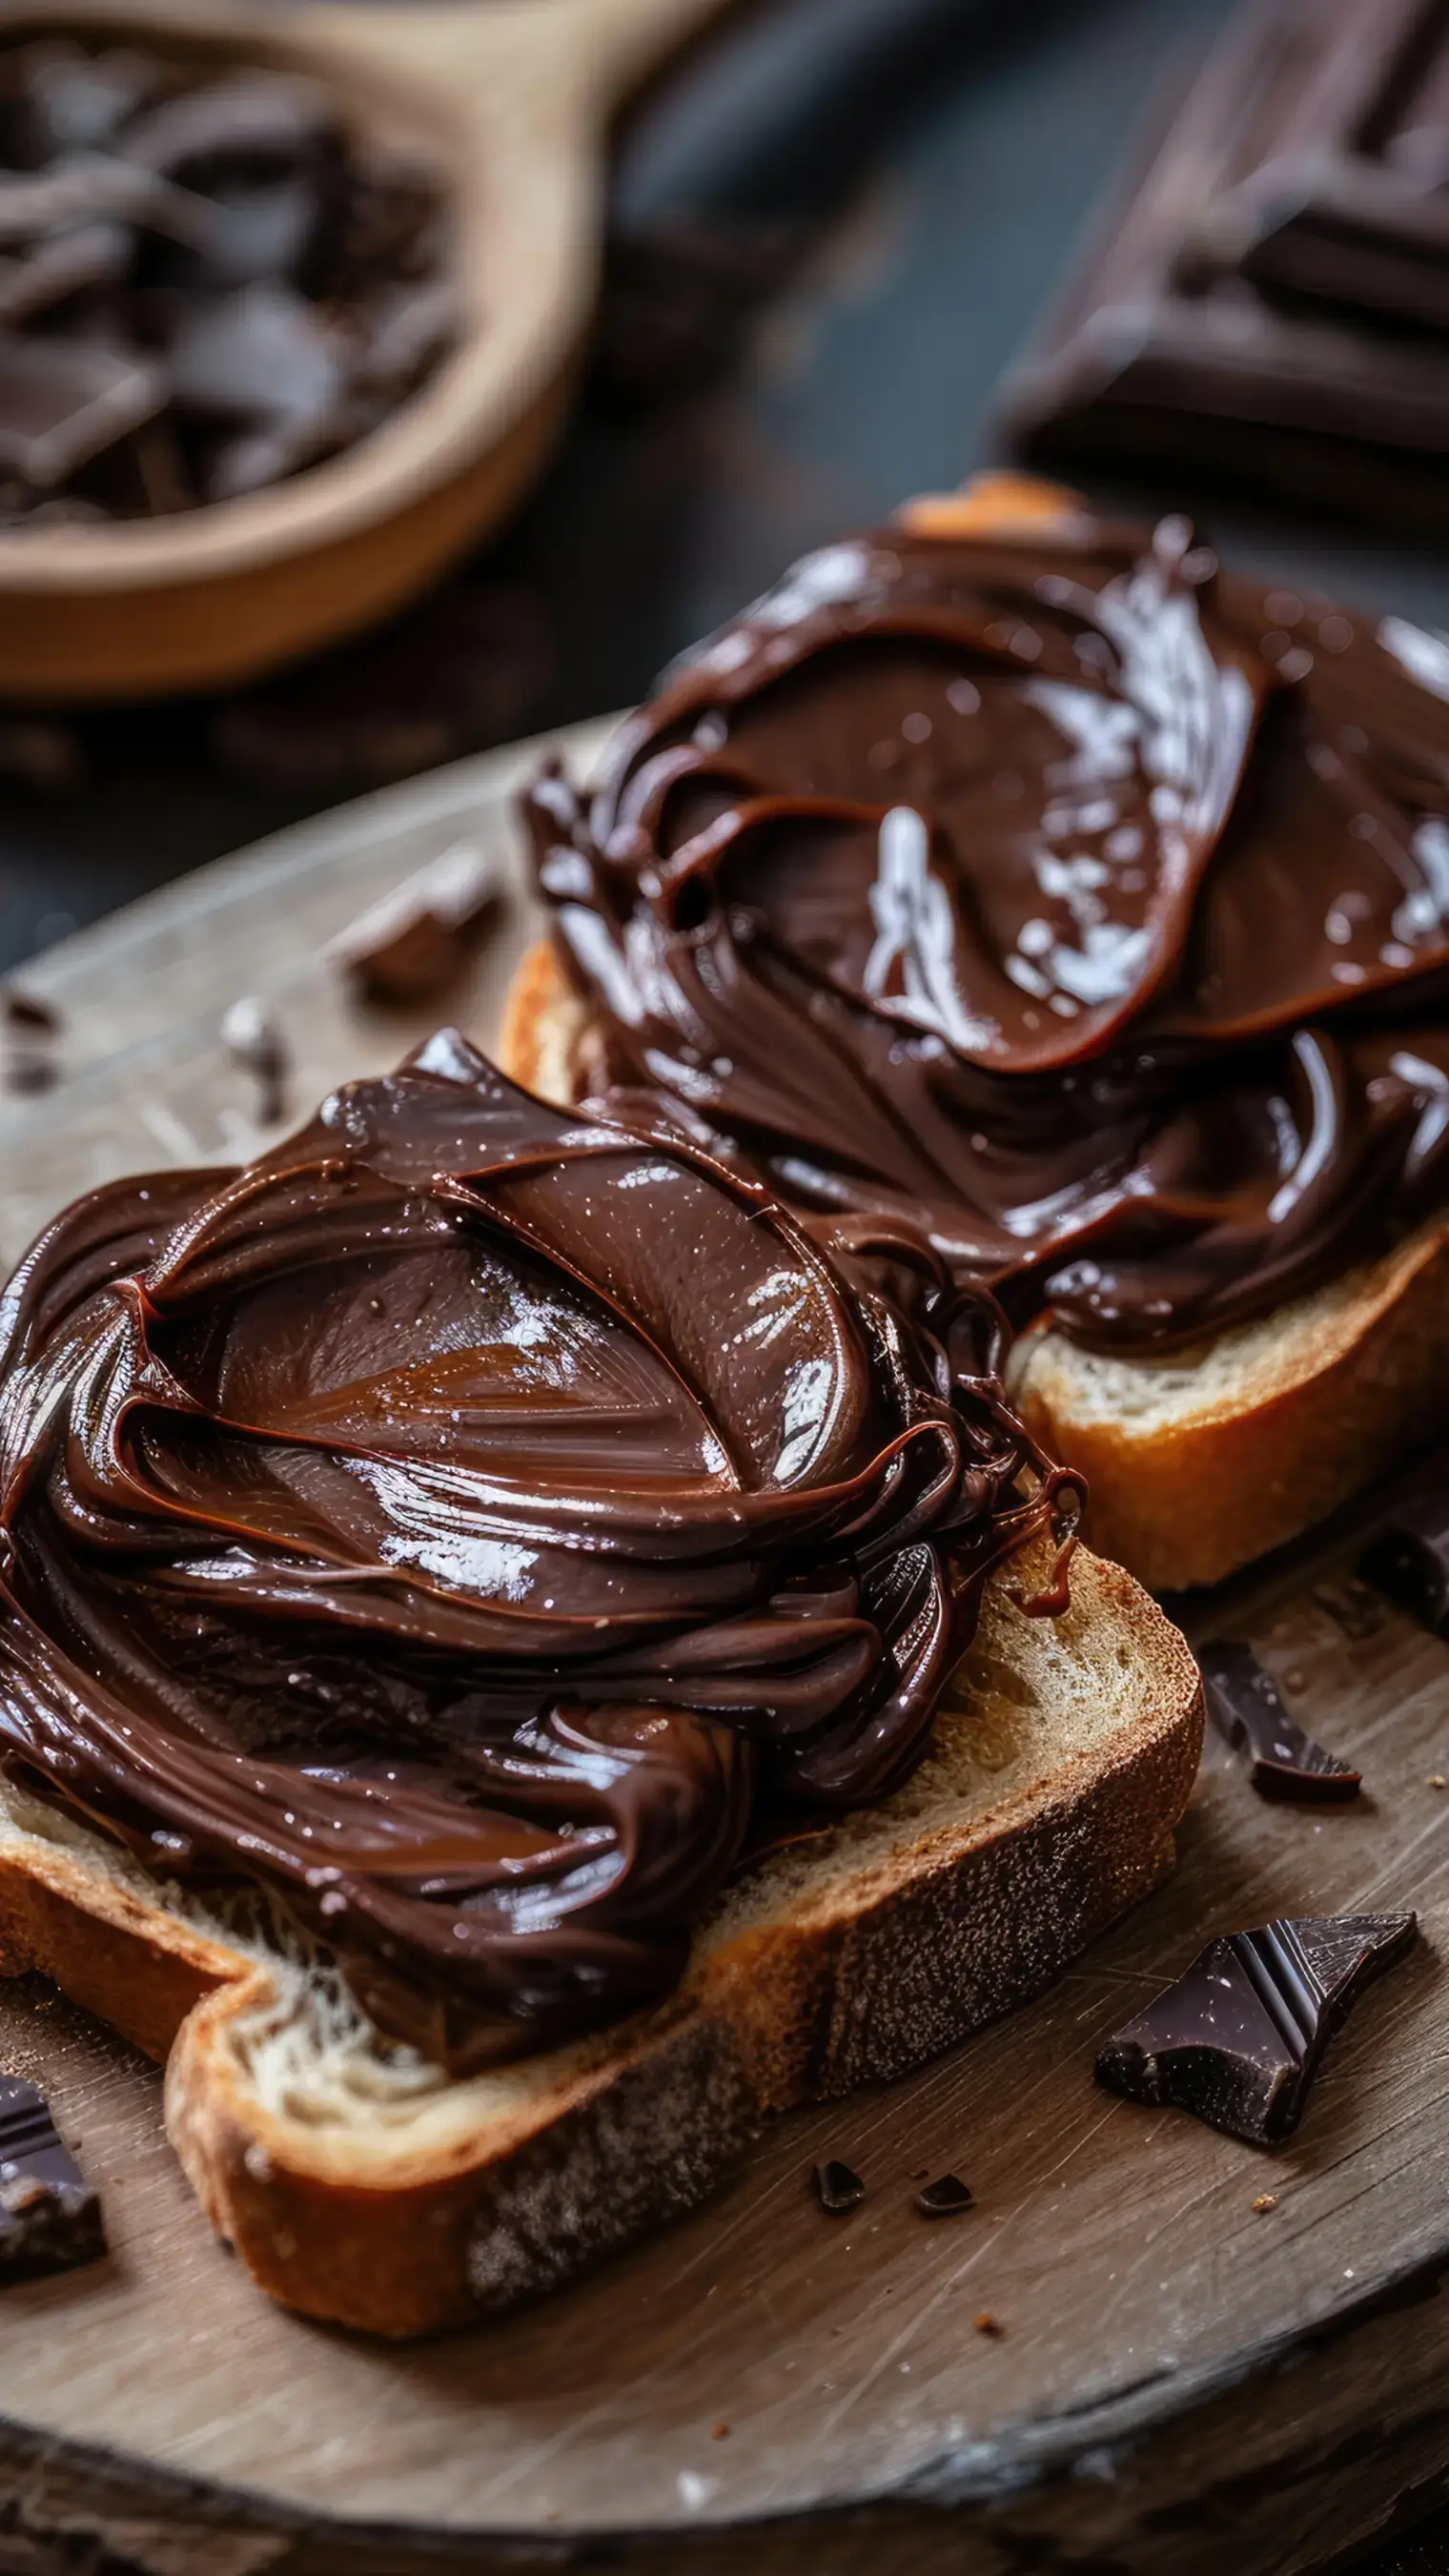
- As the mixture begins to come together, increase the speed, until it becomes a dense, thick, spreadable fudge paste.
- If it’s too dry or crumbly, add a trickle of warm water, 1 tablespoon at a time, until smooth and creamy. You need a firm and fudgy mixture, not runny.
- If using additives, fold in the chocolate-coated dried fruits.
- Spoon the fudge mixture onto the prepared ladyfinger base in the springform pan.
- Use a spatula or the back of a spoon to spread it out evenly, smoothing the top.
- Tap the pan lightly on the counter a few times to eliminate air bubbles and help the mixture settle evenly.
- Cover the cake tightly with foil or wrap and refrigerate for at least 6 hours to set into a dense cake.
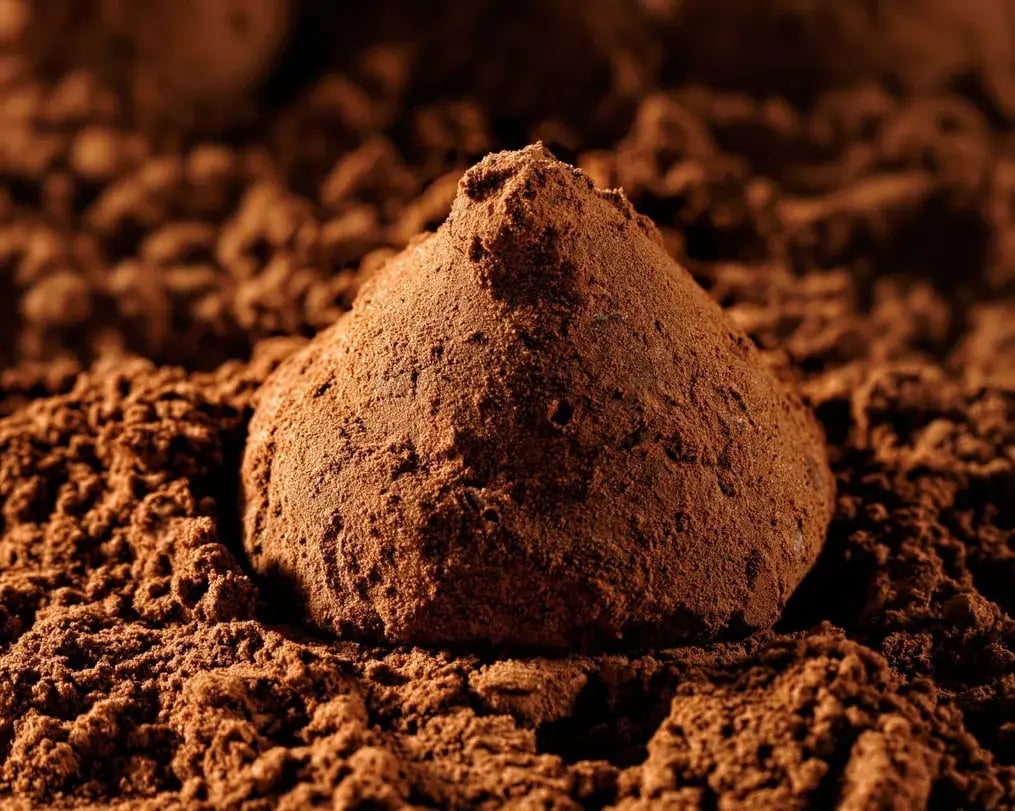
- Once fully set, the cake will be dense, sliceable, and have a truffle-like consistency. Slice and serve, using a heated knife.
Tips & Tricks:
- Since cocoa is one of the main flavor bases in this recipe, use a high quality Cocoa powder brand, like Cadbury cocoa powder.
- Whole milk powder yields a creamier cake. Nonfat milk powder lacks richness and can make the final cake taste not that great.
- The butter should be soft enough to mix easily but not melted. If the butter is too firm, it won’t integrate smoothly with the powdered milk. If it’s melted, the mixture might turn oily and separate.
- Powdered milk and cocoa powder are both very fine and can fly out of the bowl if mixed too quickly. Start your mixer on the lowest setting and increase the speed only once the wet ingredients begin to bind the dry ones.
- This recipe is quite basic, so, feel free to experiment with additives like, adding a pinch of coffee powder in the cake batter to enhance the chocolate flavor, using orange zest in the ganache or even using dry fruits or other nuts.

- Let the cake chill for a minimum of 6 hours. Overnight is even better, which will allow the flavors of the cake to deepen and yield a fudgy cake.
- When slicing the cake after ample chilling time, run the knife under hot water, then wipe it dry before each cut. This gives you clean slices and keeps the ganache layer from tearing.
- Refrigerate the leftovers in an airtight container for up to 5 days. You can freeze this cake to make it last longer, by wrapping each slice with parchment paper. Defrost in the fridge for a few hours before serving for best results.
Like This Article?
More Like This


Popular Articles


Trending Web Stories


Curated Recipes


