


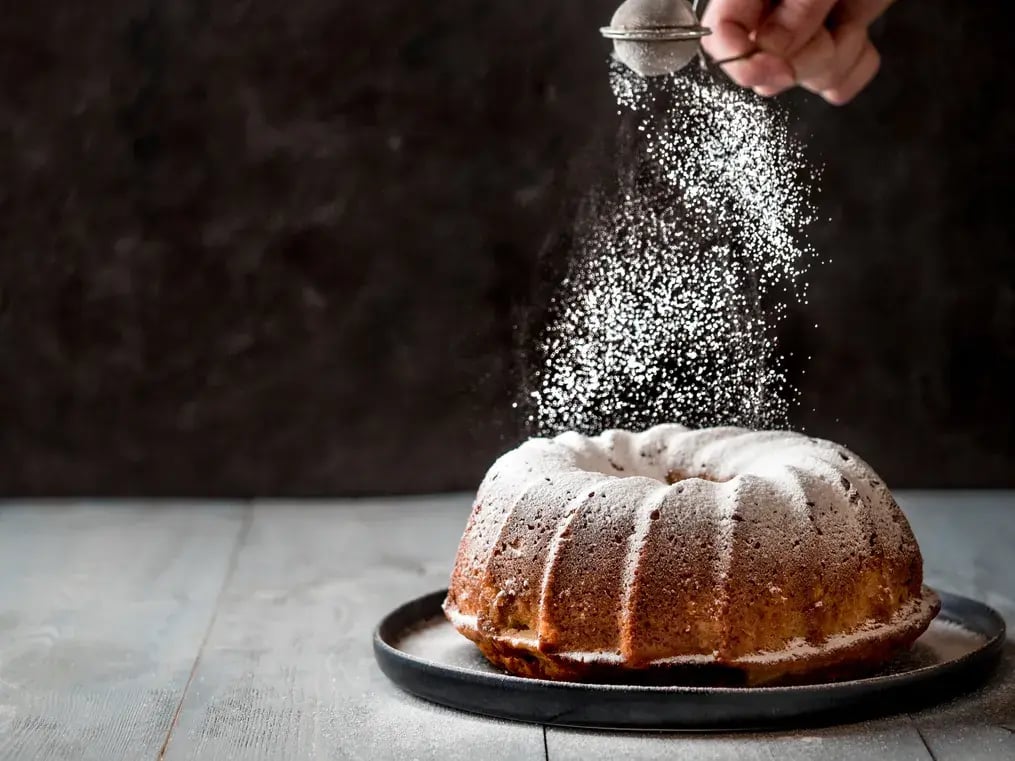
Looking for a zesty topping that shines and sets just, right? Make your lemon glaze this way—smooth, bold, and balanced.
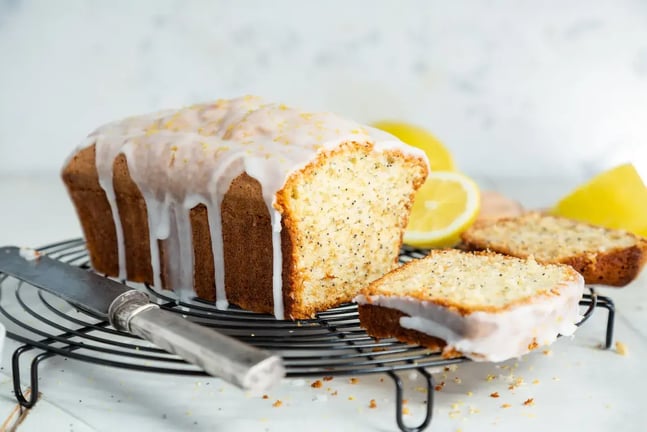
That instant when you've baked a flawless batch of lemon loaf, vanilla cake, or tea-time muffins—you're proud of the bake, but it's a tad plain. You consider putting a glaze. Something that provides that keen kick, shiny finish, and a touch of thrill to the bite. But then the glaze becomes too runny, remains patchy, or turns grainy. Familiar?
It's not that you require more sugar or more sophisticated ingredients. The problem is technique. A lemon glaze can seem easy—sugar and juice, right? But to achieve that silky, even pour and that clean, balanced tartness, you have to be clever with ratios, temperature, and how you combine. Properly done, a lemon glaze adds a cutting edge to sweet bakes, slices through richness, and provides a finish that feels rounded. Not too much, not too sour—just right.
Whether you are glazing a tea cake for guests or simply adding a bit of extra polish to your weekend bake, this guide will ensure that you have that lemon glaze perfectly—bold, silky, and with that cutting edge that will have people remembering it.
Use Fresh Lemon Juice—but Strain It First
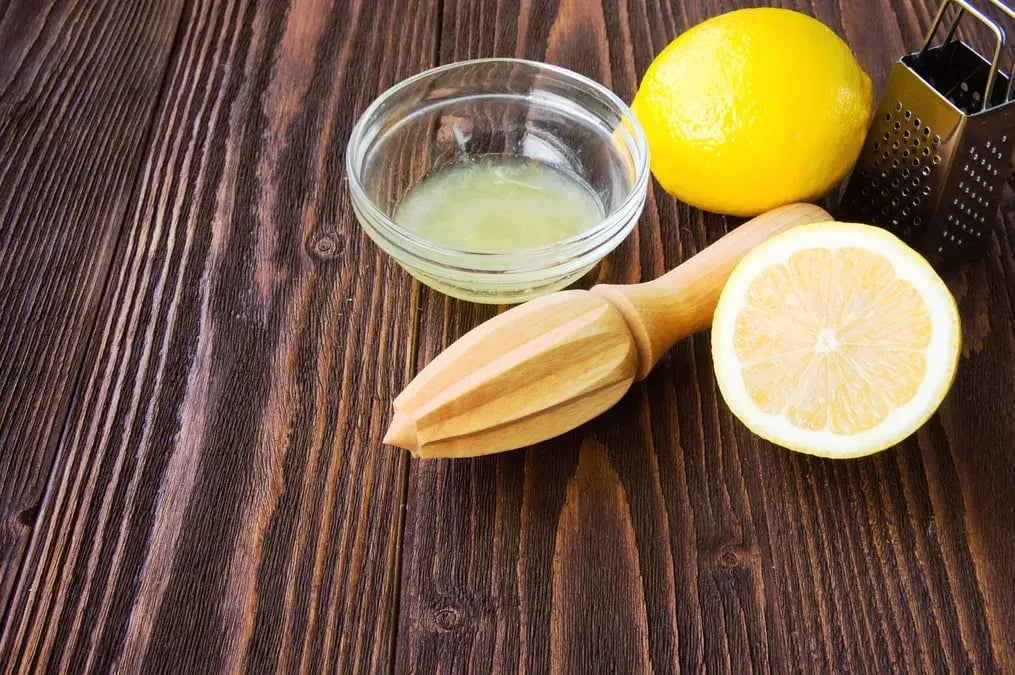
The zing of lemon is important, but pulp and seeds ruin the finish. Always strain your juice before blending. Use 100% fresh lemon juice—bottled lemon juice tends to taste dull or metallic. 2 tablespoons per ½ cup of icing sugar is a good starting point. Strain provides a smooth foundation, so the sugar dissolves properly. It also ensures the glaze lies flat rather than grabbing specks that lead to mottled spreading. Use room-temperature lemons at all times—they produce more juice and mix smoother.
Choose the Right Sugar—Always Go for Sifted Icing Sugar
Icing sugar isn’t just about sweetness—it also controls the consistency of your glaze. Use finely powdered, sifted icing sugar (not regular sugar or coarsely ground substitutes). Sifting avoids lumps that ruin the smooth finish. If you’re making your own from regular sugar, run it in a mixer until ultra-fine, then sift it twice. For ½ cup of lemon juice, begin with 1 cup of icing sugar and adjust to get a thick, pourable consistency. The finer the sugar, the neater your glaze will be on the cake.
Add a Little Bit of Butter for Shine and Consistency
This is a trick expert bakers swear by. A mere half teaspoon of softened unsalted butter aids the glaze set smother and lends a delicate sheen without making it greasy. The butter also enables it to flow over the cake without streaks. Add it once you've mixed sugar and lemon juice, when the glaze already is smooth. This little addition makes your glaze seem refined and avoids that dry, crackly appearance you end up with after it sets.
Heat It Warmly Before Pouring
If your glaze is too thick or slow-moving, set the bowl in a pan of warm water or heat it briefly with a microwave blast—5–8 seconds only. A warm glaze applies more smoothly and sets with fewer bubbles or drag marks. Avoid overheating, or the sugar will become too runny and lose its structure. The aim is to thin the glaze enough so it pours cleanly. This trick works particularly well when you're glazing a dense cake, such as a lemon loaf or banana bread.
Check Glaze Thickness on a Spoon Before Pouring
Before proceeding directly to the cake, test with a spoon. Spoon down, lift, and observe how the glaze drops. If it oozes very slowly in heavy ribbons and levels out flat in the bowl, it's done. If it's running too quickly, add a little more sifted sugar. If it's too stiff or syrupy, add a few drops of lemon juice. This check spares you from errors that only appear once you've poured the glaze—and by which time it's difficult to repair. A minute of testing saves a ruined finish.
Glaze on a Cooled Cake Only
No shortcuts here. Your cake must be fully cooled before adding glaze. Even a slightly warm surface causes the glaze to melt, sink, or turn patchy. Let your cake rest for at least 30–45 minutes after baking. If the surface feels cool to touch, you’re good to go. Position the cake on a wire rack with parchment below prior to pouring, allowing excess glaze to drip off tidily. This gives a tidy edge and an even coat that remains rather than seeping into the sponge.
Add Zest—But Mix It at the End
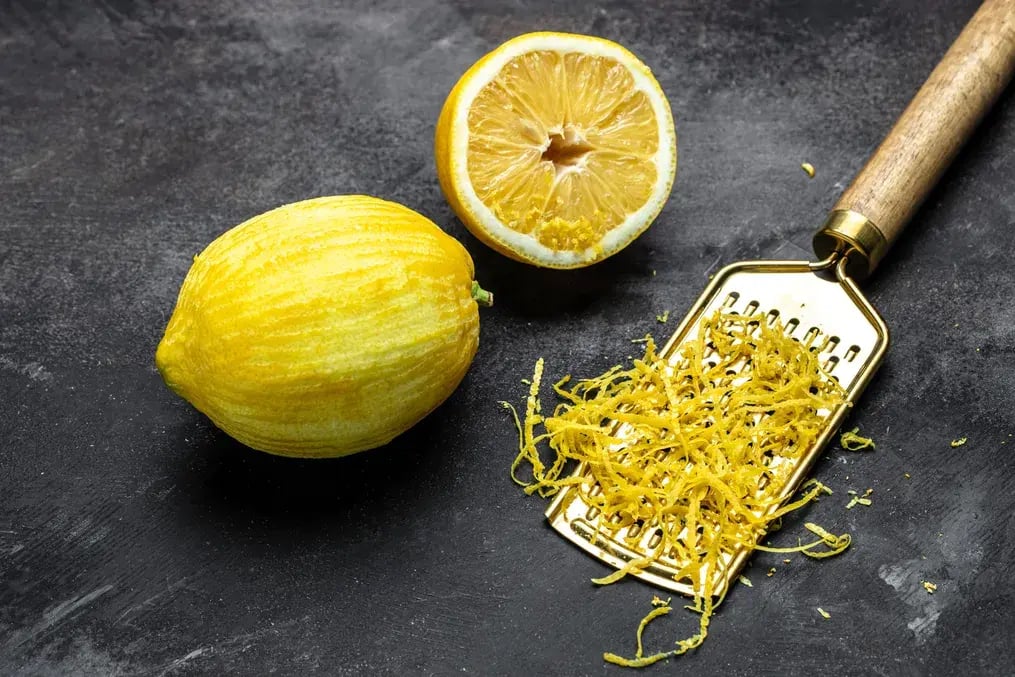
Lemon zest gives an additional kick, but with it added too soon, the glaze can become bitter or discolored. Always zest fresh lemon, and mix it in after you’ve reached the right glaze consistency. Just a pinch or two gives that bright citrus lift without overpowering. Use a microplane or fine grater so the zest blends in and doesn’t sit on top like chunks. It also adds subtle specks of yellow that look sharp without taking away from the smooth surface.
Like This Article?
More Like This


Popular Articles


Trending Web Stories


Curated Recipes


