


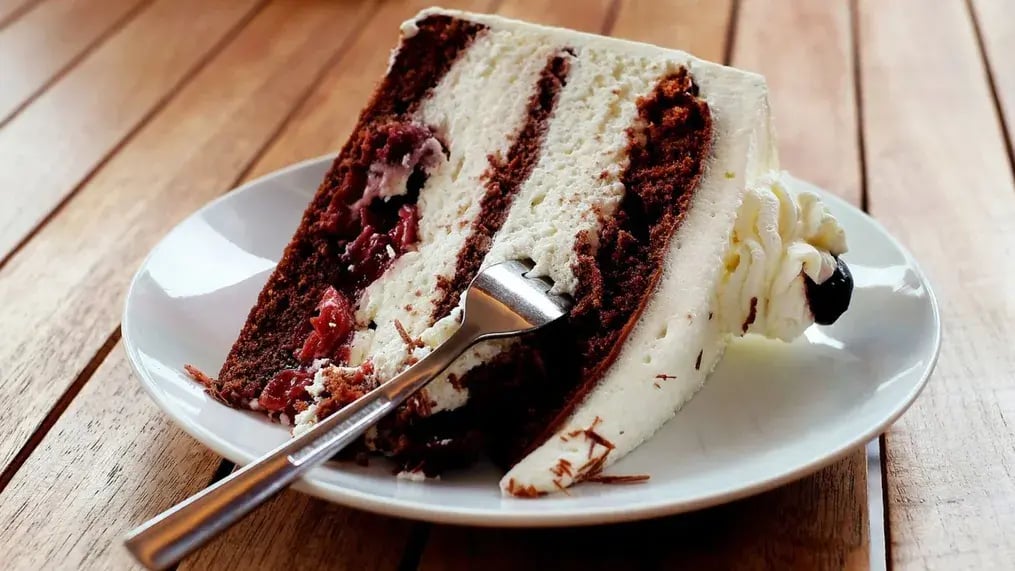
When making a chocolate icebox cake, follow these layering tips so that the treat holds shape and stays right throughout.
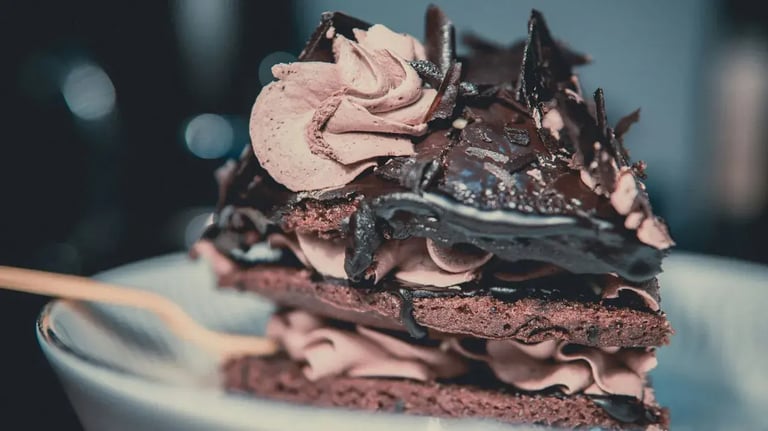
If you’ve ever made or eaten a chocolate icebox cake, you know its charm lies in the luscious, creamy layers that magically transform into something sliceable and cake-like after a chill in the fridge. But here’s the thing -- getting your icebox cake to hold its shape when you cut into it isn’t just luck. It’s all about smart layering. With the right strategy, even the simplest no-bake cake can look clean, neat, and picture perfect when served. So, whether you’re making a classic chocolate version or experimenting with fruit and other flavors, here’s how to layer like a pro.
The base layer
Your bottom layer sets the stage for the whole structure. Always begin with a thin layer of whipped cream or filling at the base of your dish. This does two things: it helps keep the first cookie layer from sliding around, and it provides a bit of moisture from the get go. For loaf pans, this base also ensures cleaner slices because the bottom isn’t dry or crumbly.
Choice of Cookies
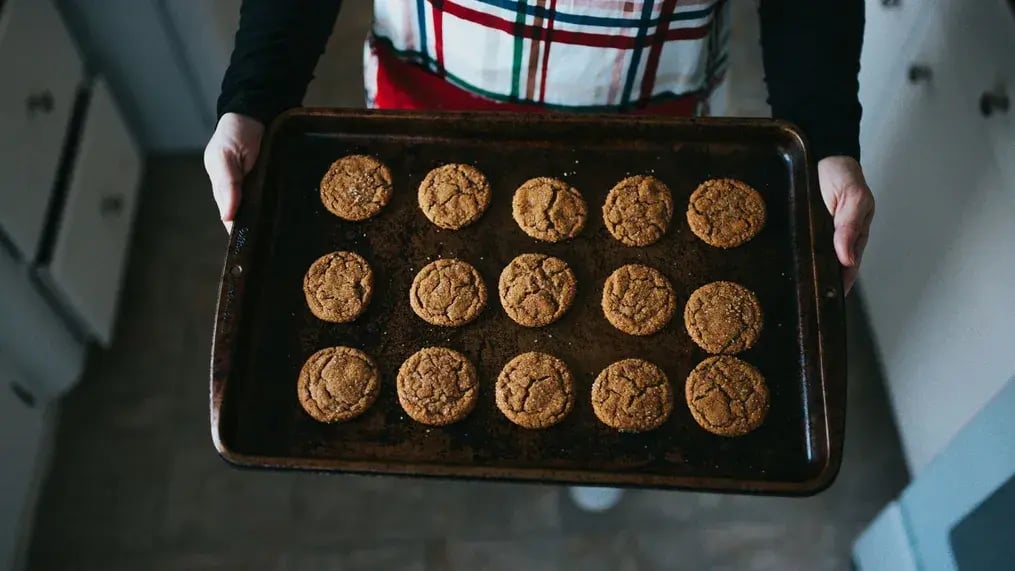
The type of cookie you use matters. Thin, crisp, uniformly shaped cookies like chocolate graham crackers, digestive biscuits, or Biscoff are ideal. Irregularly shaped or thick cookies might not soften evenly, which can cause uneven layering and messy slices. For the cake, chocolate wafer cookies or graham crackers work beautifully. Break the cookies to fill corners or gaps, but avoid overlapping them, as that creates bulges that throw off your cake’s structure.
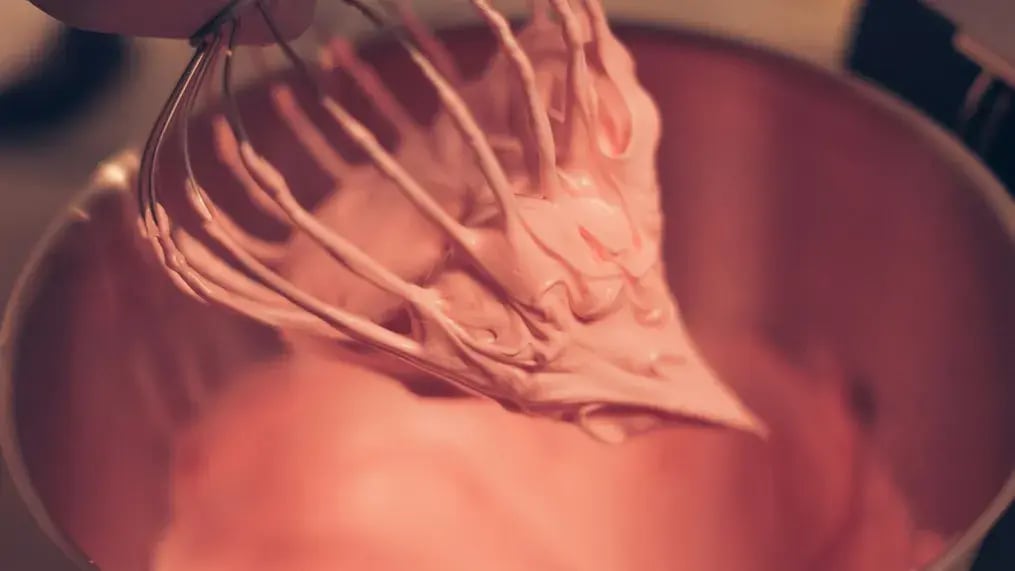
Whipping
The whipped cream or filling you use should be thick enough to hold its shape but not over-whipped. Aim for stiff peaks, where the cream holds its form when you lift the beater. If it’s too soft, your layers will slide and collapse when sliced. If it’s too stiff, like butter, it won’t spread easily or hydrate the cookies. Also, remember to chill your bowl and beaters before whipping the cream to get a better texture.
Spreading the Whipping Cream
Once you place your cookie layer, use an offset spatula or the back of a spoon to spread your whipped cream evenly over it. Aim for about ½ to ¾ cup of cream per layer, depending on your dish size. Spread it all the way to the edges. Uneven layering creates slanted or wobbly cakes. Too much cream between layers can cause the cake to shift or collapse, so be measured and consistent.
Cookies and cream
Your layering should follow a consistent pattern of cream, cookies, cream, cookies, until you finish with a final layer of cream on top. This symmetry helps the structure stay intact. Press each cookie layer down gently with your fingers or a spatula to eliminate air pockets. Don’t mash too hard, just enough to compact the cake slightly and promote even absorption of the cream.
Right Baking Dish
The dish you use impacts how the cake sets. A loaf pan, a rectangular glass dish, or a square baking tin with straight sides works best for shaping a traditional looking icebox cake. The straight sides help keep layers aligned and give you cleaner edges. You can line the dish with parchment or plastic wrap if you want to lift the cake out and slice it on a cutting board, but it's optional.
Resting Time
An icebox cake is a waiting game. You must chill it for at least 6 hours, but overnight is even better. The longer it rests, the more the cookies soften and meld with the cream, turning into those perfect, cake-like layers. This resting time also helps the whole dessert firm up so it slices cleanly instead of collapsing into mush.
Freezing

If you want super clean cuts, pop the cake into the freezer for 2 hours before slicing. It’ll be firm enough to cut without dragging the layers but not frozen solid. Dip your knife into hot water and wipe it dry between each cut for that baker's style look. Just be sure to return any uneaten slices to the fridge or wrap and freeze for later.
Final Garnish
Only add toppings like cocoa powder, shaved chocolate, fruit, or crushed cookies after the cake has chilled. If you add them too early, they can sink into the cream or get soggy. Garnishing at the end also makes the cake look fresh and finished. If you're using powdered sugar or delicate garnishes, do it right before serving.
Like This Article?
More Like This


Popular Articles


Trending Web Stories


Curated Recipes


