


Want to make something rich for Friendship Day? Bake these gooey brownies with this easy chocolate brownie recipe—read more.

Do you recall the times when you and your group of friends had a favorite food joint for meeting? Or sometimes the midnight stroll, a warm chat over chai, or getting something sweet after an exhausting day? Well, we all have our fondest memories associated with food. Food has a subtle way of bringing people together. At times, it isn't just about the food you have, but the warmth it brings. This Friendship Day, we thought of sharing an idea for you to meet your group of friends and make something as scrumptious as a brownie. Instead of choosing something from the shelf, make this warm, chocolatey, and rich dessert treat straight out of your kitchen.
A brownie made at home is more than a dessert. Especially when a shared effort goes into it. It's a slice of labor made with chocolate. You don't require fancy equipment or exotic ingredients, only a little stirring, a little patience, and a lot of love. And if you've ever believed baking brownies is complicated, this chocolate brownie recipe may just change your mind. It's a hassle-free mix-and-bake process perfect for even the most basic kitchens. Plus, you can divide the tasks and get them ready in just a few minutes. Voila!
These brownies are gooey in the middle, a little crispy on the top, and have that deep rich flavor that's complete with each bite. No mixers, no worries, just seven easy steps between you and this chocolate-rich dessert.
Chocolate Brownie Recipe
Servings: 8-10 | Prep Time: 15 mins | Bake Time: 25 mins
Ingredients:
- Dark chocolate – 200 g (chopped or broken into small pieces)
- Unsalted butter – 100 g
- Powdered sugar – 1 cup
- All-purpose flour (maida) – ¾ cup
- Eggs – 2 large
- Cocoa powder – ¼ cup
- Vanilla essence – 1 tsp
- Salt – a pinch
- Walnuts or chopped almonds – ½ cup
Step 1: Melt and Mix the Base
Begin by melting the dark chocolate and the butter. Do this in a thick-bottomed saucepan over low heat or microwave in short intervals. Stir until it's even and shiny. Remove from the heat and leave to cool for a minute or two. This melted combination is the base of your brownie; it gives it that deep, rich flavor without making it dense. Don't overlook this cooling stage; it prevents eggs from scrambling when added.
Step 2: Stir in the Sugar
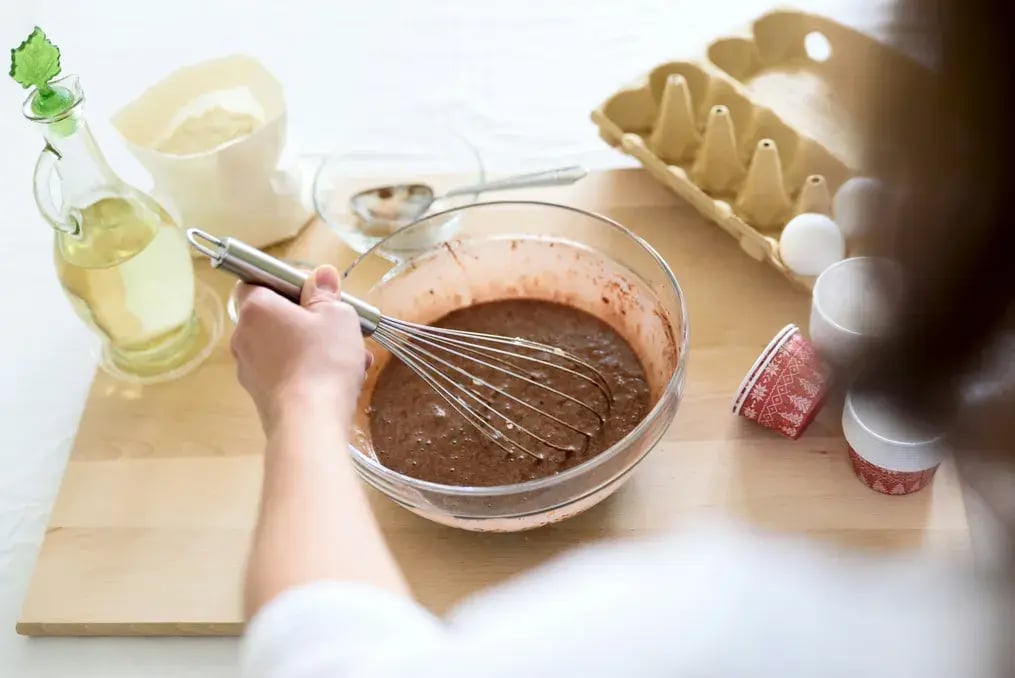
When your melted chocolate-butter combination cools slightly, add the powdered sugar to it. Whisk or use a spatula to stir until well combined. The sugar provides structure and provides that subtle crunch on top when baked. The combination will begin thickening at this point. Don't worry, it's supposed to be this way. Use firm yet gentle strokes and mix it all in a lump-free combination.
Step 3: Beat the Eggs
Now crack in two eggs, one by one. Stir well after each addition. This is the moment the batter will loosen and get glossier. The eggs give the brownie its soft, moist bite and keep it rich without being too heavy. Add the vanilla essence too; it adds a light, sweet scent that complements the chocolate beautifully. Stir till everything looks even and smooth. You’ll notice the batter becoming fuller and silkier.
Step 4: Sieve the Dry Ingredients
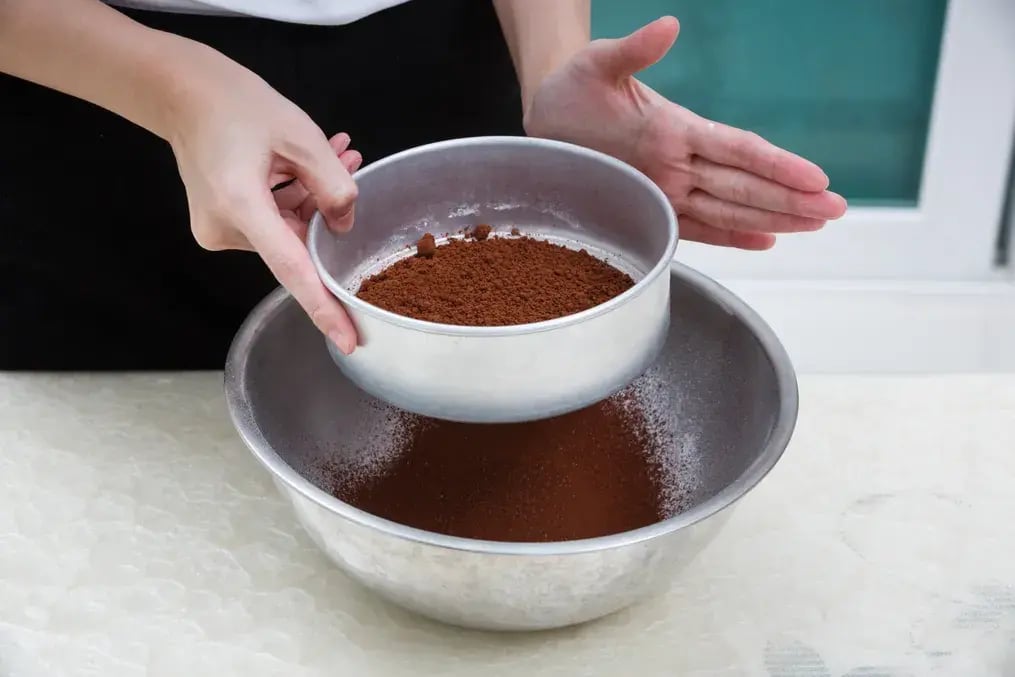
Set a sieve over the bowl and sift in flour, cocoa powder, and salt. Sift it all gently in. This prevents lumps and ensures that everything mixes evenly. Fold the dry ingredients into the wet mixture slowly with a spatula. Don't get carried away and start to overmix. Just mix till you can't see any dry flour remaining. This process provides the brownie with a solid texture while still maintaining its moisture and density.
Step 5: Add Crunch if You Prefer
If you prefer to have a bite in each slice, it's time to add some chopped almonds or walnuts. Coarsely chopped nuts provide an interesting contrast to the decadent chocolatey center. Fold them in lightly. Alternatively, experiment with the choco chips if you prefer an added chocolate kick. But even without mix-ins, this brownie is great on its own, plain, gooey and comforting.
Step 6: Pour and Spread the Batter
Grease an 8-inch square tin or line with parchment paper. Fill it with the thick brownie batter. Use a spoon or spatula to smooth out the surface. The batter should be thick and not run like a cake batter; that's what gives it that dense, chewy bite after baking. Spread it lightly and ensure it covers all four sides of the tin in an even layer. Tap the tray gently to remove any air bubbles.
Step 7: Bake and Rest
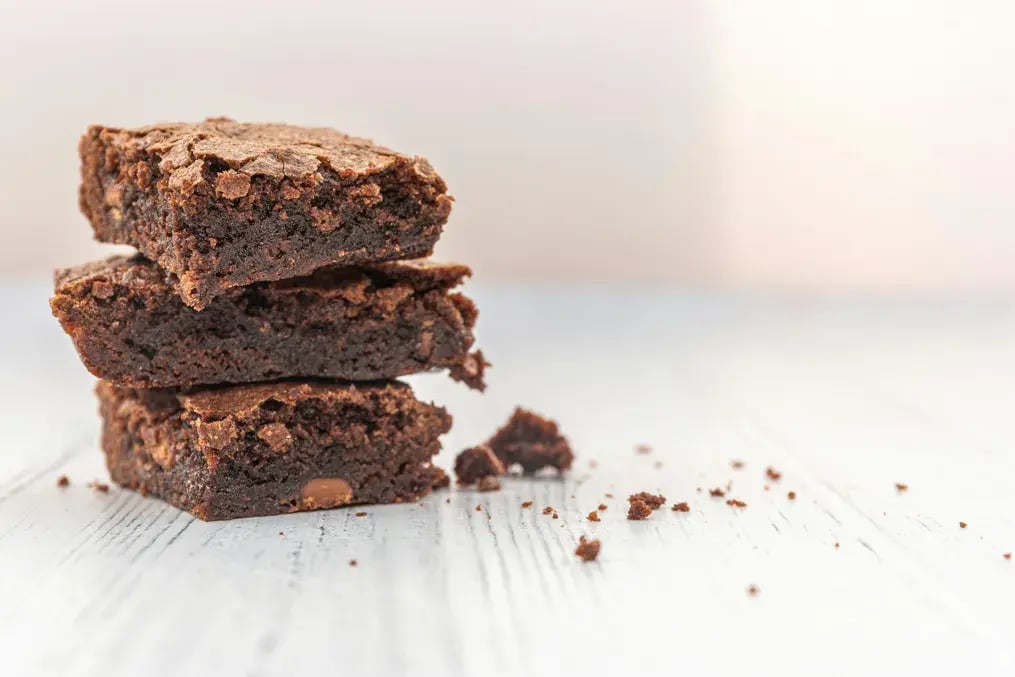
Place the tin in the preheated oven at 180°C and bake for approximately 25 minutes. Don't open the oven too soon. After 25 minutes, test by inserting a toothpick into the centre. It should come out clean with a few damp crumbs, not very dry. That's your indication it's done. Allow it to sit for 15–20 minutes in the tin before cutting. The resting time allows the brownie to set nicely and provides neater cuts when you cut it
Like This Article?
More Like This


Popular Articles


Trending Web Stories


Curated Recipes


