


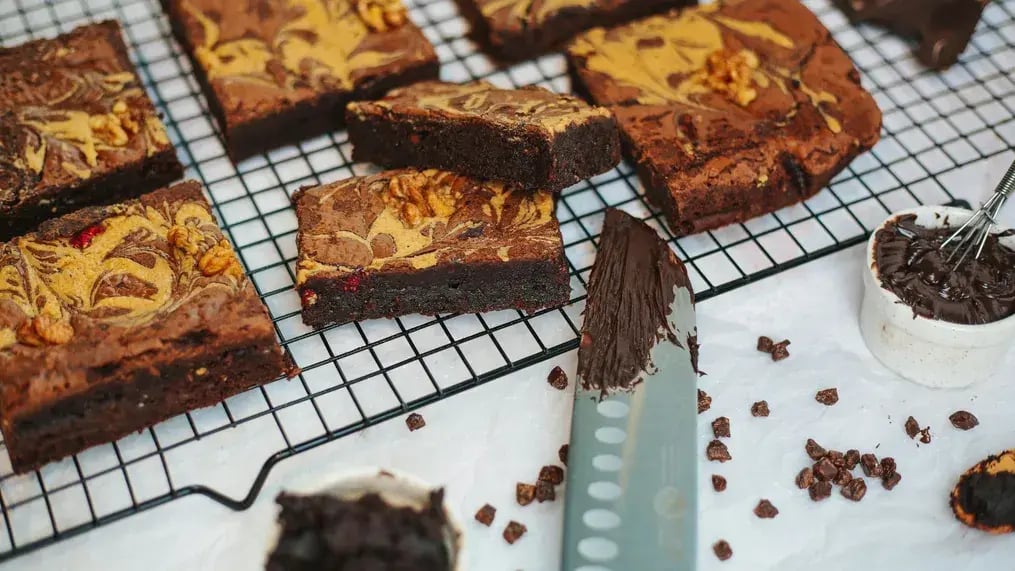
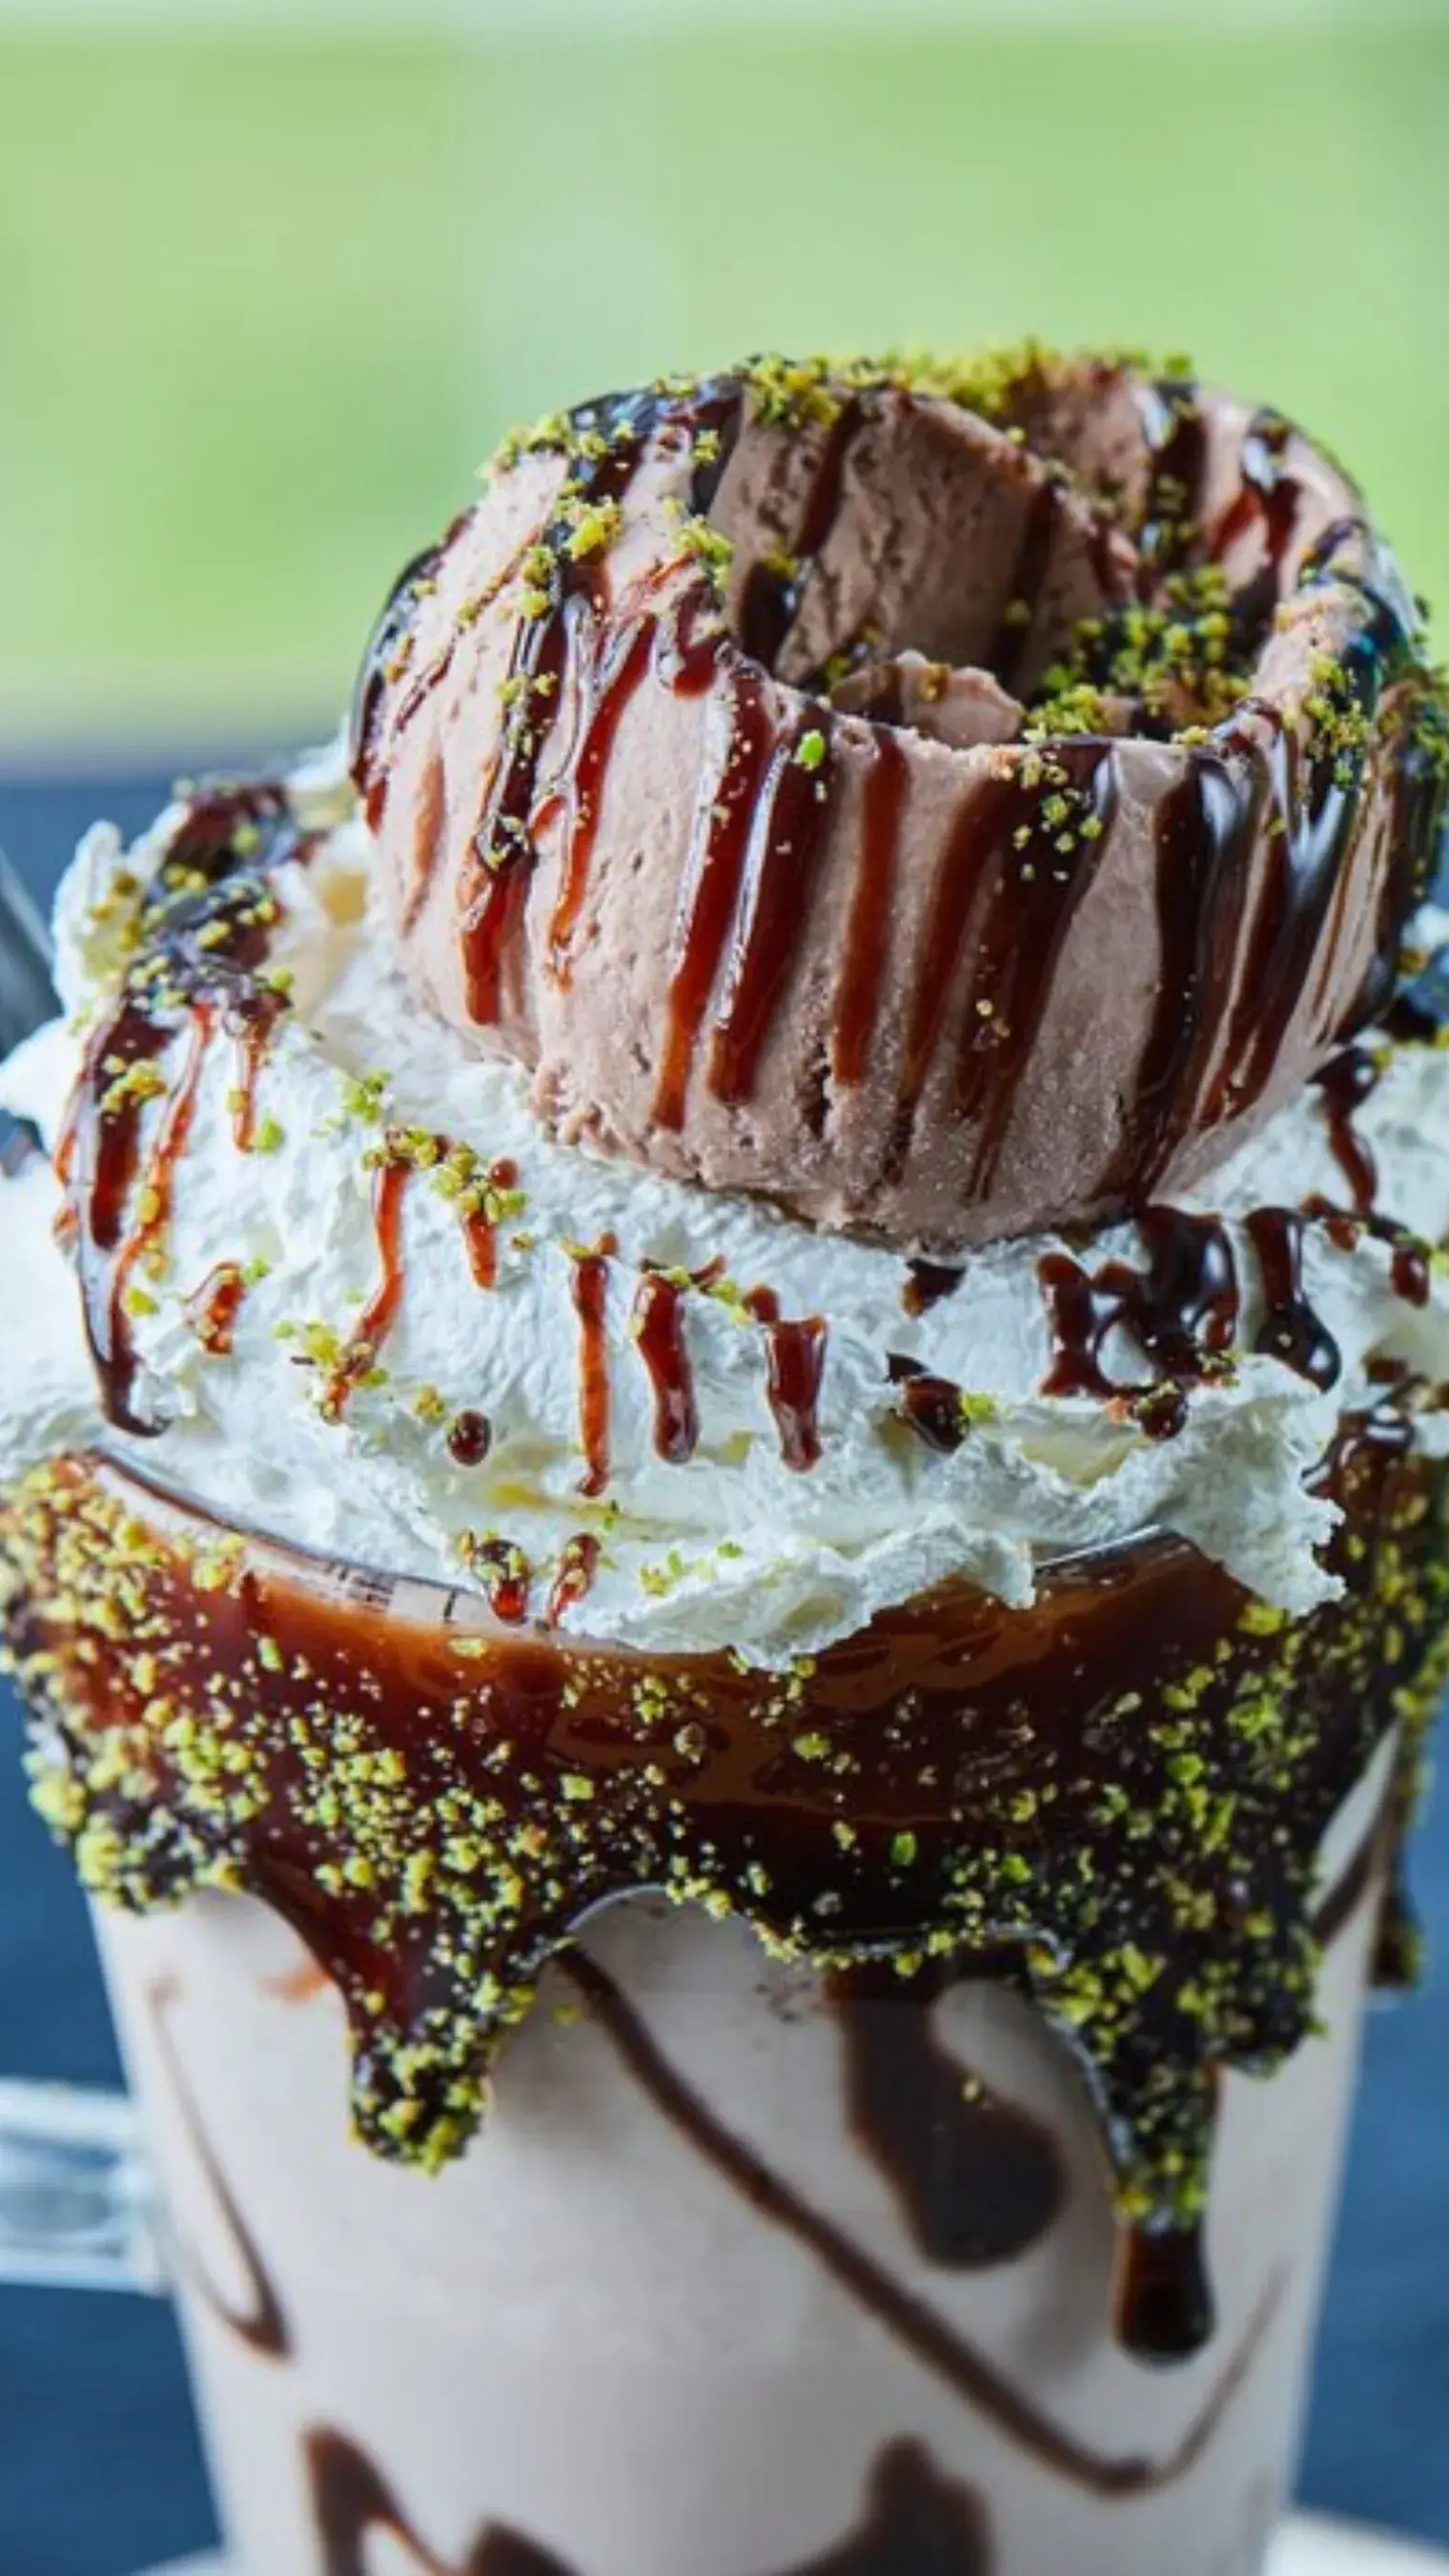
If you’re baking a Bournville gluten-free brownie delight or any other similar recipe, be mindful about avoiding these 5 common mistakes
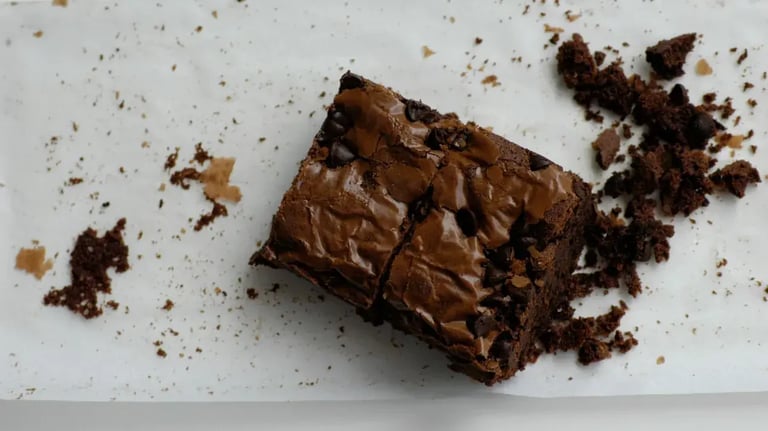
Gluten free baking can feel like navigating a minefield, especially when it comes to achieving the dense, fudgy texture and rich chocolate flavor of a perfect brownie. Without the elasticity of gluten to hold things together, you may end up with dry, crumbly, or oddly gooey results if you're not careful. But with the right techniques, and by avoiding a few common mistakes, gluten free brownies can easily rival their traditional counterparts in taste, texture, and appearance.
You could be baking a Bournville gluten-free brownie delight, a red velvet brownie or any other dessert. But whether you're baking for dietary needs, experimenting with new ingredients, or simply exploring healthier dessert options, here are five common mistakes to avoid when making gluten-free brownies, and tips on how to get them right every time.
The flour
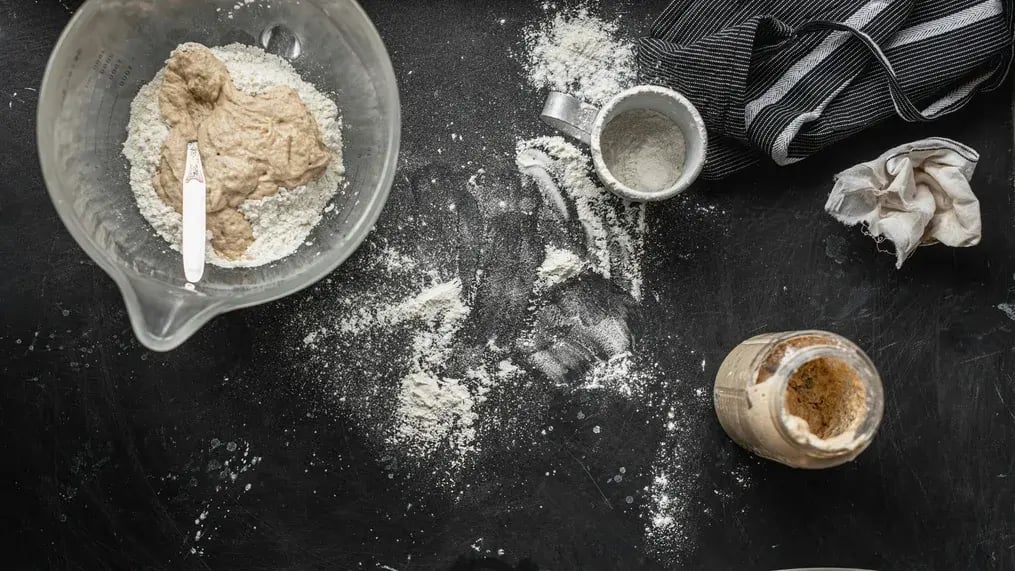
Many beginner bakers assume they can simply substitute gluten free flour in a regular brownie recipe and get the same result. While gluten free all purpose blends are designed to mimic wheat flour, they don’t always behave the same in baking, especially in recipes that rely heavily on texture, like brownies. Gluten contributes structure and chew. Without it, you may need to adjust liquid ratios or add binding agents to help the batter hold together.
So either use a recipe developed specifically for gluten free baking or modify your existing one by reducing liquid by 1–2 tablespoons if the batter seems too runny and letting the batter rest for 20 minutes before baking, so the flours hydrate.
The baking
Gluten free baked goods often behave differently in the oven. Brownies might appear gooey and underdone in the center even when they're ready, or conversely, dry out too quickly around the edges. If you’re going by visual cues alone, it’s easy to miss the sweet spot. Also, brownies continue to cook slightly as they cool. Overbaking leads to dry, cakey texture, which is especially problematic in gluten free versions that lack gluten's moisture trapping abilities.
So start checking your brownies about 5 minutes before the recipe’s stated baking time. Insert a toothpick into the center -- it should come out with a few moist crumbs, not wet batter. And let them cool fully before slicing to allow the crumb to set.
The measurements
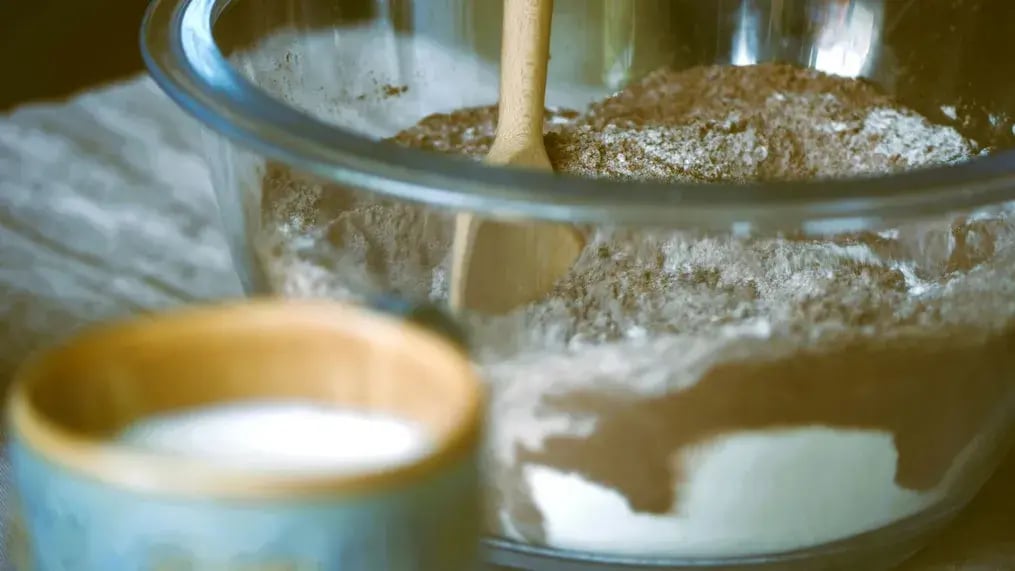
When working with gluten free flours like almond, coconut, or oat flour, precise measurements are essential. These flours absorb moisture differently than wheat flour and each other. Using too much can lead to gritty, dry brownies, while too little can make the batter unstable. Coconut flour, for instance, is highly absorbent, and using even a few extra grams can dry out your brownies. Almond flour, on the other hand, adds moisture but lacks structure.
So always measure by weight using a digital kitchen scale, especially when using specialty flours. Avoid scooping directly from the bag, which compresses the flour. Instead, spoon it into the measuring cup and level it off if you’re measuring by volume. Also, stick to tried and tested gluten free flour blends when possible, especially if you're new to gluten free baking.
The sugar
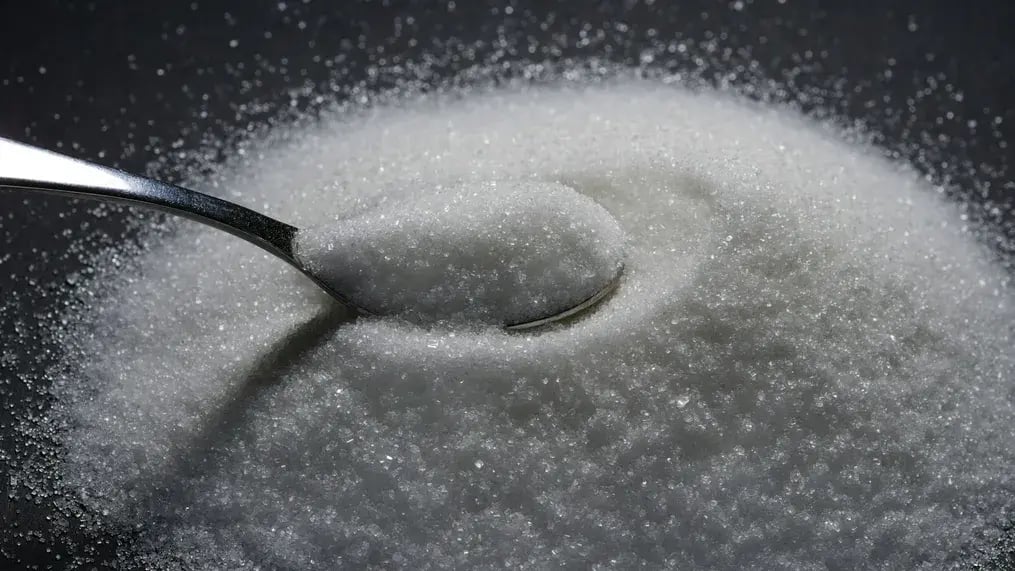
Brownies are a rich dessert for a reason. Fat and sugar don’t just add flavor, they play a crucial role in texture and moisture retention. In gluten free baking, they become even more important because they help compensate for the lack of gluten structure. Reducing butter, oil, or sugar in an attempt to healthify your brownies can make them dry, crumbly, or lacking that classic brownie mouthfeel.
So remember to use a combination of fats for richness, like butter and coconut oil, or ghee and avocado oil. Consider brown sugar or coconut sugar for added moisture. And add a bit of melted chocolate along with cocoa powder to deepen flavor and improve consistency.
The resting
Unlike traditional brownies, gluten free versions benefit greatly from rest, both before and after baking. Gluten free flours need time to absorb liquid and bind, and cooling allows the structure to firm up so your brownies don’t fall apart. Cutting brownies too soon while they’re still hot can result in a gooey mess. Likewise, not resting the batter before baking can lead to uneven texture and grit from improperly hydrated flour.
So let the batter sit for 30 minutes before baking, which is especially important if you’re using rice flour or oat flour. And allow the brownies to cool in the pan for at least 20 minutes before transferring to a wire rack. Cool completely before slicing with a warm, clean knife for clean edges.
Like This Article?
More Like This


Popular Articles


Trending Web Stories
Curated Recipes


