


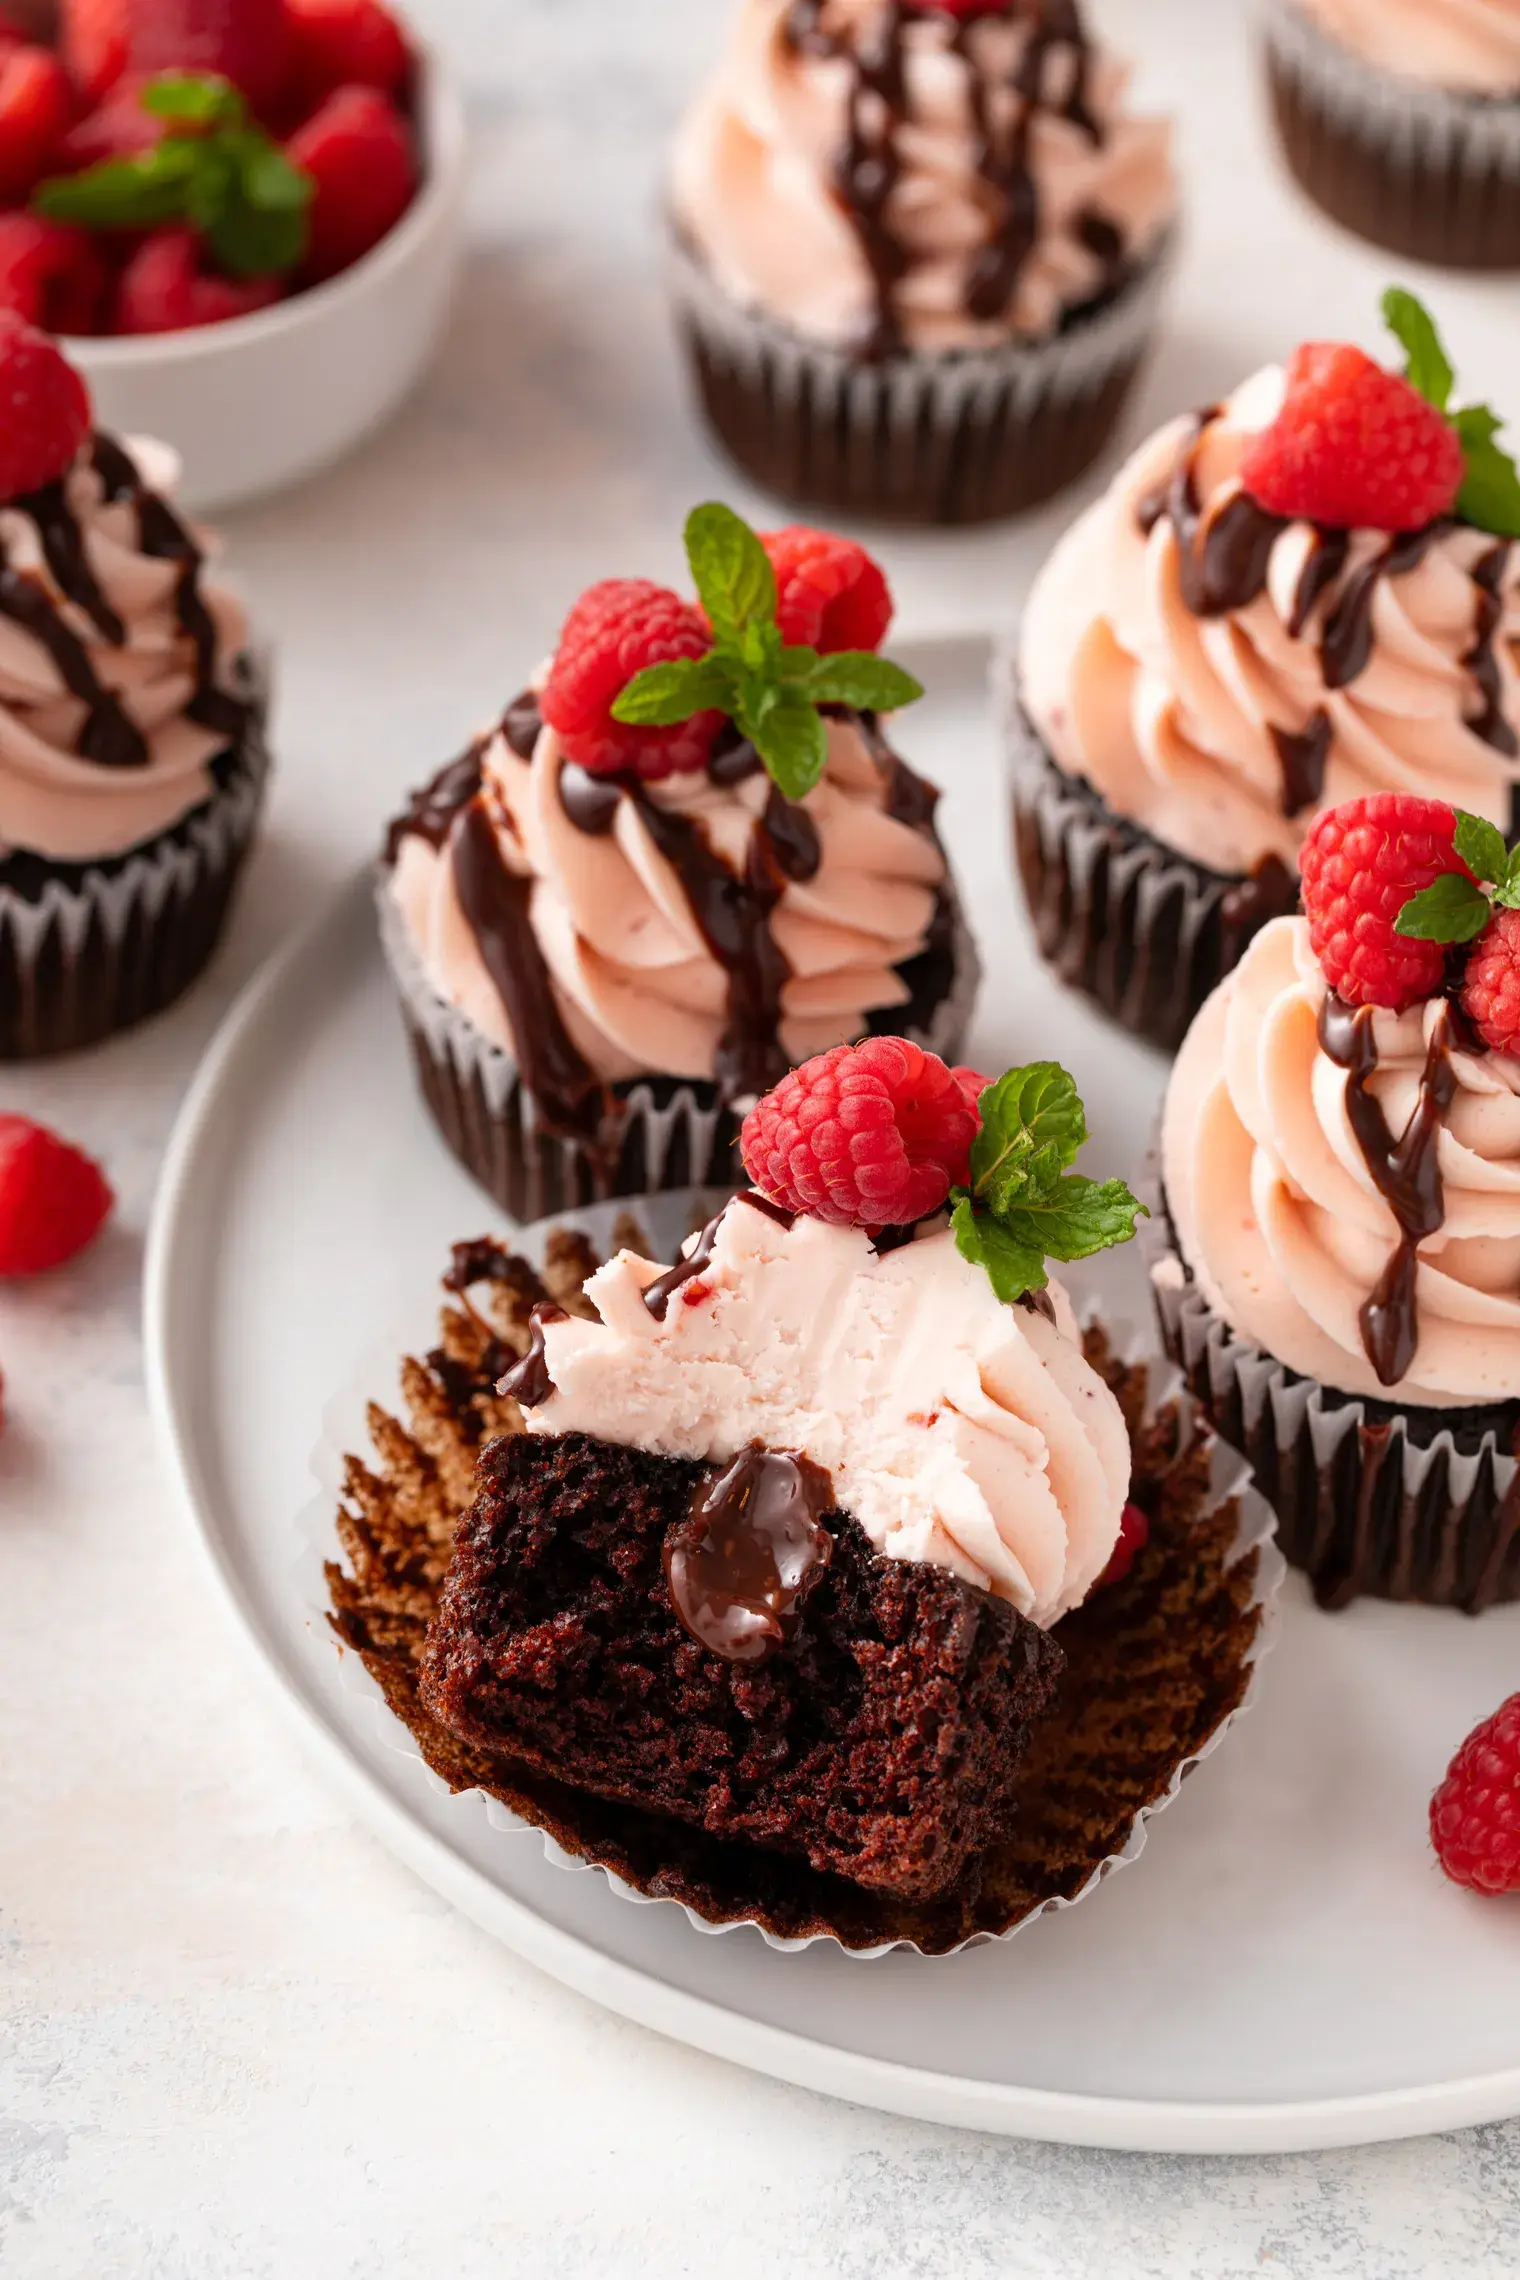
The perfect chocolate whipped cream cake recipe needs an amazing tips and tricks section, so here is a guide to the perfect whipped cream for cake

Whipped cream is amazing until it betrays you. You pile it between your cake layers, maybe get a little cocky, and then: disaster. It slides out the sides, melts into mush, or disappears entirely. If you want your cake to survive longer than ten minutes at room temperature, here’s how to make whipped cream that won’t give up on you. It’s easier than you think, but you do have to do a few things right. Let’s break it down.
1. Start Cold, Like Really Cold
Whipped cream is all about fat, and fat behaves differently depending on temperature. If your cream is too warm, it won’t whip properly. It’ll go from thin to weirdly clumpy, and it’ll never get the structure you need. So, before you do anything, put your mixing bowl and beaters (or whisk attachment) in the freezer for about 10 minutes. This makes a huge difference. Use only heavy cream, at least 36% fat. If the cream doesn’t say "heavy" on the carton, skip it. Cold, high-fat cream whips fast and holds better. That’s the kind of cream you want in a cake that needs to sit around for a few hours without collapsing.
2. Stabilize It Don’t Skip This
This is the part most people skip, and it’s why so many cakes end up sad and soggy. Plain whipped cream is fine for topping a bowl of fruit, but for a cake, it needs some reinforcement. Stabilizing the cream gives it structure so it can hold up under cake layers and in the fridge for a day or more. Here are three solid ways to do it, pick the one that works for you.
- Gelatin: Gelatin is the go-to if you need whipped cream that stays perfect for hours. Sprinkle 1 teaspoon of unflavored gelatin over 2 tablespoons of cold water in a small bowl. Let it sit for 5 minutes so it can bloom, then microwave the gelatin for 5-10 seconds, until it turns into a clear liquid and cool. Then, while whipping the cream, slowly pour in the cooled gelatin when the cream is starting to thicken.
- Cornstarch: If you’re not into melting things, cornstarch is your lazy-day hero. Just add 1 tablespoon of powdered sugar plus 1 teaspoon of cornstarch per cup of cream before whipping. This mixture gives decent stability, not as solid as gelatin, but good enough for cakes that’ll be eaten the same day. It also adds a bit of sweetness, so you’re knocking out two tasks in one.
- Cream Cheese: For thicker whipped cream with a slight tang (and better strength), beat in 2 tablespoons of room-temperature cream cheese per cup of cream. It gives the cream more heft and a smooth consistency. It also helps keep it from weeping or breaking down. If you like a little flavor in your whipped cream, this one’s a win. Just make sure the cream cheese is soft so it blends easily.
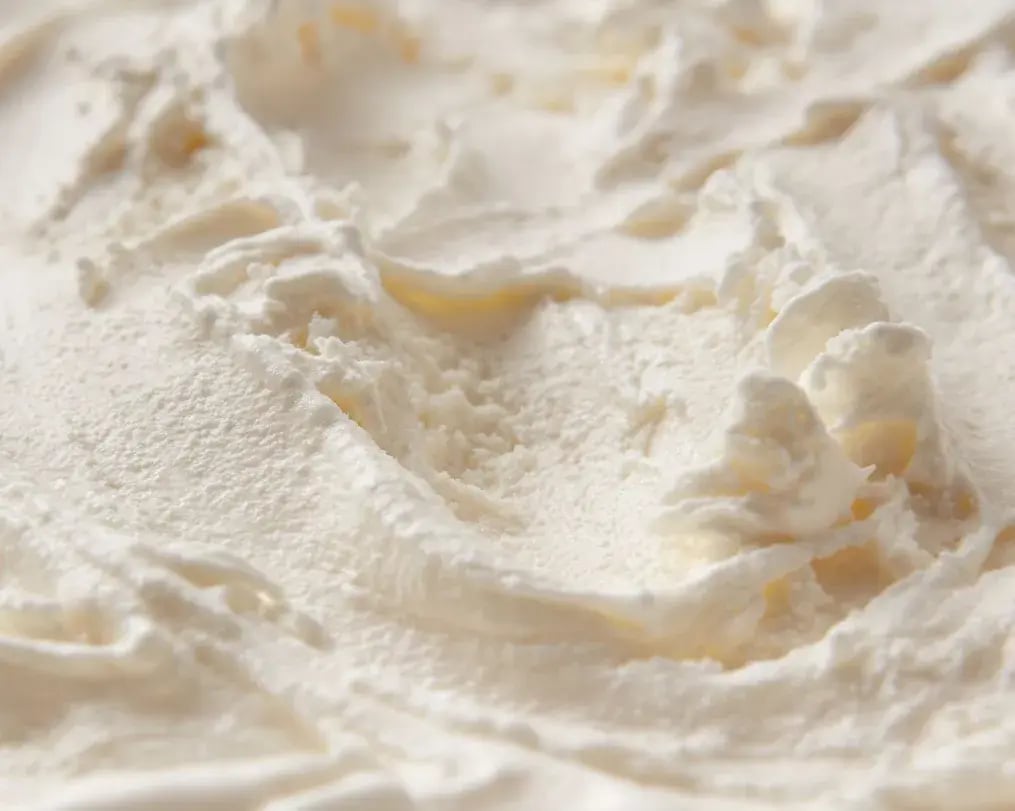
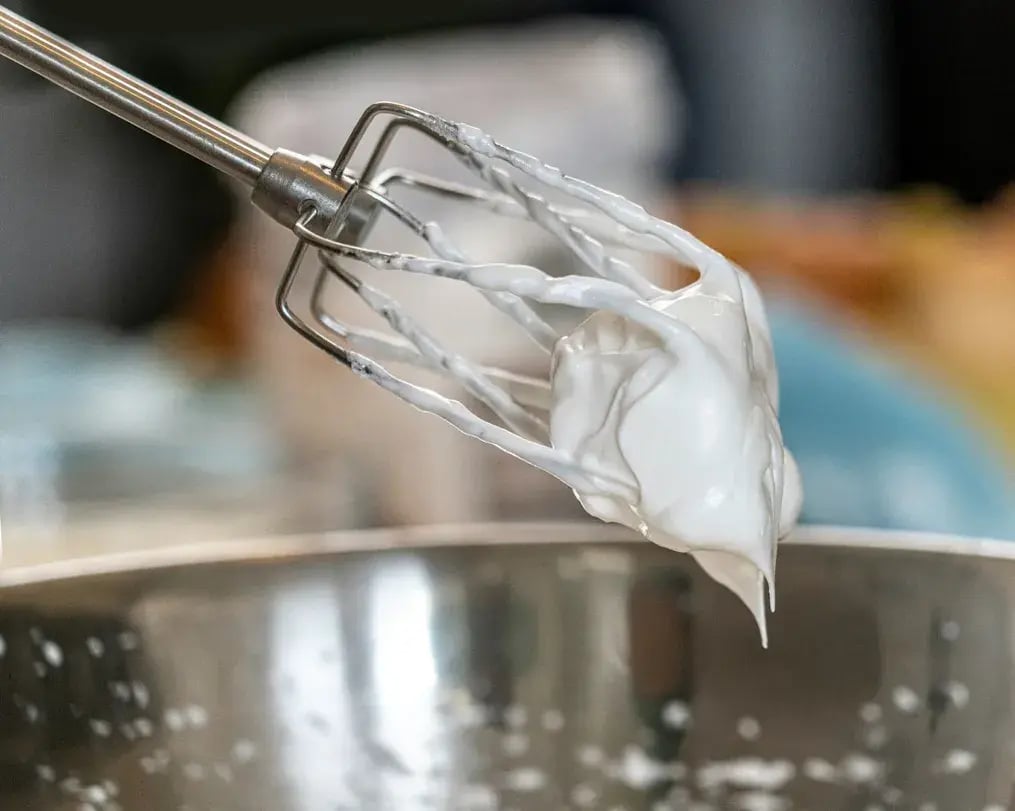
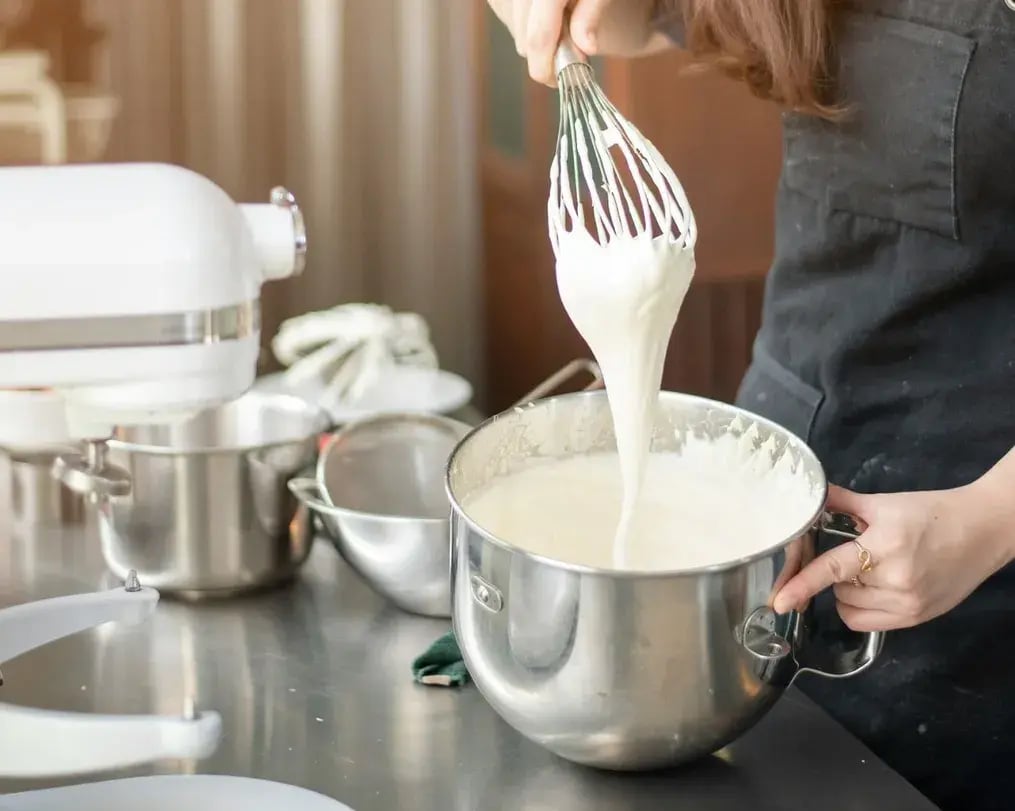
3. Don’t Over Whip Like a Maniac

This one ruins more whipped cream than anything else. When you see peaks forming, you might get excited and keep going, and before you know it, the cream turns grainy, clumpy, and dry-looking. That’s over whipped cream, and once it crosses that line, it’s hard to bring back. Whip the cream on medium speed. You’re looking for medium to firm peaks, when you lift the whisk, the cream should hold a peak that stands but the tip still curls over slightly. If you want to be safe, stop a bit early and finish whipping by hand.
4. Layer Smart
Even perfect whipped cream will fail if you don’t use it right. The most common mistake people make when layering a cake is using too much filling and expecting it to stay put. Whipped cream is light, that’s the point, so you need to work with it, not against it. Use a spoon or offset spatula to spread a thin, even layer of whipped cream on your cake. Don’t try to make it too thick all at once. If you're stacking more than two layers, it helps to chill the cake in between for 10-15 minutes before adding the next one. It firms up the cream and keeps everything in place. Also, consider piping a ring of whipped cream around the edge of each layer before filling the center, it works like a barrier and keeps the cream from squishing out the sides when you press the next layer on.
5. Refrigerate the Whole Thing
Once your cake is fully assembled, refrigerate it. This isn’t optional. The cold will help the cream set up even more and keep the whole cake solid. Ideally, give it at least an hour before serving. If you’re planning to store it longer, wrap the cake lightly with plastic wrap to keep it from drying out or picking up weird fridge smells.
Like This Article?
More Like This


Popular Articles


Trending Web Stories


Curated Recipes


