


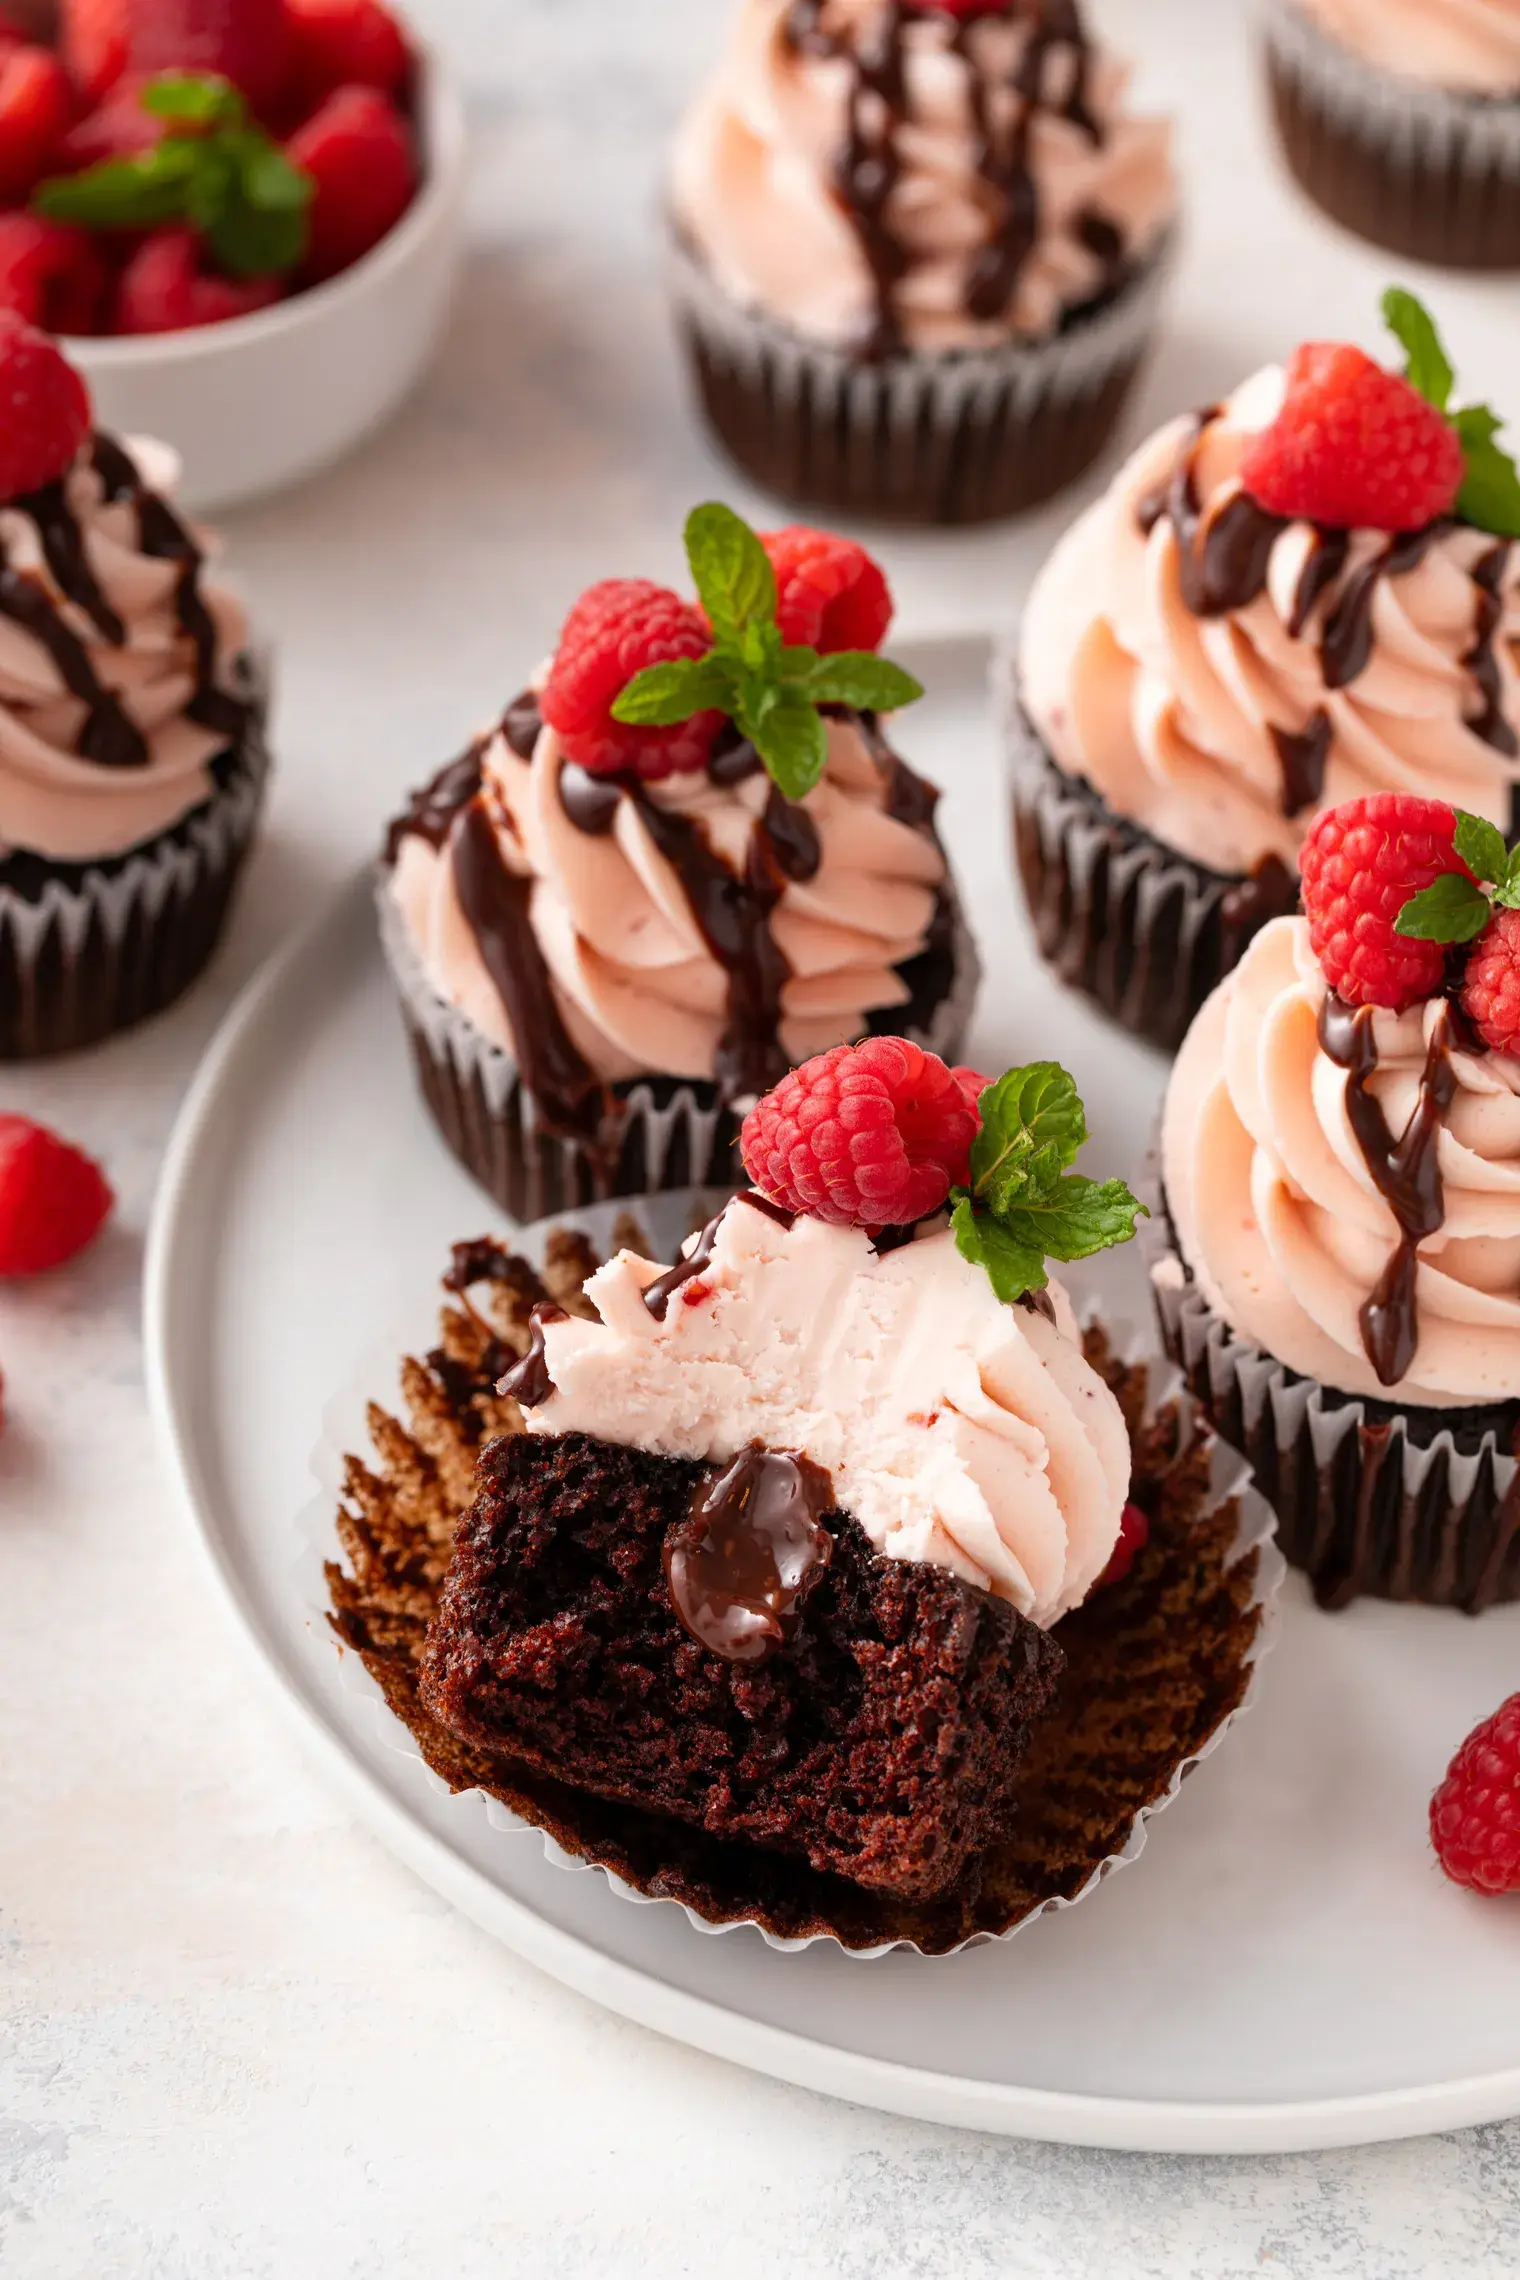
Whether it’s a no-bake strawberry chocolate cake or any other no-bake cake you’re making, follow these tricks to set them without gelatin.
No-bake cakes are a gift to home bakers looking for elegance without the oven. But there’s one persistent issue that plagues many no-bake desserts: how do you get a perfect set without turning your cake into a wobbly, sticky gelatin mess? This is especially tricky when you're working with delicate textures, like in a no-bake strawberry chocolate cake. Essentially, you want a silky, mousse like consistency that holds, not something rubbery or runny. Luckily, setting a no-bake cake doesn't have to mean surrendering to gelatin disasters. So here are some tried and tested tricks to help you master the set.
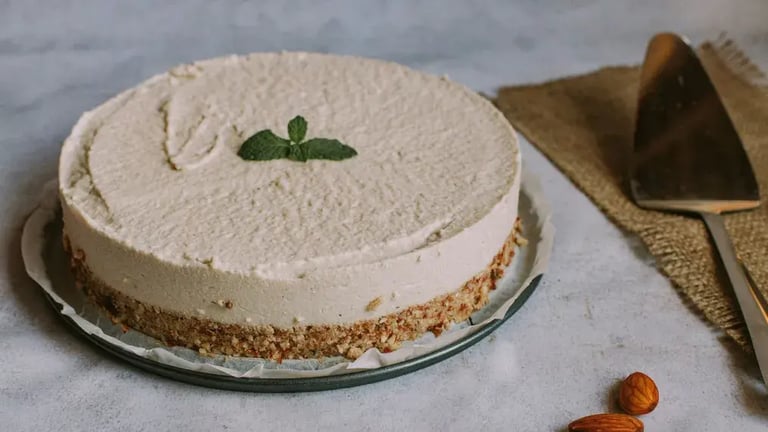
The base
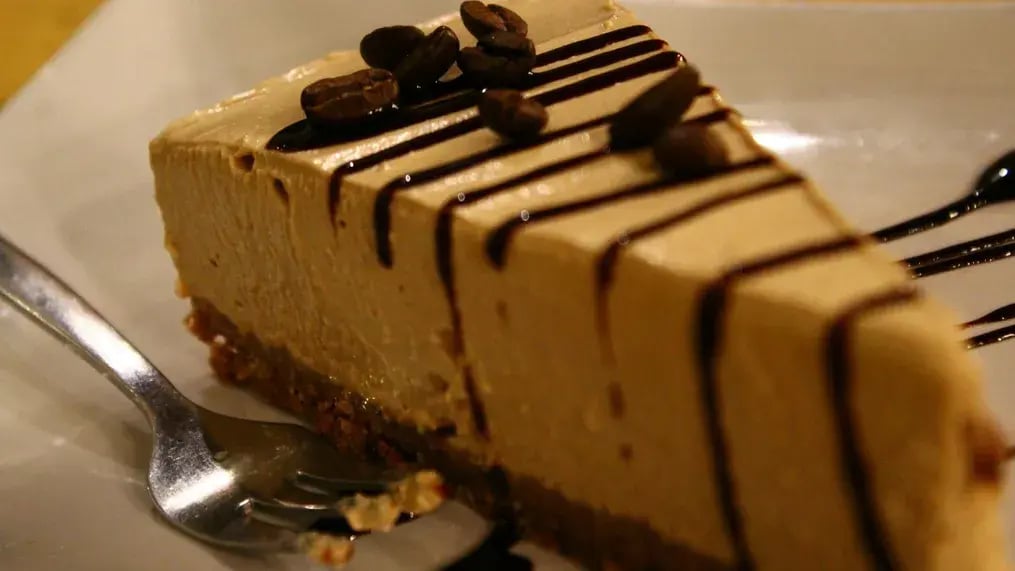
The structure of your no-bake cake begins with your base. Biscuit or graham cracker bases are classic choices, but the trick lies in how you bind them. Use just enough melted butter to make the crumbs stick together when pressed. Too much butter, and the base turns greasy. Too little, and it crumbles. Once it’s packed into the tin, chill it for at least 30 minutes to firm up. This gives your cake a strong, dependable foundation before you even think about the filling.
The gelatin alternatives
Gelatin has its uses, but for many bakers, especially vegetarians or those looking for a cleaner texture, it’s not ideal. Fortunately, there are several setting agents that can help you avoid gelatin entirely:
- Agar-agar: This is a seaweed derived gelling agent that sets more firmly than gelatin and is plant based. Use it sparingly, about 1 tsp for every cup of liquid, and remember it needs to be boiled to activate.
- Cornstarch: This is best for thickened custards or fruit layers. It won’t give a firm set but will add body and creaminess.
- Cream cheese or mascarpone: These are naturally thick ingredients that can create a stable structure when whipped with heavy cream.
- White chocolate: When melted and folded into whipped cream or cream cheese, it helps your cake set with a subtle firmness and a luxurious texture.
The chilling
The most underrated trick in the no-bake baker’s toolkit is simple -- time. Chilling is essential, not just for setting the cake, but for letting the flavors develop and meld. Most no-bake cakes need at least 6 hours in the fridge, but ideally overnight. If you're in a rush and try to unmold or slice the cake too soon, the structure won’t hold. Be patient, and the fridge will do half the work for you. For even better results, place the cake in the coldest part of your fridge and avoid opening the door too often. You want a consistent, low temperature so the fats in the cake from the cream, butter, or chocolate firm up properly.
The ingredients
A common issue with runny no-bake cakes is an imbalance of moisture. Overloading your filling with liquids like fruit purees, syrups, or extracts can throw off the set. To avoid this, strain fruit purees before adding them to fillings. Use full fat dairy like heavy cream and full fat cream cheese, since low fat versions have more water content. Fold rather than mix aggressively when incorporating liquids into your whipped ingredients. If you're adding strawberries or other fresh fruit, dry them gently with paper towels and avoid placing them too close to the edge, where they might release moisture and cause the sides to weep.
The whipping

Whipping cream or egg whites correctly is essential to achieving the airy, stable texture that no-bake cakes are known for. Under whipped cream won’t hold, while over whipped cream turns grainy or buttery. Aim for soft to medium peak. When you lift your beater, the cream should hold its shape but still have a gentle curl at the tip. If your recipe involves folding whipped cream into a cream cheese base, make sure both mixtures are at the same temperature to avoid clumps or separation. Use a gentle hand and fold in batches to maintain volume.
The pan
Springform pans are the holy grail for no-bake cakes because they let you unmold the dessert cleanly without disturbing the shape. But even with the right pan, preparation matters. Line the base with parchment paper and lightly grease the sides. When it’s time to release the cake, run a warm knife around the inside edge first.
Like This Article?
More Like This


Popular Articles


Trending Web Stories
Curated Recipes


