


Turn your tea-time into a chocolate-rich ritual with Chocobakes Infused Caramelized Biscuits. Want to make it? Read this guide.

What do you grab when the midweek slump strikes—a biscuit that tastes like all the others or something that contains a bit more oomph? If your snack shelf is sounding repetitive, it's time to reimagine what a biscuit can be. Meet Chocobakes Infused Caramelized Biscuits—a smart combination of biscuit crunch and deep chocolate filling, topped off with just the right amount of caramelisation. The sort of treat that stimulates your senses without screaming for attention.
And it's not fussy. The right ingredients, some sharp techniques, and you've got a biscuit that combines homemade warmth with shop-bought polish. It's ideal for festival presents, evening snacks, or to put into lunchboxes as a sweet treat. Let's break the method down step-by-step and get you baking them confidently.
1. Choose the Right Chocobakes Variant to Achieve Balance
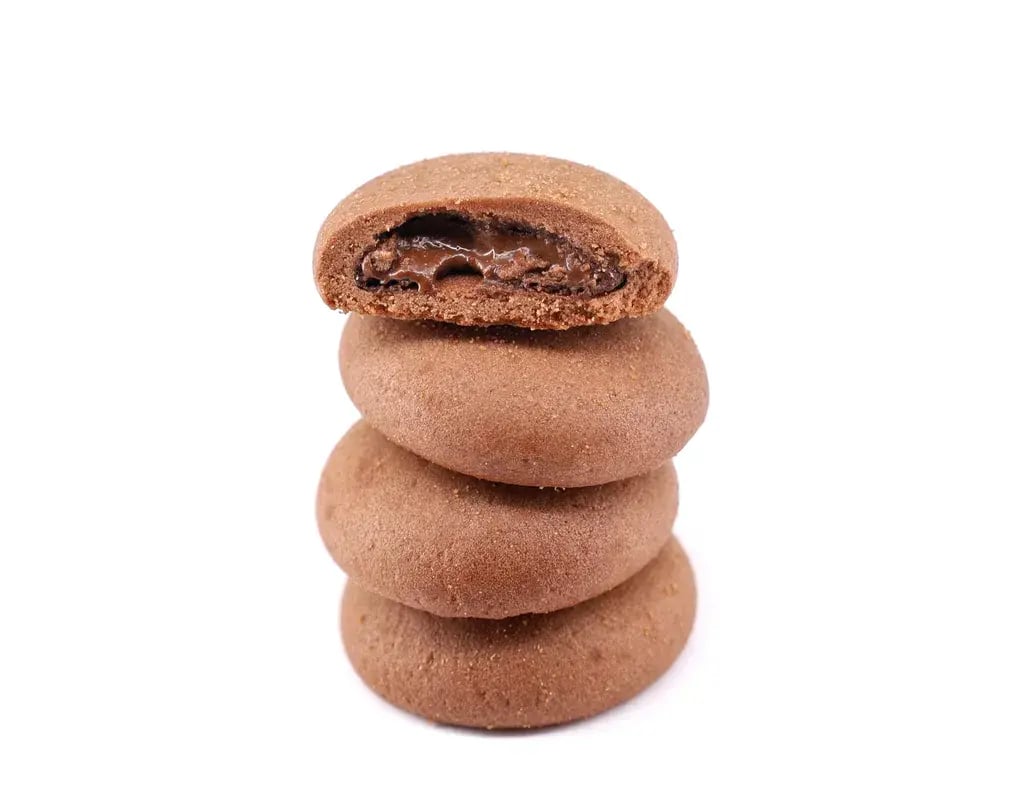
Start by selecting your base ingredient wisely. Chocobakes are available in two main forms: the soft-center cookie and the filled chocolate bar. For Choco bakes Infused Caramelized Biscuits, opt for the filled bar—it has a sturdier texture that will stand up better during the baking process without spilling dangerously out of control. The aim is to end up with chocolate which dissolves into the biscuit, rather than flows out of it.
Cut the bars into small cube pieces and refrigerate them until ready to use. Cold Chocobakes are easier to work with and less prone to premature melting. Their depth of cocoa complements the biscuit caramelized edge, providing you with a sweet-to-bitter arc that never gets too much. You can even experiment with dark Chocobakes should you wish to have an even greater contrast.
2. Make a Biscuit Dough Designed to Promote Caramelization
To produce the ideal caramelisation, use all-purpose flour, semolina, and a small amount of powdered jaggery or brown sugar. Semolina provides the subtle grain that assists in that parched, crumbly shell. Brown sugar introduces a mellow sweetness that browns slowly without burning quickly.
Cream your sugar and butter just smooth—overmixing softens and destabilizes the dough. Add a bit of salt, a splash of vanilla, and hold together with cold milk or water. Enclose and refrigerate for at least 30 minutes. This step is not up for discussion; a cold dough retains form and allows the caramelization to develop slowly, not suddenly.
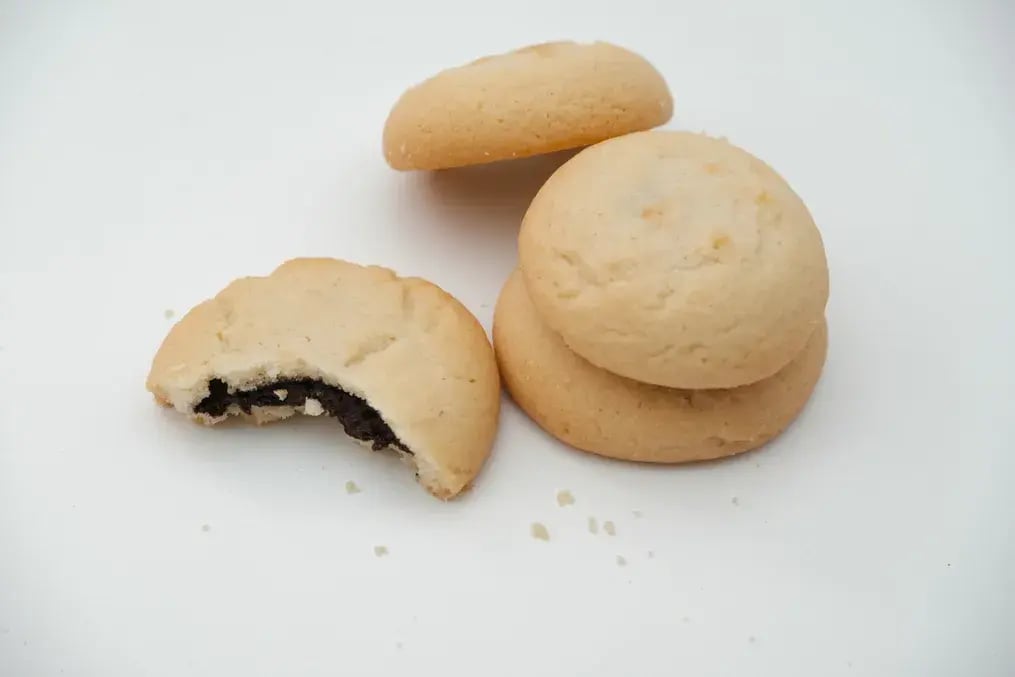
3. Fill with Chocobakes Without It Seeping
The proper filling method creates or destroys this biscuit. Roll out tiny amounts of dough into balls, flatten lightly, and put a cold Chocobakes cube in the center. Now fold the sides over and pinch firmly to close. Roll again between your palms to smooth out.
The secret is to seal completely without air pockets and to maintain the layer of dough evenly all over. Inconsistent wrapping leads to premature melting, and the filling might ooze during baking. A small excess of dough on the bottom side stops the bottom from burning while the chocolate center melts just enough within the biscuit.
4. Bake Low and Slow to Control Caramelization
Caramelization is all about waiting. Set your oven at 150–160°C, no higher. Line your tray with parchment paper or a silicone mat and leave the biscuits well spaced apart. The gentle heat allows the jaggery or brown sugar in the dough to slowly melt, providing the biscuit with a deep golden edge without being too much.
Baking takes 18 to 22 minutes, depending on your oven and size of biscuits. Don't judge by color only—look at the base. When it's deep golden brown and the surface has small cracks, it's done. Avoid overbaking; the retained heat keeps crisping them as they cool.
5. Give a Gloss Finish with Melted Chocobakes
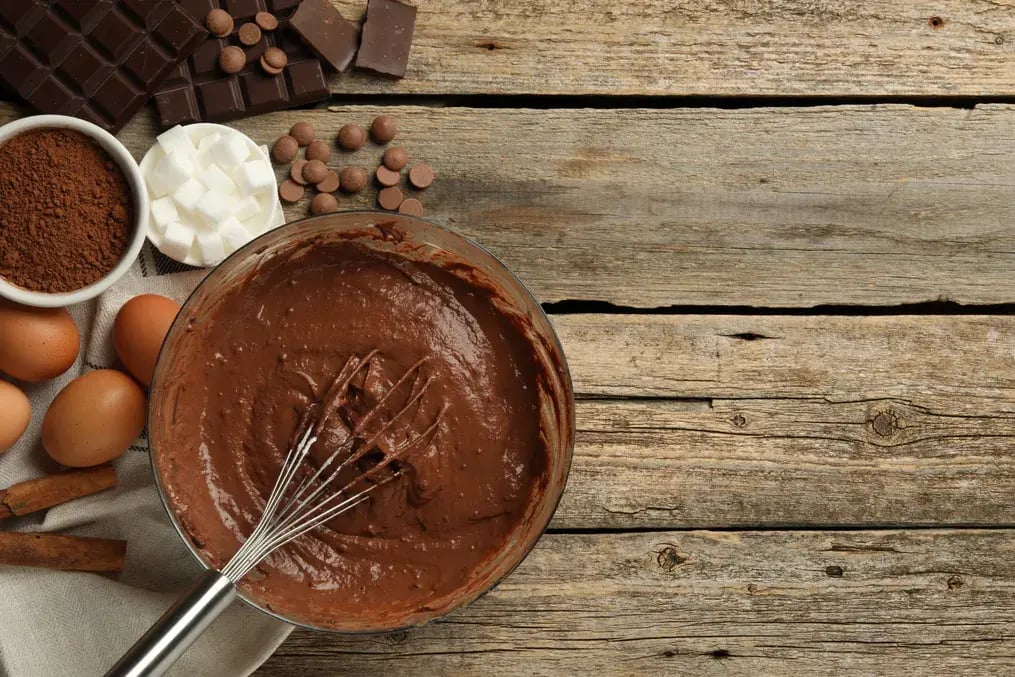
This isn't simply about filling—top the biscuit off with a little gloss. Melt some additional Chocobakes bars after cooling, using the double boiler technique. Never use direct flame or microwave spikes; both scorch the chocolate quickly. Stir constantly for a glossy, thick melt.
Drizzle over the biscuits in zigzag patterns or pipe dots in the center. If you want some extra, add a pinch of roasted sesame or chopped pistachios on top while the drizzle is still wet. It sets in ten minutes and adds visual polish along with a hint of crunch.
6. Cool on a Rack to Lock in the Crisp
Let the biscuits remain on the tray for two minutes only—then remove them to a wire rack. Cooling them on the tray causes the base to overcook due to residual heat. A rack provides air to pass around the biscuit, allowing it to set evenly.
This is particularly the case for Chocobakes Infused Caramelized Biscuits, where the center must settle quietly. The chocolate sets, the base becomes hard enough just to do so, and the caramelization completes its final phase without falling into bitterness. Stored too soon, the steam makes them soft. Stored right, they remain snappy for days.
7. Store in Airtight Layers to Preserve Shape
Keeping these biscuits fresh is half the battle. Store in a tin or air-tight glass container, and separate layers with parchment so they do not stick. If your kitchen is damp, include a small bag of food-grade silica gel within it. This keeps the biscuits fresh and stops the drizzle from sweating.
For gifting, wrap individual biscuits in food-grade wax paper or a butter sheet and put them in cases. This preserves both the texture and aesthetics. Stored properly, Chocobakes Infused Caramelized Biscuits retain their personality for 5–7 days, ideal for festivals, bulk presents, or having as weekly treats.
Like This Article?
More Like This


Popular Articles


Trending Web Stories


Curated Recipes


