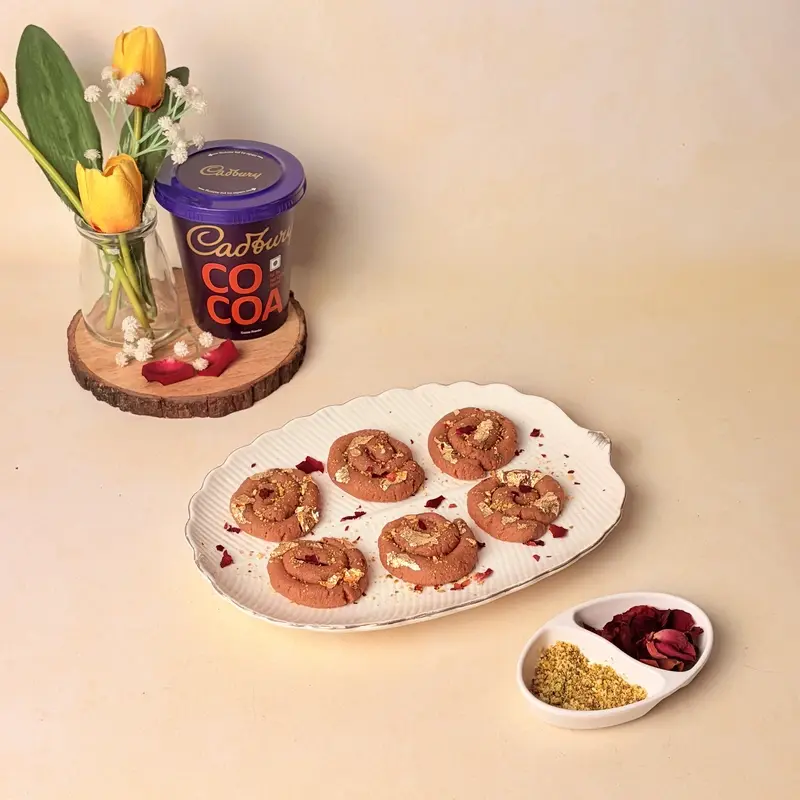












Learn how to layer a Milkmaid Oreo dessert with a crisp cookie base and creamy topping. This Oreo Milkmaid dessert is easy to assemble, chill and serve.

There’s something so satisfying about cutting into a dessert and finding neat, distinct layers, and this Milkmaid Oreo layered dessert gives you just that with surprisingly little effort. Built on a crushed Oreo base and topped with a smooth, sweetened condensed milk mixture, this no-bake treat is more about technique than skill—getting the ratios right, spreading each layer with care, and giving it enough time to set properly in the fridge.
Milkmaid and Oreo are pantry staples in most homes, so this dessert comes together without any special shopping trip, but the finished product looks polished enough for a dinner party or festive gathering. Whether pared down to just two layers or built up further with a thin ganache and nutty topping, the core technique is the same. This guide takes you through each step, from creating the crust to cutting clean pieces, so the layers are as distinct on the plate as they are in the pan.
What You'll Need

- 24 Oreo cookies
- 5–6 tbsp melted butter
- 1 tin (400 g) Milkmaid or sweetened condensed milk
- 1/4 cup cream cheese or whipped cream
- 2 tbsp chopped almonds, for garnish
Getting the Oreo Base Just Right
The secret to a perfect Oreo base is the amount of crumbs to butter, you want to pack it firmly enough so you can slice it without it crumbling but not so hard that it turns into a rock in the fridge. For an 8x8-inch pan, you want a crust about 1/2-inch thick on the bottom, which will give enough structure to support the layers above without overpowering them. Using the bottom of a flat glass to press down the crumbs, you get a uniform thickness across the pan.
Making the Milkmaid Topping Smooth and Spreadable

The milkmaid layer is the gap between a dessert that cuts cleanly and one that oozes at the edges. For a firmer set, mix 1 tin of Milkmaid with 1/2 cup of whipped cream and 100g of cream cheese, softened. This will thicken the mixture enough to hold its shape when chilled but still be smooth and spreadable. Whisk these together well and pour over the crust so that there are no lumps in the finished layer.
Spreading the Cream Layer with Care
Once the Milkmaid mix is ready, spread it over the Oreo base gently and evenly, trying not to disturb the crust underneath. Use an offset spatula (instead of a regular one) to help you spread it more smoothly and evenly, with less downward pressure on the crust so the crumbs are less likely to get mixed into the cream layer. Light strokes from the center outward will help spread the mixture evenly to the sides of the pan.
Letting the Dessert Set Properly
It’s the patience you put into the chill time that really dictates how well the layers hold together when you slice it. To avoid a skin forming on the cream layer as it chills, cover the pan with cling film, pressed firmly against the surface of the cream layer, not just thrown over the top. The direct-contact method yields a smooth, shiny surface, and the dessert can be garnished after it is fully set in the refrigerator.
Building Multiple Layers

And if you want to add more complexity, this base technique lends itself well to more layers. This is the type of combo that lends itself to a more involved dessert, yet still relies on the same basic spreading and chilling technique throughout. Oreo base, Milkmaid-cream layer, thin layer of chocolate ganache, topped with almond crumbs. Each subsequent layer should be allowed to set briefly before the next is poured, so the layers remain distinct rather than blending together.
Cutting Neat, Clean Portions

There are two things to clean slicing — a warm knife and a firm chill. Running a sharp knife under hot water and drying it between cuts lets the blade slide through the layers without dragging or smearing them together. Chilling the assembled dessert in the freezer for 30 minutes before slicing firms everything up even more, which makes it much easier to get extra-clean cuts with sharp, defined edges on each piece.
Helpful Tips on Tools and Temperatures
As a rule of thumb for this dessert, you want a glass or ceramic pan (not metal), because metal conducts the fridge's cold unevenly and the base can loosen faster at the edges than it does in the center. Keeping all ingredients properly chilled, rather than at room temperature, before assembly also helps the layers set more quickly and hold their shape when sliced and served.
Storage Tips
This dessert keeps well in an airtight container in the refrigerator for 3 to 4 days, so it’s a great make-ahead dessert for parties. Freezing is not recommended, as the Milkmaid layer may separate and weep upon thawing, affecting texture and appearance.
Frequently Asked Questions
Can I use whipped topping instead of whipped cream with the Milkmaid layer? 
Yes, stabilized whipped topping can be used in place of fresh whipped cream, though it will have a slightly different taste and be slightly sweeter.
How far in advance can I make this layered Oreo dessert?
You can prepare this dessert up to 2 days in advance and refrigerate it until the layers are fully set before serving.
Why did my layers mix together instead of staying separate?
This tends to happen if you pour a layer before the one below it has had enough time to set. Allowing enough time to chill between layers helps keep them separate.
Like This Article?
More Like This




Popular Articles


Trending Web Stories


Curated Recipes