This guide teaches you how to bake choco lava cookies with gooey center so you can relish the explosion that comes with each bite.
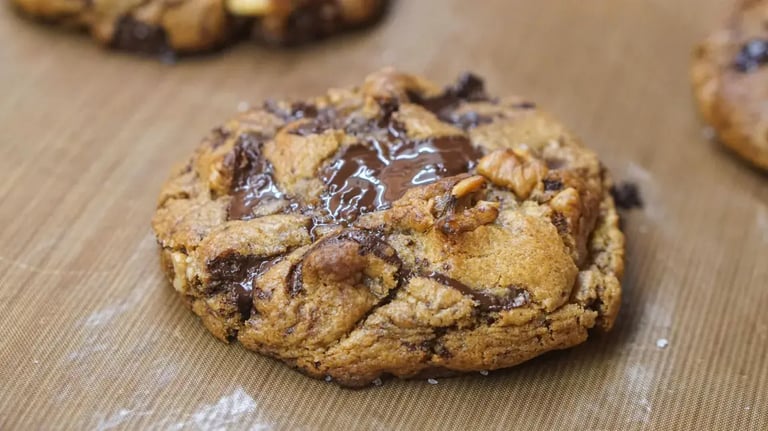
There’s something irresistibly satisfying about biting into a cookie and discovering a molten, fudgy surprise inside. That’s the magic of choco lava cookies with gooey center, which are rich, indulgent treats that bring together the crisp edges of a baked cookie with the luscious decadence of flowing chocolate in the center. Unlike traditional cookies, choco lava Cookies are all about texture contrast. You want slightly crispy or chewy edges and a dramatic, molten core that oozes out the moment you break it open. Achieving this perfect balance is all about the ingredients, temperature, and baking technique. So whether you’re baking for a celebration, a romantic evening, or a solo indulgence, mastering the gooey middle is key to nailing this luxurious dessert. Here’s how to do it, step by step.
Ingredients:
- 1 cup all purpose flour
- 1/4 cup unsweetened cocoa powder (Dutch-processed for richer color and taste)
- 1/2 tsp baking soda
- 1/4 tsp salt
- 1/2 cup unsalted butter (softened)
- 1/2 cup brown sugar (adds moisture and chewiness)
- 1/4 cup granulated sugar
- 1 large egg
- 1 tsp vanilla extract
For the chocolate filling:
- 100 g high quality dark chocolate (70% cocoa or more)
- 1 tbsp heavy cream or butter (optional, for a softer ganache style center)
- Optionally, a pinch of espresso powder, for enhanced chocolate flavor
Method:
- Start with the filling since it needs to be chilled before baking. For a ganache style method, heat the heavy cream until warm but not boiling. Pour it over the chopped dark chocolate. Let it sit for 1 minute, then stir until smooth. Refrigerate for 60 minutes or until it firms up enough to scoop. Alternatively, you can use small chunks of good quality chocolate without making ganache, but the ganache method ensures consistent flow and softness. Use a small spoon to scoop out 1 tsp sized balls of the ganache. Place them on a tray and freeze for 1 hour. This helps prevent them from melting too fast during baking.
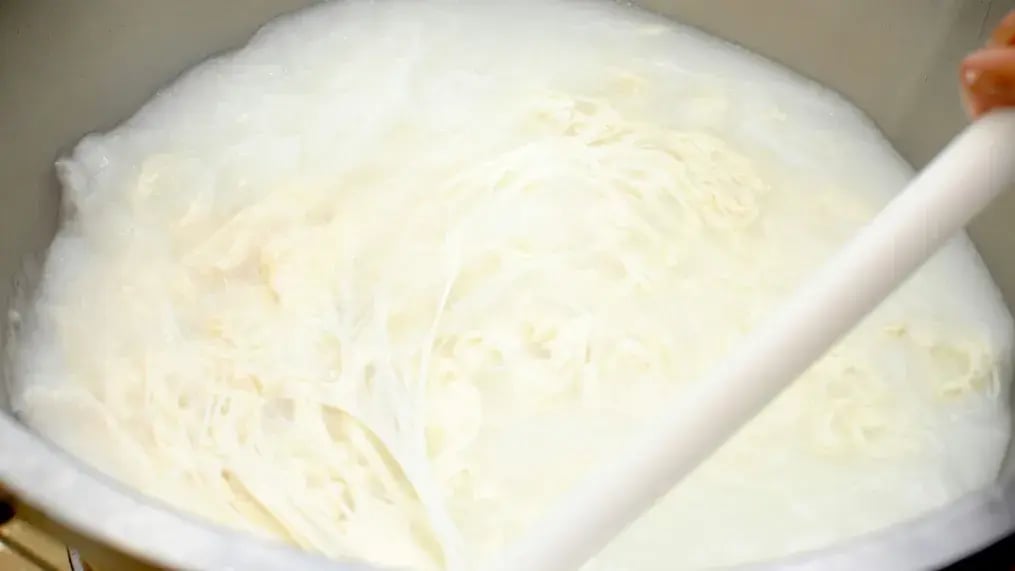
- While it cools, prepare the cookie dough. Cream the softened butter, brown sugar, and white sugar together until fluffy. Beat in the egg and vanilla extract.
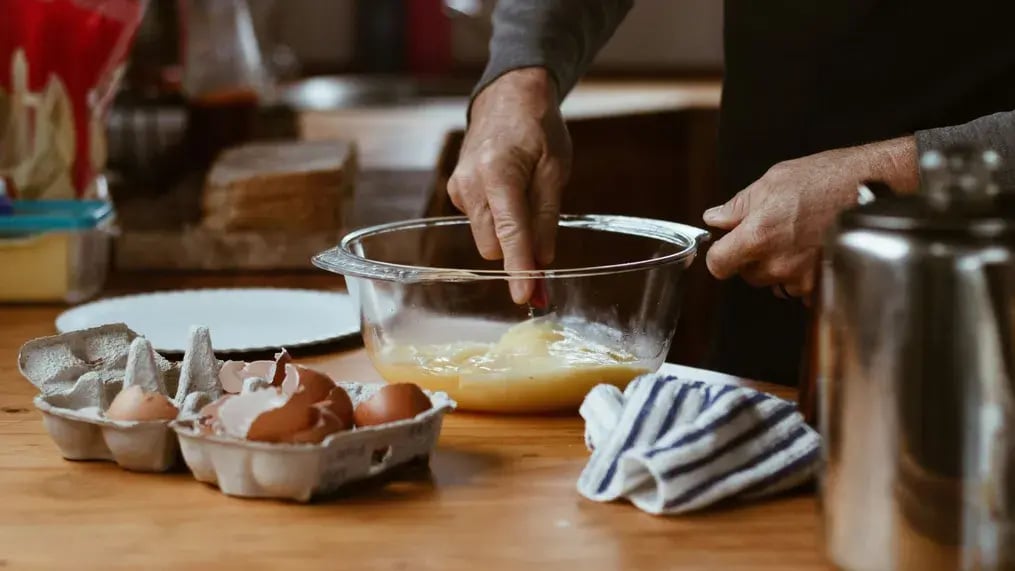
- In a separate bowl, whisk together the flour, cocoa powder, baking soda, and salt.
- Gradually mix the dry ingredients into the wet mixture. Stir until just combined but don’t overmix, or your cookies might turn out tough.
- Chill the dough for 30 minutes to firm it up. This makes it easier to handle and helps control the spread while baking.
- Preheat your oven to 175°C or 350°F.
- Line a baking tray with parchment paper.
- Take about 2 tbsp of cookie dough, flatten it slightly, and place one frozen ganache ball in the center. Cover with another 1 tbsp of dough and seal the edges completely, rolling gently into a ball. Make sure the ganache is fully enclosed since any cracks might cause it to leak during baking. Optional add-ons include a sprinkle of flaky salt on top for contrast, and chocolate chips or chopped nuts into the dough for extra richness and crunch.
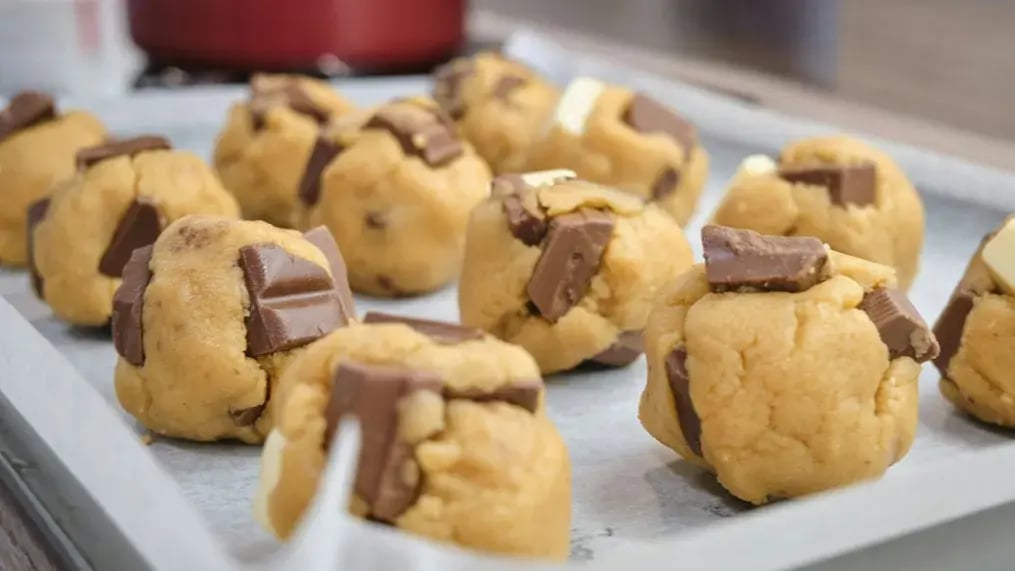
- Bake the cookies for 10 minutes. The edges should be set, but the center will still look slightly underbaked. Don’t over bake because the cookies will continue to cook slightly on the tray. The gooey center needs a soft shell to stay molten.
- Let the cookies rest on the tray for 5 minutes before transferring to a wire rack.
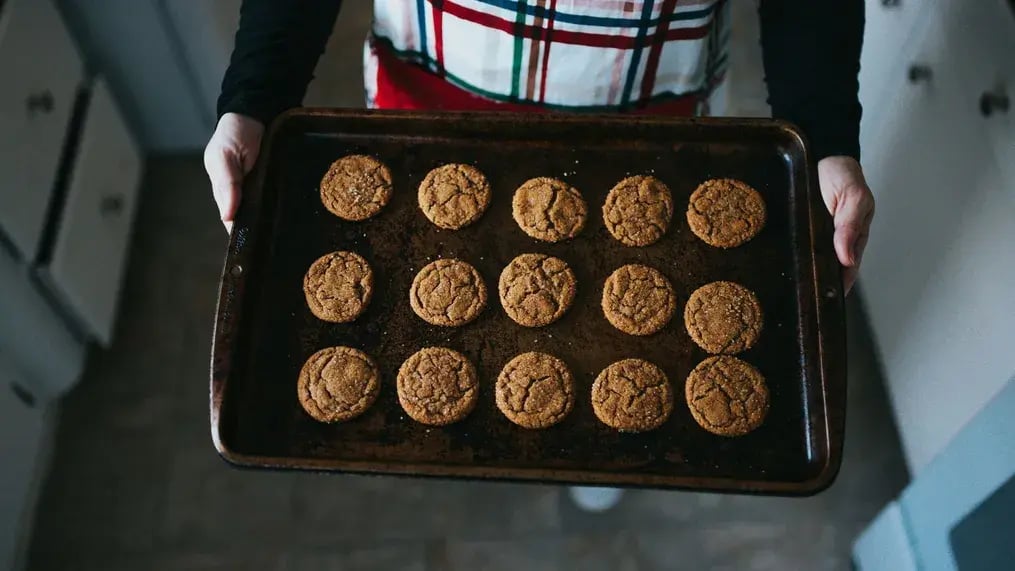
- Store the cookies in an airtight container for up to 3 days at room temperature or refrigerate for a week. Warm in the microwave for 10 seconds to revive the gooey center without drying it out. If you want to prep in advance, freeze the unbaked cookie balls with the ganache inside and bake fresh whenever cravings strike. Just add 1 extra minute to the baking time.
Tips:
- Avoid chocolate chips for the lava center as they have stabilizers that prevent melting. Use baking chocolate for best results.
- Cold dough around a frozen filling delays the outer cookie’s baking slightly, giving your center a chance to stay gooey without overcooking the outside.
- Letting the cookies rest before handling helps the molten center settle slightly without spilling out, ensuring a photo worthy cross section when you break into them.
Like This Article?
More Like This


Popular Articles


Trending Web Stories
Curated Recipes


