







4 mins
Aug 6, 2026
EN
हिं

Chocolate Milk Peda Recipe
 Rishita Thalluri

Rishita Thalluri
 Published: Jan 10, 2023
Last Updated Date:Oct 29, 2026


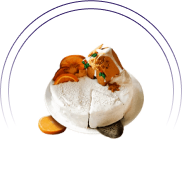
Try this chocolate milk peda recipe that blends the traditional Indian sweet with a modern twist of chocolate, perfect for snacking and festive occasions.

Difficulty:medium

Serves:5

Time:40 mins

Contains egg: No
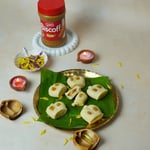
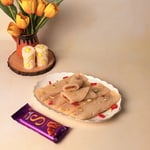
Peda is a classic Indian milk sweet prepared for festivals, celebrations, family gatherings, and auspicious occasions. This chocolate milk peda recipe gives the traditional sweet a chocolatey twist with the help of milk powder, cocoa powder, ghee, and cardamom. It is an egg-free dessert that you can prepare at home using simple ingredients and easily shape with your hands.
Whether you are making sweets for a celebration or simply want to try something different, this chocolate peda is ......Read More
Ingredients
5
Servings
For the Recipe
- 2 cups Milk Powder
- 2 tbsp Ghee
- 1 tbsp Blanched and Chopped Pista
- 2 tbsp Cadbury Cocoa Powder
- 1/4 cup Powdered Sugar
- 1/2 tsp Gold Dust
- 1 cup Milk
For Garnishing
- 1 tbsp Chopped Almonds
- 1/2 tsp Cardamom Powder
Directions
Step 1
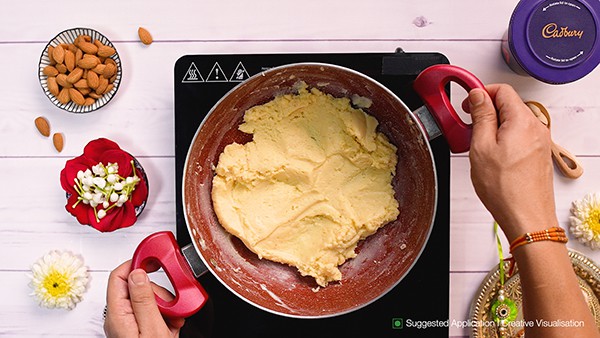
Add the milk powder, milk, and 2 tablespoons of ghee to a heavy-bottomed pan. Cook over low heat, and stir continuously to prevent the mixture from sticking or forming lumps. This may take approximately 10–15 minutes, depending on the pan and heat level. Continue cooking until the mixture thickens, leaves the sides of the pan, and forms a soft mass. Remove it from the heat and let it cool for about 10–15 minutes, or until it is comfortable to handle.
Step 2
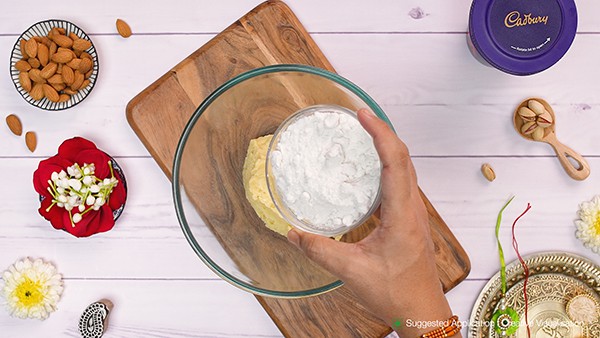
Transfer the mixture to a bowl, add powdered sugar, Cadbury Cocoa Powder, and cardamom powder. Mix everything well to make a smooth dough.
Step 3
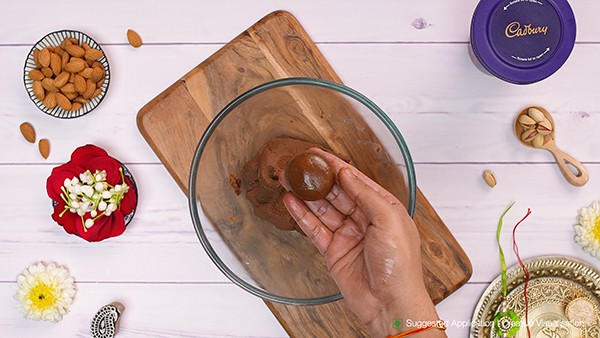
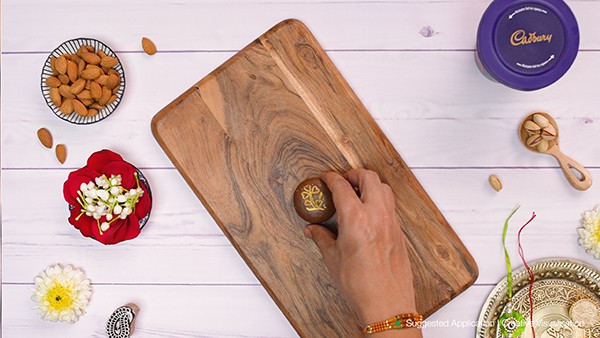
Grease your hands with ghee, take a portion, and make a peda out of it, similar in size to the traditional peda.
Step 4
You can use a clean peda mould or the back of a decorative spoon to make an impression on each peda. Try applying a tiny amount of edible gold dust to the stamp before pressing it gently onto the surface. Use only edible gold dust intended for food decoration. Finish with chopped pistachios and almonds as a garnish, or press a few pieces into the center of each peda. Serve once the pedas have cooled and set.
Tips & Tricks
Cooking the Milk Powder Mixture to the Right Stage
Keep the heat low and stir continuously so the milk powder does not burn. The mixture is ready when it forms a soft mass and leaves the sides of the pan. Cooking it for too little time can make the pedas sticky, and overcooking can leave them dry or crumbly. Follow the texture cues rather than relying only on the estimated cooking time.
Shaping Smooth Pedas Without Cracks
Let the mixture cool, but do not leave it uncovered for too long. Grease your palms lightly with ghee and shape each portion with gentle, even pressure. If the dough cracks, knead it briefly to bring it together. If it feels too sticky, allow it to cool a little longer before shaping.
Stamping and Decorating Pedas
Stamp the pedas while they are soft enough to hold an impression but firm enough to retain their shape. Clean the mold between uses if the mixture sticks to it. Use gold dust sparingly and check that it is labeled edible. Chopped nuts can be pressed into the center or sprinkled over the top for a simple finish.
Variations
- Condensed milk version: Replace the powdered sugar with condensed milk for a softer, milkier sweet. Since condensed milk also adds moisture and sweetness, the other ingredient quantities and cooking method will need adjustment and testing.
- Nut-stuffed pedas: Place a small amount of chopped pistachios and almonds in the center before shaping the peda around them.
- Coconut-coated pedas: Roll the shaped sweets in desiccated coconut for a different texture.
- Cocoa-coated pedas: Dust the finished pedas lightly with cocoa powder for a deeper chocolate finish.
- Simple decoration: Skip the gold dust and finish with chopped nuts or a small pinch of cocoa powder instead.
Storage
Allow the chocolate pedas to cool completely before storing them in a clean, airtight container. These pedas should be stored in the refrigerator as they contain milk and moisture. Keep the pedas chilled and bring a portion to room temperature briefly before serving if you prefer a softer texture. Do not leave the pedas at room temperature for long periods, especially in warm weather. The pedas may be suitable for freezing in a freezer-safe, airtight container, with parchment between layers to prevent sticking. A storage period of up to two months has been suggested for similar sweets, but this duration has not been verified for this particular recipe. Test before publishing it as a confirmed shelf life.
Frequently Asked Questions
How do I know the chocolate peda mixture is cooked enough? 
Cook over low heat until the mixture thickens, forms a soft mass, and begins to leave the sides of the pan. It should not be runny or dry and crumbly.
Why are my chocolate pedas sticky?
The mixture may be undercooked, too warm, or too moist. Let it cool completely before shaping. If it remains sticky, check the cooking stage before adding any extra ingredients.
Can I use condensed milk instead of powdered sugar?
Yes, but condensed milk adds both moisture and sweetness, so it is not a direct one-to-one replacement. The milk, milk powder, and cooking time may need to be adjusted and tested.
Can I use khoya instead of milk powder?
Khoya can be used to make a different version of chocolate peda, but it changes the moisture level and texture. The ingredient quantities and cooking method would need to be adapted for a reliable result.
How long do chocolate milk pedas last?
Store them in an airtight container in the refrigerator. The exact tested shelf life for this recipe is not provided; confirm it before publishing a fixed number of days.
Can I freeze chocolate peda?
Freezing may be possible in a freezer-safe airtight container, but the texture after thawing can vary. Freeze a small test batch first, thaw it in the refrigerator, and check the texture before recommending a specific storage duration.
Like This Recipe?

Thank you for rating the recipe!
Recipe by Categories
Popular Articles
Sweet Celebrations Effortless Office Party ...

Teddy Bear Chocolate Cookies: Perfect Bakes For ...
5 mins
Sep 30, 2026

Does Dark Chocolate Have Benefits? What The ...
3 mins
Aug 3, 2026

Easy Sweet Snacks To Make In 5 Minutes With No ...
3 mins
Aug 1, 2026
Gluten-Free Baking Recipes: A Complete Guide To ...
4 mins
Aug 2, 2026
Recommended Recipes