


This chocolate fudge brownies with nuts recipe is simple, easy to follow and full of helpful tips and tricks to ease the process of baking.
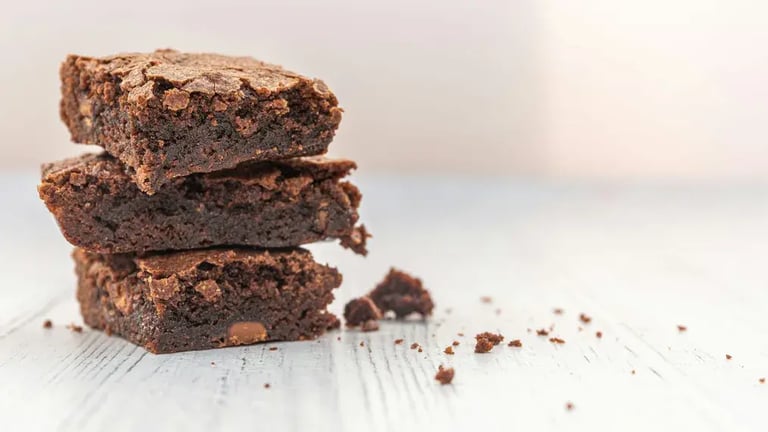
If you love your brownies rich, gooey, and unapologetically chocolatey, this is the recipe for you. These ultimate chocolate fudge brownies with nut crunch are everything a brownie should be -- dense and fudgy in the center, with crackly tops and crisp edges. But what takes them to the next level is the generous helping of crunchy toasted nuts folded right in, creating the perfect contrast to the soft, chocolatey bite. Whether you’re baking for a crowd, prepping an indulgent treat for the weekend, or testing out your next go to dessert, this recipe delivers big flavor with simple steps. It uses pantry staples, doesn’t require a mixer, and comes together in under an hour.
Ingredients:
- ¾ cup (90 g) all purpose flour
- ½ cup (45 g) unsweetened cocoa powder
- ½ teaspoon salt
- 1 teaspoon instant espresso powder (optional, enhances chocolate flavor)
- 1 cup (226 g) unsalted butter
- 1 ½ cups (300 g) granulated sugar
- ½ cup (100 g) packed light brown sugar
- 4 large eggs, room temperature
- 1 tablespoon vanilla extract
- 200 g (7 oz) dark chocolate (60% to 70%), chopped or in chips
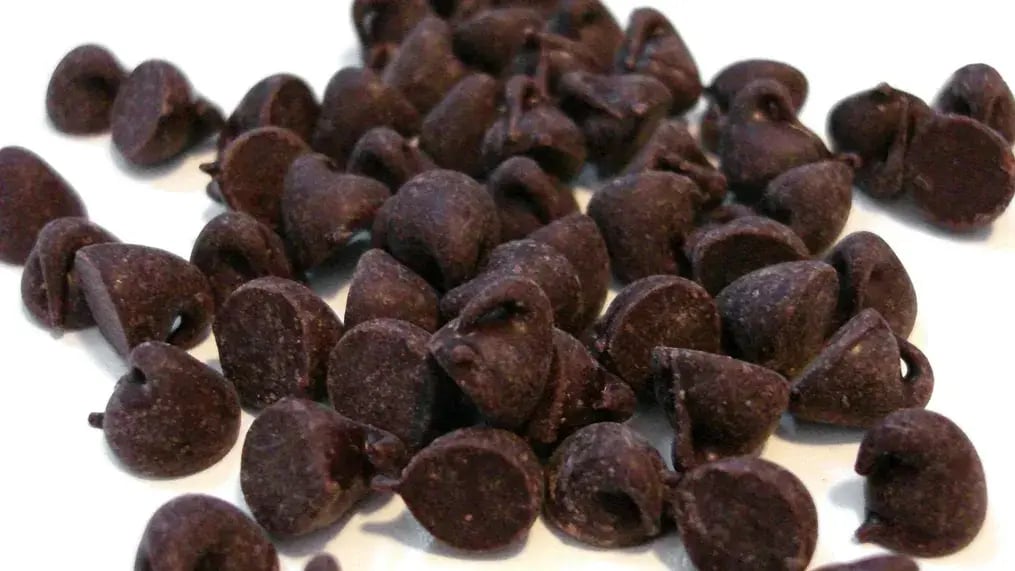
- ½ cup (90 g) semi sweet chocolate chips or chunks (optional for extra gooeyness)
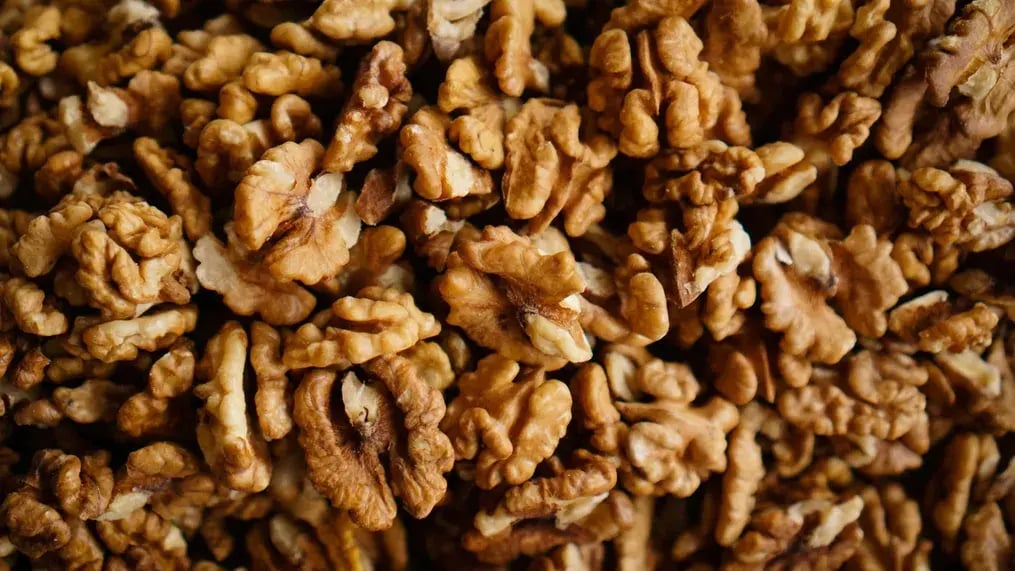
- ¾ cup (90 g) toasted walnuts or pecans, chopped (plus extra for topping)
Method:
- Preheat your oven to 350°F or 175°C.
- Line your baking pan with parchment paper, leaving some overhang on the sides for easy removal later. Lightly grease the parchment.
- Place your chopped walnuts or pecans on a baking sheet and toast in the oven for 8 minutes, or until fragrant and golden. Let cool. Toasting the nuts intensifies their flavor and adds to the crunch.
- In a medium saucepan over low heat, or in a microwave safe bowl in 30-second bursts, melt the butter and dark chocolate together. Stir frequently until smooth and glossy. Remove from heat and let cool for 5 minutes.
- Whisk in the granulated sugar and brown sugar until fully dissolved and the mixture looks shiny.

- Add the vanilla extract and whisk in the eggs, one at a time, beating well after each addition. This creates that classic crinkly brownie top.
- Sift or whisk together the flour, cocoa powder, salt, and espresso powder in a separate bowl.
- Add the dry ingredients to the wet mixture and stir with a spatula or wooden spoon until just combined, but do not overmix.
- Gently fold in the semi sweet chocolate chips and toasted chopped nuts, saving a few tablespoons of each for topping. The batter will be thick, dark, and rich.
- Pour the batter into the prepared pan and smooth the top with a spatula.
- Sprinkle the reserved chocolate chips and nuts evenly across the top. Press them in slightly so they adhere during baking.
- Bake on the center rack for 35 minutes, depending on your pan and oven. The edges should be set, the top should have a shiny, crackled look, and a toothpick inserted in the center should come out with a few moist crumbs but not wet batter.
- Let the brownies cool in the pan on a wire rack for at least 1 hour. For clean edges, chill the pan in the fridge for 30 minutes before slicing with a sharp, damp knife.
- Top with vanilla ice cream and a drizzle of warm ganache for a plated dessert. Or dust with powdered sugar for an elegant finish Serve cold from the fridge for dense bites. Reheat individual squares for 10 seconds in the microwave for a melty center.

- Store brownies in an airtight container at room temperature for up to 4 days, or refrigerate for up to a week. These also freeze well, just wrap tightly in plastic wrap and foil, and freeze for up to 2 months. Thaw at room temp or warm slightly before serving.
Notes:
For extra fudgy brownies, aim for a shorter bake time. For more structure and sliceable pieces, add a few extra minutes. For instance, if you want the brownies to be extra fudgy, use ¾ cup flour and pull from the oven at 32 minutes. If you want them cakier but still rich, use 1 cup of flour and bake for closer to 38 minutes. And if you’re aiming for chewy edges, use a metal pan and don’t line the sides with parchment, just the bottom.
Like This Article?
More Like This


Popular Articles


Trending Web Stories


Curated Recipes


