


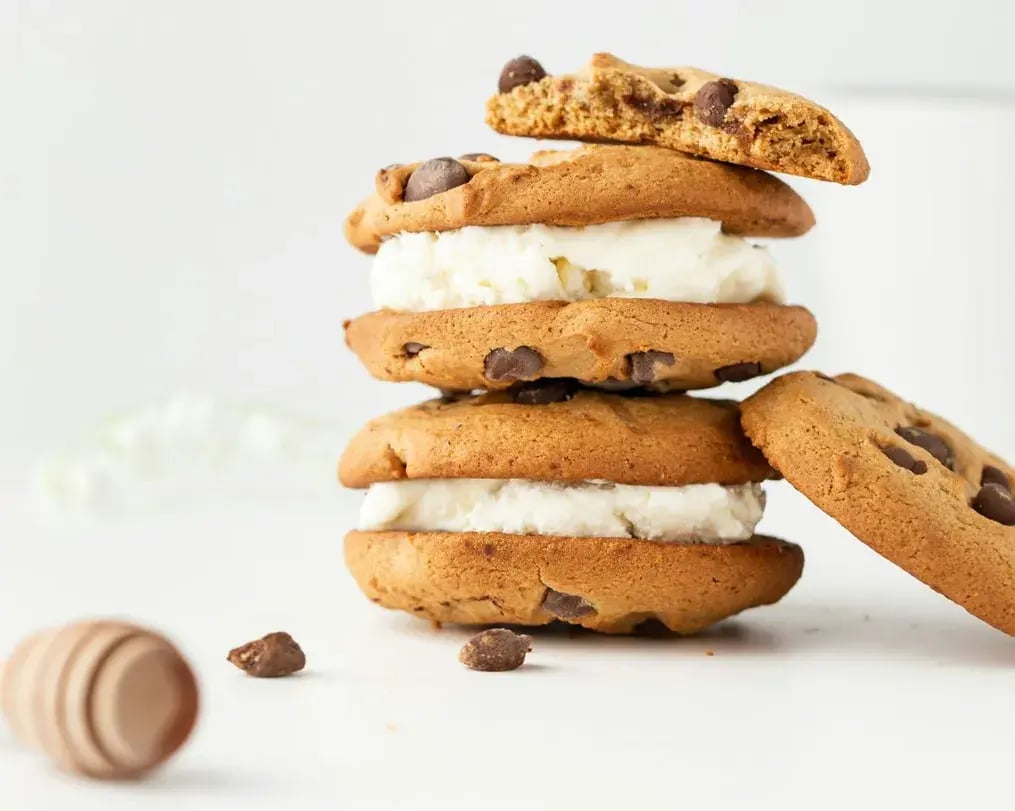
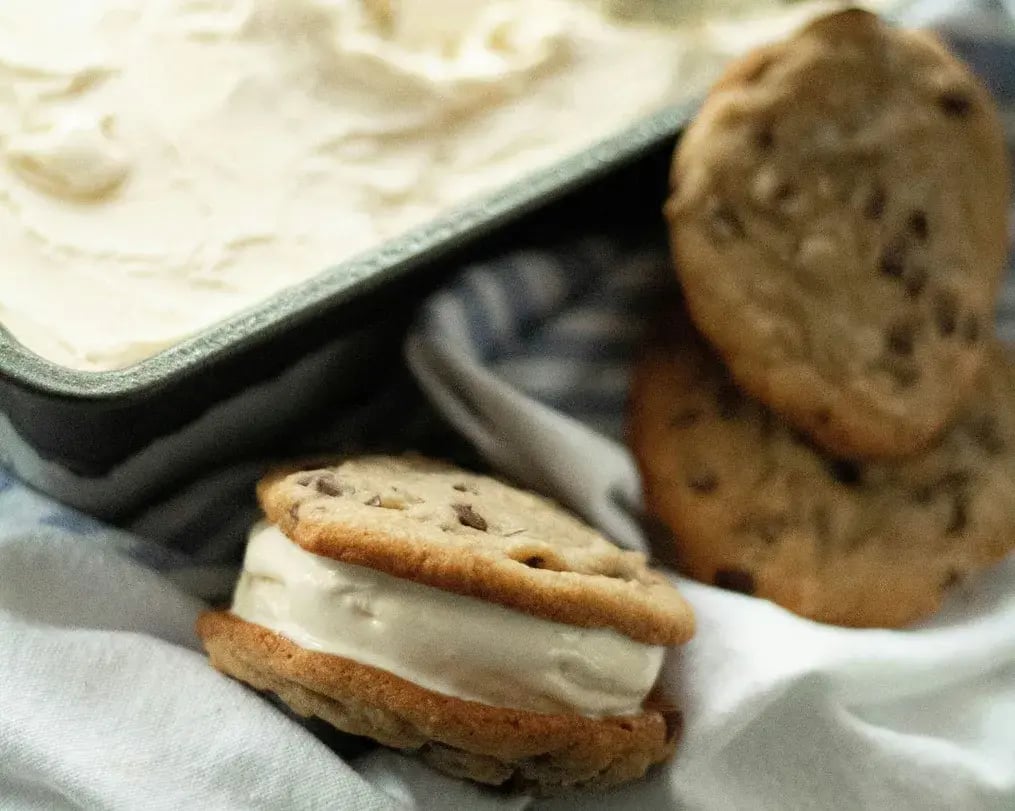
Try this Oreo and chocolate ice cream sandwich the next time you want something bite-size, sweet and familiar. It's easy to make and perfect for snacking.
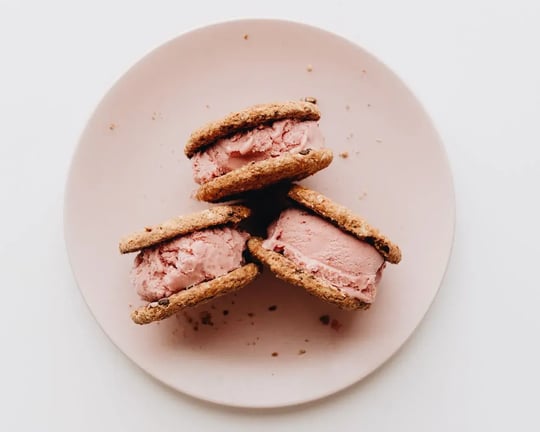
If you want something cold, chocolatey, and easy to make without pulling out an ice cream machine or turning on the oven, these Oreo and chocolate ice cream sandwich are it. You crush some cookies, whip a few ingredients, and let the freezer do the rest. The best part? You get that creamy cookies-and-cream middle packed between two solid Oreo layers that hold everything together. They’re rich, not too sweet, and seriously satisfying, especially on a hot day.
No-Churn Oreo Chocolate Ice Cream Sandwiches
(Yields 8 sandwiches)
Equipment Needed:
- 9-inch square pan
- Parchment paper
- Electric hand mixer
- Food processor or ziplock + rolling pin
Ingredients:
- 3 ¾ cups (about 50) whole Oreo cookies
- ¾ cup unsalted butter, melted
- 2 cups heavy cream, cold
- 1 tbsp vanilla extract
- ½ cup sweetened condensed milk
Instructions:

- Line a 9-inch square baking pan with parchment paper, making sure the paper hangs over the sides so you can lift everything out easily later. Set aside.
- Add the Oreo cookies (filling and all) to a food processor and blitz until finely ground. If you don’t have a food processor, place the cookies in a large ziplock bag and crush them with a rolling pin until they resemble fine crumbs. Scoop out ½ cup (about 100 gm) of crumbs and set aside for the filling.
- Transfer the remaining Oreo crumbs to a medium bowl. Pour in the melted butter and stir until the mixture is fully coated and resembles damp sand.
- Spoon half of the Oreo-butter mixture into the prepared pan. Press it down firmly with a spatula or the bottom of a flat cup to form an even base layer. Place the pan in the freezer while you make the filling. Set the rest of the crust mixture aside (don’t refrigerate it; you’ll need it soft for the top layer).
- In a big mixing bowl, use an electric hand mixer to beat the heavy cream and vanilla extract until stiff peaks form. The whipped cream should be thick and able to hold its shape when lifted.
- Fold the condensed milk into the whipped cream using a spatula. Fold slowly and carefully so you don’t deflate the cream. The mixture should stay airy and thick.
- Add the ½ cup of reserved Oreo crumbs to the cream mixture. Fold just until combined – don’t overmix.
- Remove the pan from the freezer and pour the ice cream filling over the chilled base crust. Smooth out the top with a spatula until evenly spread. Place the pan back in the freezer for 1-2 hours, or until the surface of the ice cream feels firm to the touch.
- Once the top is firm, sprinkle the remaining Oreo-butter mixture over the ice cream layer. Press it down gently and evenly using the same flat-bottomed cup. Don’t press too hard – just enough to form a solid top crust without squishing the still-soft center.
- Freeze the entire pan again for at least 6 hours or overnight for best results. You want the sandwiches to be completely solid before cutting.
- Lift the frozen block out of the pan using the parchment paper edges. Run a sharp knife under hot water, wipe it dry, and slice the block into 8 equal bars or squares.
- Serve immediately, or wrap each sandwich in parchment or plastic wrap and store in the freezer for later.
Tips & Tricks:

- Don’t separate the cookies from the filling – just throw them in as they are. The filling helps bind the crust and adds extra creaminess to the base.
- Set aside that half cup of Oreo crumbs before adding butter. These dry crumbs go into the ice cream mixture and give it the Oreo bits you expect in every bite.
- For both crust layers, press just enough to pack it in don’t smash it flat. You want it solid enough to hold but still easy to bite through.
- Stop mixing when the whipped cream holds its shape and doesn’t slide off the beaters. If it’s too soft, the filling won’t hold up once frozen.
- Chill the filling layer first so it firms up a bit. That way, when you add the top crust, it won’t sink in or get messy.
- Dip your knife in hot water and wipe it dry before each slice. This helps cut cleanly through the frozen layers without cracking the crust.
- If they’re too hard straight from the freezer, give them 2-3 minutes on the counter. The edges will soften just enough for the perfect bite.
Like This Article?
More Like This

No Bake Sweet Treats to Enjoy Alongside a Cup of Coffee
5 mins
Jun 29, 2024

The Art of Pastry Decoration: 8 Easy Techniques and Beautiful Recipes
4 mins
Jun 29, 2024

The best homemade no-churn recipes of Ice Cream Desserts
3 mins
Dec 14, 2024

Scoop Up These Sweet Treats: Easy 3-Ingredient No-Churn Ice Creams
2 mins
Apr 6, 2024
Popular Articles

Beyond The Standard Payasam: Regional Onam Sweet Traditions Explained
3 mins
Jun 29, 2026

Holy Fasting Treats: A Comprehensive Sawan Vrat Sweet Recipes List
4 mins
Jun 23, 2026

Divine Devotion: Auspicious Shravan Month Sweet Offerings to Lord Shiva
4 mins
Jun 22, 2026


Trending Web Stories


Curated Recipes

Easiest Cocoa Meringue
1:10 hoursmedium

No-Fuss Banana Dairy Milk Chocolate Cake
1:10 hourseasy

Classic Bournville Hot Fudge Sundae
20 minseasy

Triple-Layered Chocolate Oreo Base Mousse
4:32 hourseasy

Oreo Mango Icecream Cake
6:30 hourseasy