


Here’s how you can make no-bake Oreo granola bars that are gluten-free and sure to be loved by kids everywhere.
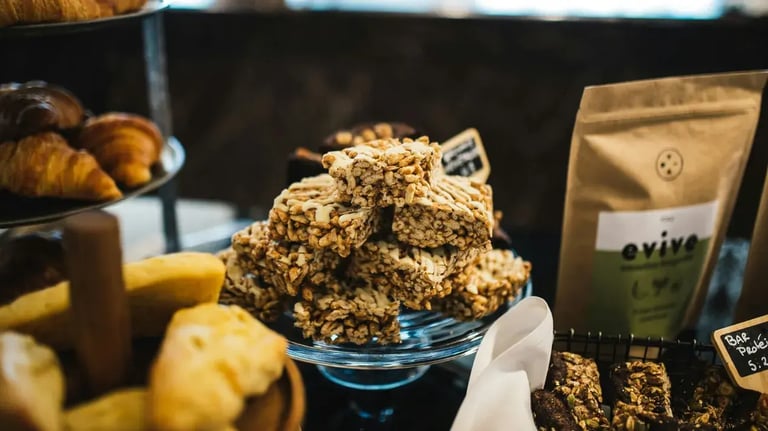
If you’re looking for a fun, easy, and irresistibly delicious treat that’s both gluten free and guaranteed to win over little ones, these no bake Oreo granola bars are the perfect solution. Made with simple pantry staples and no oven required, they come together in under 15 minutes and set beautifully in the fridge. This indulgent yet wholesome take strikes a perfect balance between treat and snack. Kids love the cookie crunch and chocolate chips, while parents appreciate the whole grains and optional superfood boosts. With no baking, minimal cleanup, and maximum satisfaction, it’s a win-win all around. So, whether you're packing a lunchbox, need a quick dessert, or want to sneak in a bit of indulgence with a healthy twist, this recipe hits all the right notes.
Ingredients:
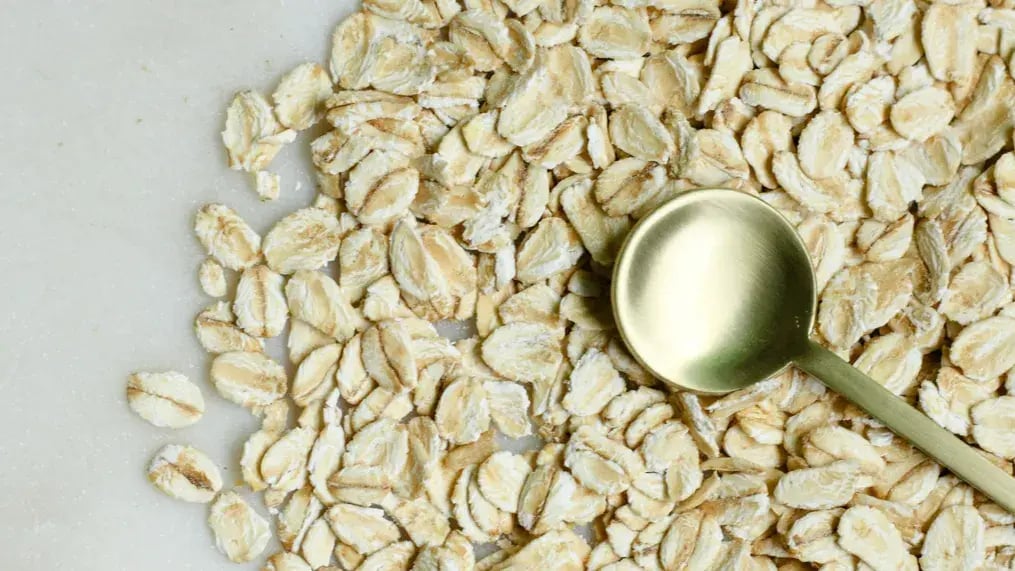
- 2 cups gluten free quick oats
- 10 gluten free Oreos, crushed (reserve 2 tablespoons for topping)
- 1/4 cup mini chocolate chips
- 2 tablespoons chia seeds (optional, for a fiber boost)
- Pinch of salt
- 1/2 cup smooth almond butter (or peanut butter, if preferred)
- 1/3 cup honey or maple syrup
- 1 teaspoon vanilla extract
- Toppings (optional)
- 2 tablespoons crushed gluten free Oreos
- 1 tablespoon mini chocolate chips
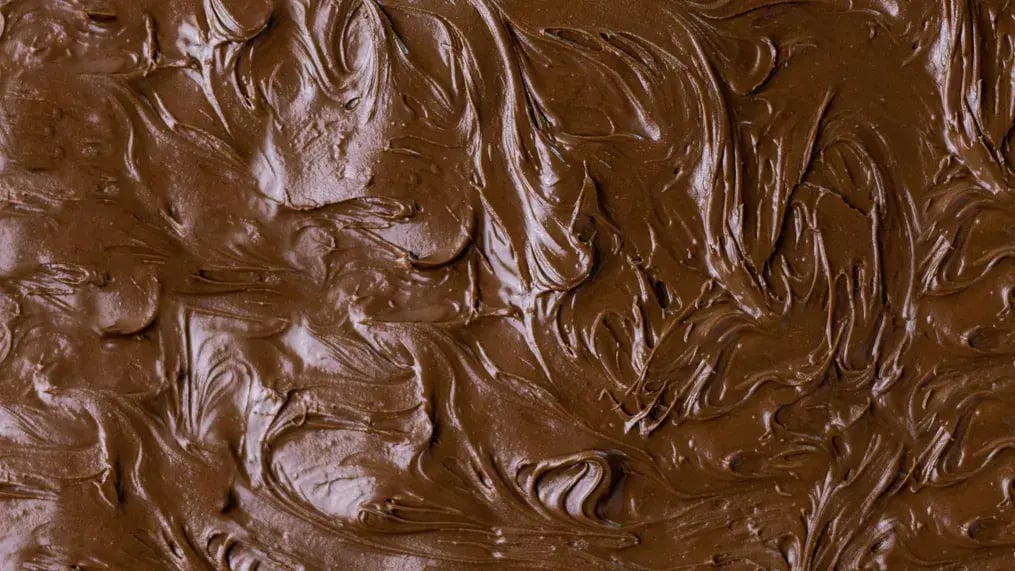
- A drizzle of melted white or dark chocolate
Method:
- Start by lining a square baking pan with parchment paper. Leave a bit of overhang on the sides so it’s easy to lift the bars out once they’ve set. Set aside.
- Place the gluten free Oreos in a ziplock bag and crush them gently with a rolling pin or the back of a spoon. You want small pieces, not fine crumbs, to add texture and crunch.

- In a medium mixing bowl, combine the quick oats, 8 tablespoons of the crushed Oreos (reserve the rest for topping), mini chocolate chips, chia seeds if using, and a pinch of salt. Stir well to evenly distribute the ingredients.
- In a small saucepan over low heat, or a microwave safe bowl, warm the almond butter and honey just until smooth and runny. Stir in the vanilla extract. Don’t let it boil, just let it be warm enough to mix easily with the dry ingredients.
- Pour the warm, wet mixture into the dry ingredients. Use a spatula to mix thoroughly until everything is evenly coated. The mixture should be sticky and thick.
- Transfer the mixture to the prepared baking pan. Press it down firmly using the back of a spatula, a piece of parchment paper, or clean hands. Make sure it’s packed tight so the bars hold together well after setting.
- Sprinkle the remaining crushed Oreos and mini chocolate chips evenly over the top. For an extra treat, drizzle melted white or dark chocolate over the surface. Gently press the toppings into the surface so they stick.
- Place the pan in the refrigerator for at least 2 hours or until firm. If you're in a hurry, pop it in the freezer for 30 minutes. The bars should be solid and easy to slice.
- Once firm, lift the mixture out of the pan using the parchment paper overhang. Use a sharp knife to cut into 12 bars or 16 smaller squares.
- Store leftovers in an airtight container in the fridge for up to a week, or freeze for longer storage.
Notes:
- For a nut free version, swap the almond butter with sunflower seed butter or tahini.
- For a dairy free version, use dairy free chocolate chips and check that your Oreo alternative is dairy free.
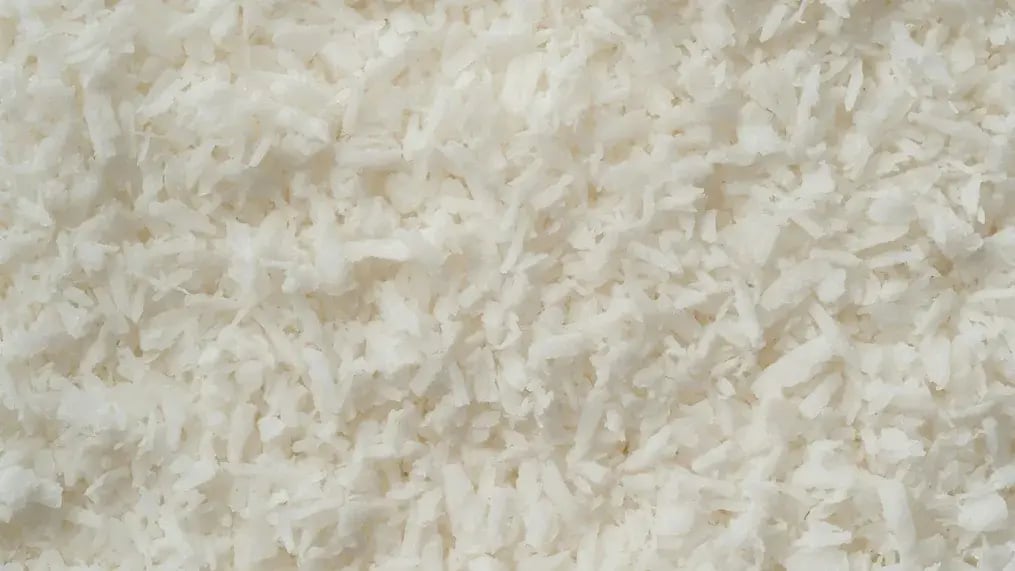
- For additional add-ins, try shredded coconut, chopped nuts, or flax seeds for extra nutrition. Or stir in a few marshmallows or swirl in some hazelnut spread before pressing into the pan.
- When warming the almond butter and honey, there are two ways you can heat it. Either add the ingredients to a small pan and heat on a medium flame. Keep stirring so that it doesn’t stick to the base of the pan and burn. Once it’s runny, turn off the heat. If you overheat, it will lose its structure. So be mindful of turning it off at the right time. Or if you’re using a microwave, place the ingredients in a glass bowl or other microwave safe bowl. Heat for 20 seconds, then stop and give it a good stir. Don’t let it stick to the bottom and scrape from the sides as well. Then heat for another 20 seconds. Continue in this way, in 20-second bursts, until it has reached the right texture.
Like This Article?
More Like This


Popular Articles


Trending Web Stories


Curated Recipes


