


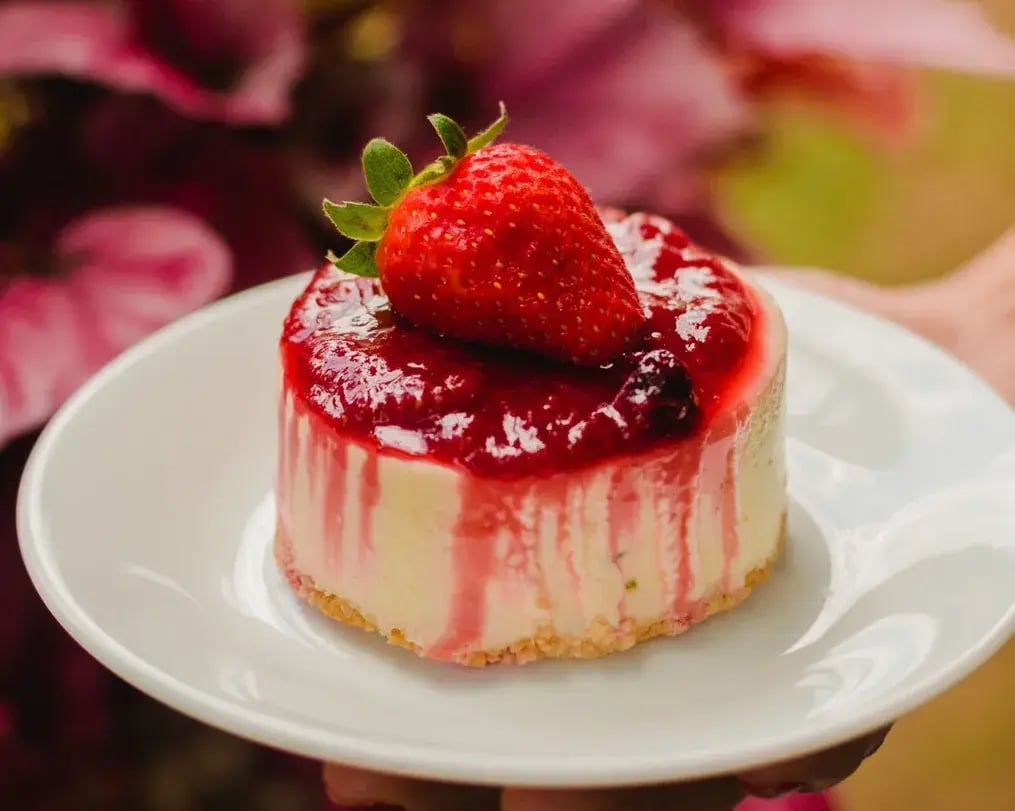
The perfect celebratory Friendship Day special mini cheesecake bites to bake and share among your loved ones

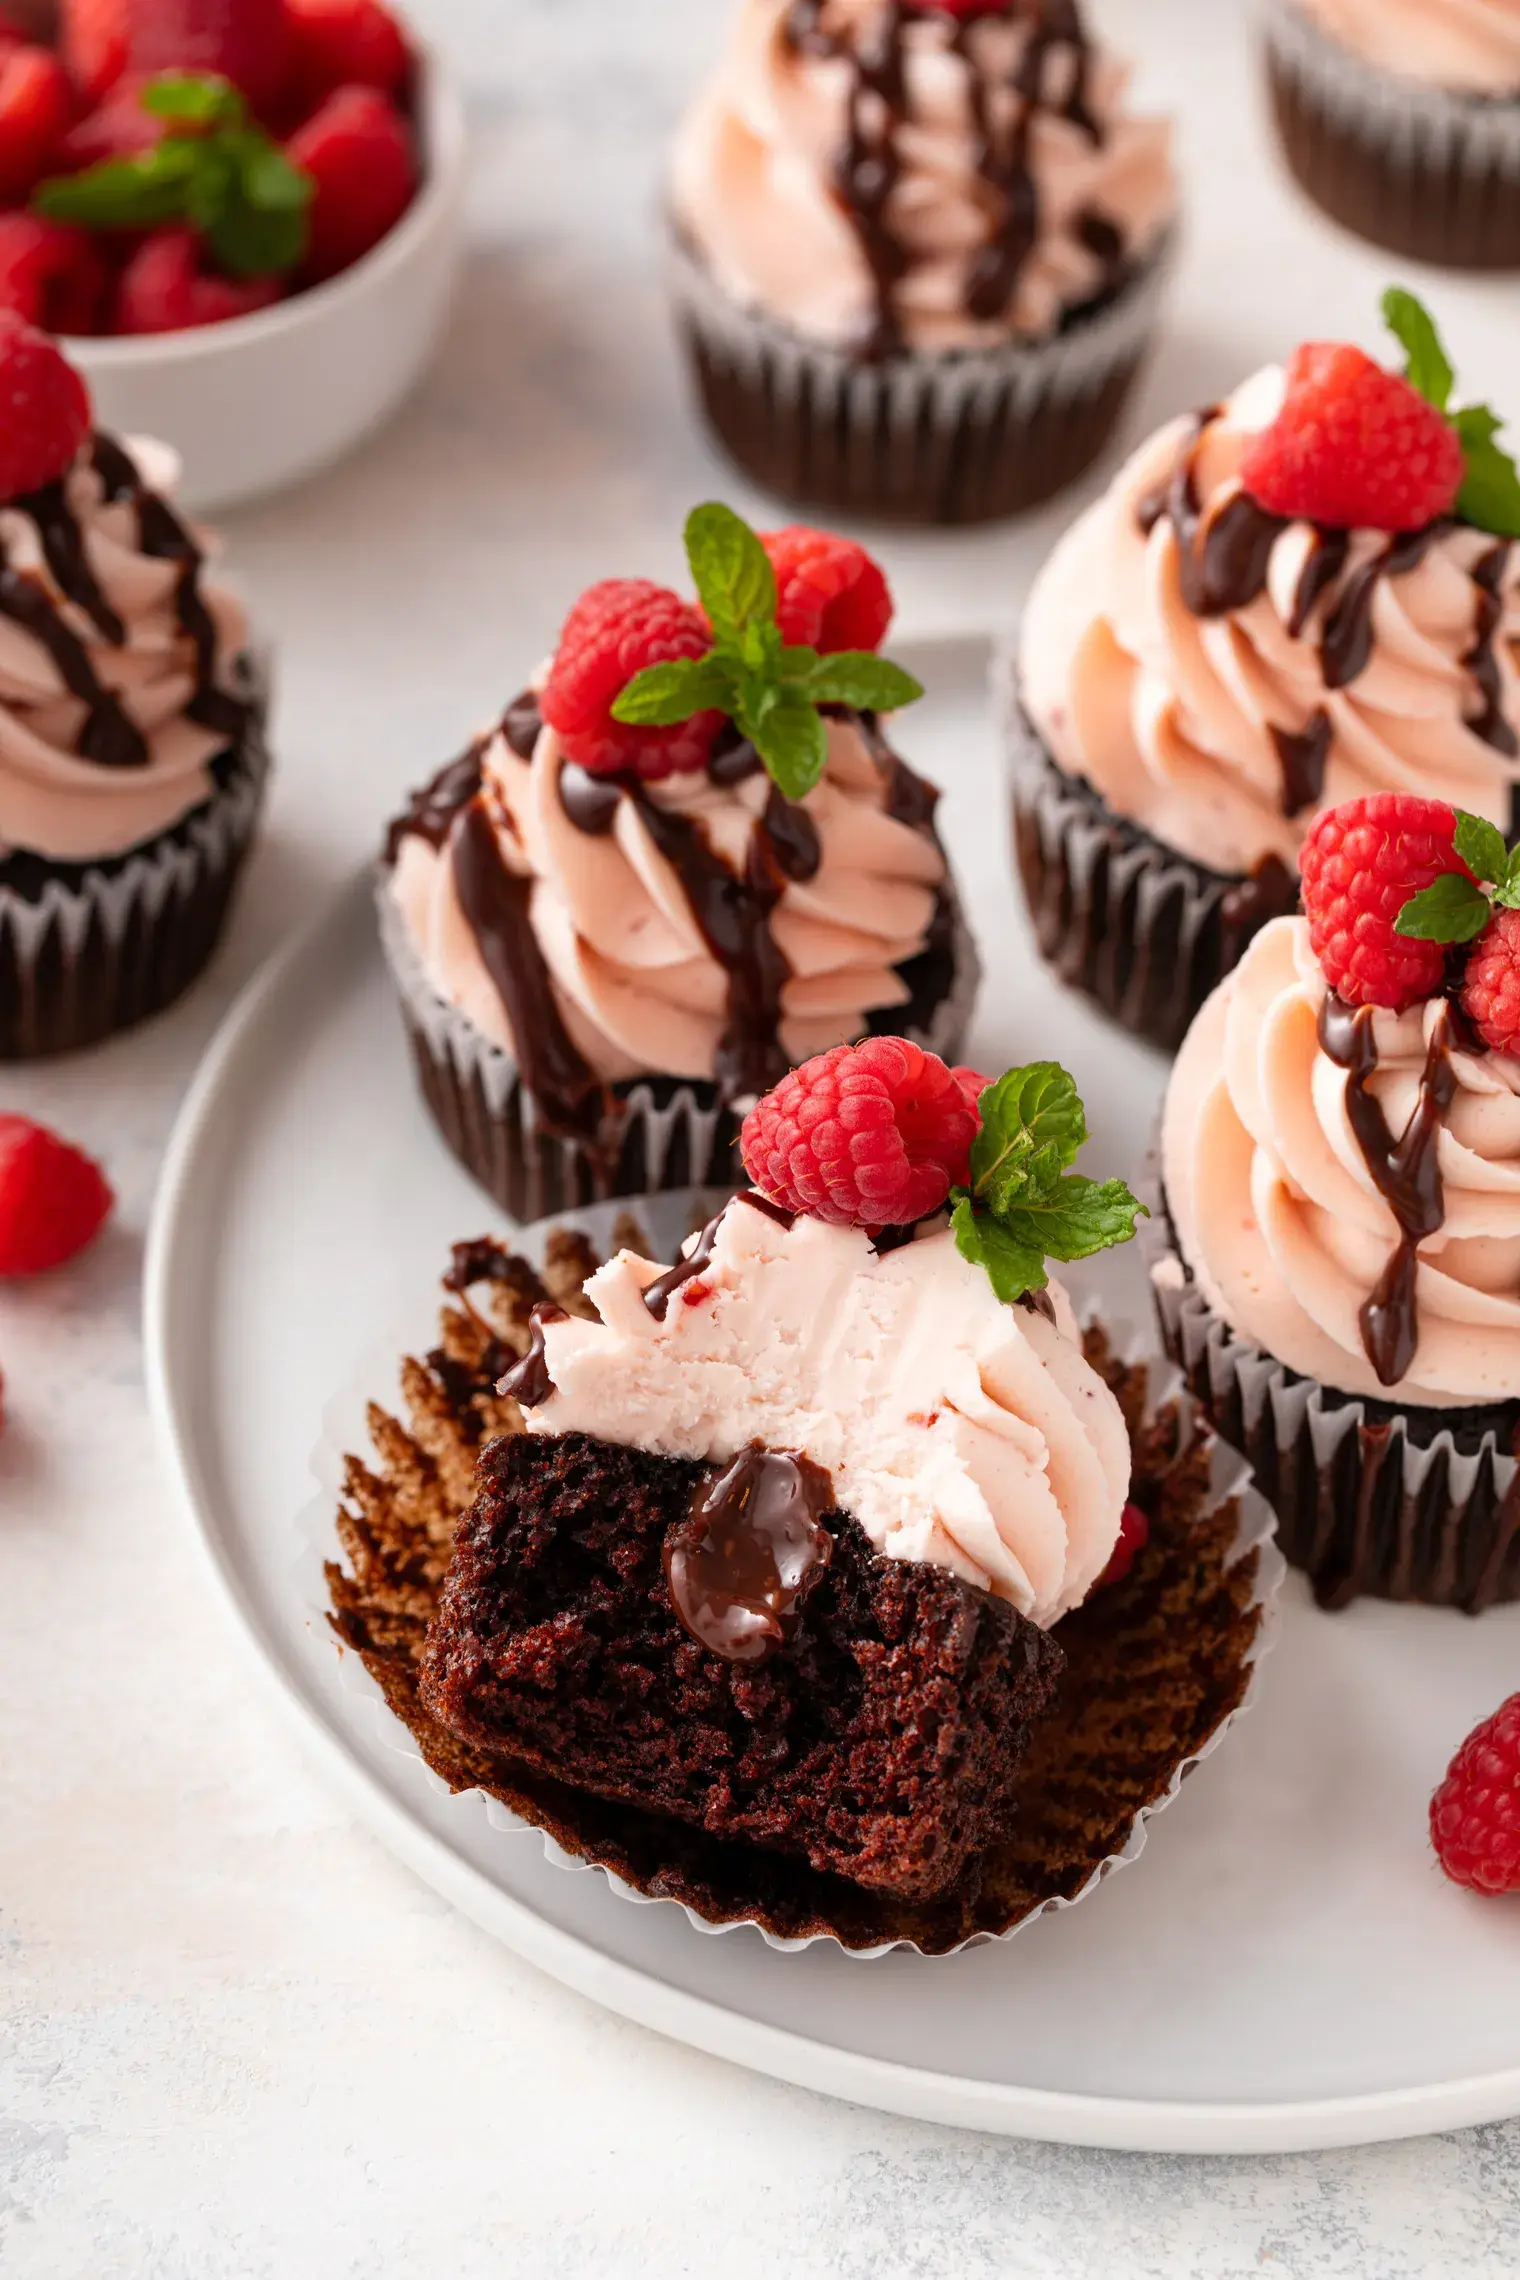
You know that friend who always knows exactly what to say? These mini cheesecake bites are their dessert equivalent. These aren’t the kind of desserts that sit untouched on a tray. You put them down, someone takes two, and they’re gone before you finish explaining what’s in them. Each one holds just enough – a bit of crunch, a hit of creaminess, and no leftovers. No forks, no slicing, no awkward portions. Just bite, chew, done. They’re the kind of thing you make the night before, forget about, then watch disappear in ten minutes flat. Friendship Day or not, people remember the person who brought these.

Mini Cheesecake Bites
(Makes 12 mini cheesecakes)
Ingredients:
For the Crust:
- ¾ cup crushed graham crackers (or digestive biscuits)
- 2 tbsp melted butter
- 1 tbsp sugar (optional)
For the Filling:
- 8 oz (1 block) cream cheese, softened
- ¼ cup plain yogurt or sour cream
- ⅓ cup sugar
- 1 egg
- 1 tsp vanilla extract
- A pinch of salt
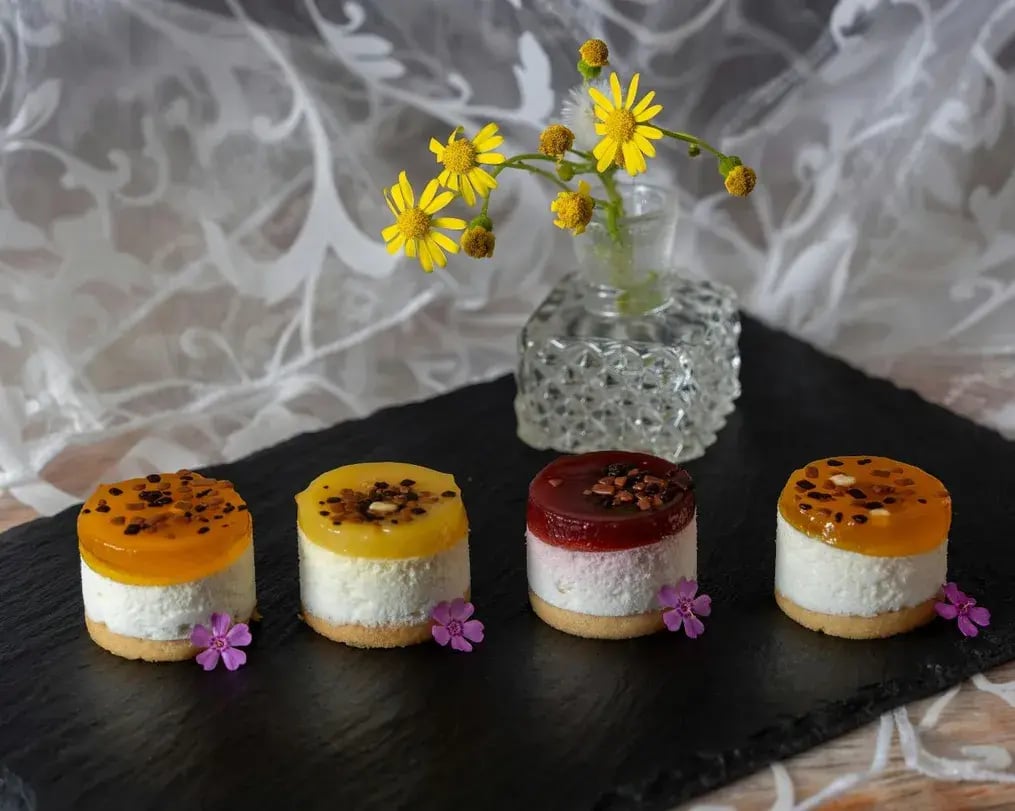
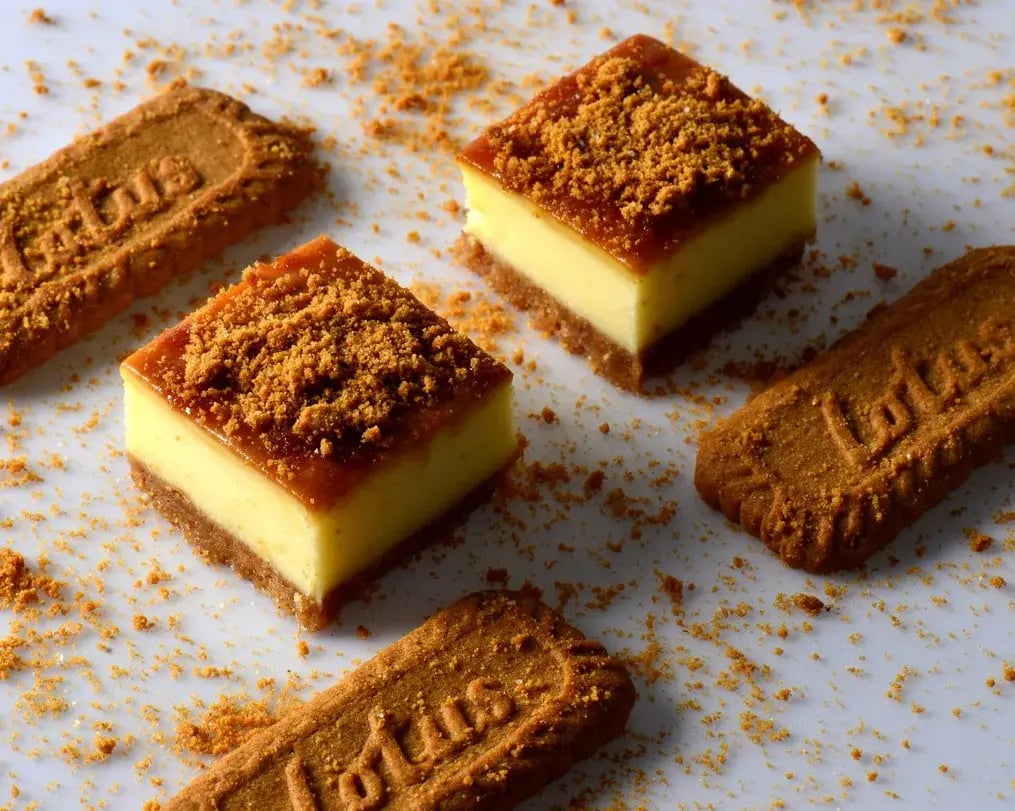
- Optional toppings: fresh berries, chocolate chips, fruit jam, crushed nuts
Method:
- Preheat the oven to 160°C. Line a 12-hole muffin tin with paper liners.
- In a small bowl, mix the crushed graham crackers with melted butter and sugar until the texture feels like damp sand.
- Spoon about a tablespoon of the crust mixture into each liner. Press it down firmly using the bottom of a glass or spoon.
- In a separate bowl, beat the cream cheese with a fork or hand mixer until smooth. Add yogurt (or sour cream), sugar, egg, vanilla, and salt. Mix until fully combined and no lumps.
- Pour the filling over the crusts, filling each cup about ¾ full.
- Bake for 16-20 minutes, until the centers look set but still have a slight wobble. Don’t overbake.
- Let them cool in the tin for 10 minutes, then transfer to a wire rack. Chill the mini cheesecake bites in the fridge for at least 2 hours before serving.
- Add toppings if you like – or serve them plain. They’re good either way.
Tips & Tricks
- No graham crackers? Use any plain, crisp biscuit – digestives, vanilla wafers, shortbread, or chocolate cookies. Just crush them into fine crumbs. If they’re not holding together, add an extra spoonful of melted butter.
- Want a crunchier base? Bake the crusts for 5 minutes before adding the filling. This helps them firm up and makes the base less likely to go soggy after chilling. You’ll also get a more defined texture contrast between crust and filling.
- Don’t skip the chill time: They may look ready once cooled, but they need at least two hours in the fridge to fully set. If you rush it, the texture will be loose and messy. Overnight is even better – they’re denser and taste more balanced the next day.
- Using a mini muffin tin? Cut the crust and filling amounts in half and shorten the baking time to around 10-12 minutes. These will be smaller, firmer, and even easier to serve at group events. Just watch the oven – they go from perfect to overbaked fast.
- No paper liners? Silicone molds work great. If using a regular metal tin without liners, grease well with butter or oil spray and dust lightly with flour or crumbs to prevent sticking. Use a butter knife to loosen the edges when removing.
- Flavor twist ideas: Add a teaspoon of lemon zest to the batter for brightness. For chocolate lovers, mix a spoonful of cocoa powder into the filling or drizzle melted chocolate over the top after baking. You can also swirl jam or peanut butter into the batter before baking for a marbled effect.
- Making ahead: These hold well for a few days in the fridge. Great for prepping before a party or trip. Keep them in a sealed container to avoid drying out. Add toppings like fruit or whipped cream just before serving so they don’t slide off or sink.
- Freezer-friendly: Once fully chilled, freeze the bites in a single layer on a tray. When solid, transfer them to a container or freezer bag. Thaw in the fridge, not on the counter, so the texture stays creamy, not wet or grainy. They’re great straight from the fridge on hot days.
- Serving tip: If you’re serving a crowd, place the cheesecake bites in mini paper cups after chilling. It keeps fingers clean and makes passing the tray easier. You can also label different flavors if you’ve made a mixed batch.
Like This Article?
More Like This


Popular Articles


Trending Web Stories

Curated Recipes


