









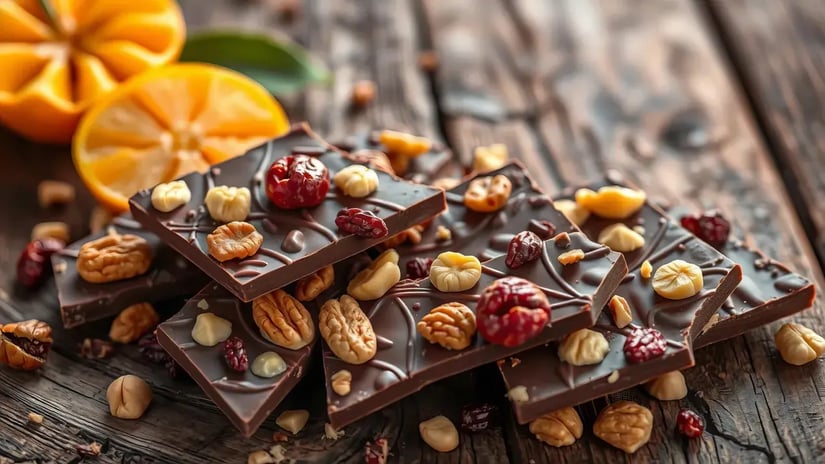


Make Oreo bark with dark chocolate, nuts and cookie pieces for an easy treat. Try this homemade chocolate bark recipe for rich chocolate Oreo bark at home now!
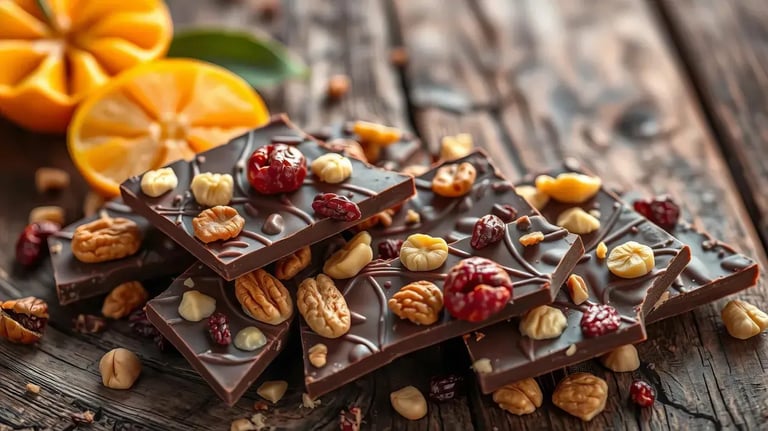
Looking for a real dairy-free treat that doesn't taste like a compromise? This Oreo dry fruit bark gives you just that, with a base of melted dark chocolate mixed with crushed Oreo, toasted nuts, and dried fruit. This bark is perfect for entertaining guests with different dietary needs, without having to make an entirely separate dessert, because the entire recipe is dairy-free at each step of the way if the chocolate and Oreo that are used are checked for vegan certification.
Bark is also one of the easiest treats to make in bulk, as you can pour a batch, set it, and break it into as many pieces as you like, making it a natural choice for gifting or dividing up for a party with no individual shaping, rolling, or piping required. This recipe only requires a few ingredients and no baking. It comes together in well under an hour of hands-on effort, most of which is just waiting for the chocolate to set, yet still looks impressively finished once broken into uneven, rustic shards.
Ingredients:
- 200g Bournville dark chocolate
- 4–5 Oreo cookies, crushed
- 1/2 cup mixed chopped dry fruits — almonds, cashews, pistachios, walnuts
Optional add-ins:
- 1 tbsp dried cranberries or raisins
- 1 tsp pumpkin seeds, chia, or sunflower seeds
- Pinch of sea salt for flavor balance
Instructions:
Step 1: Prepare Your Base
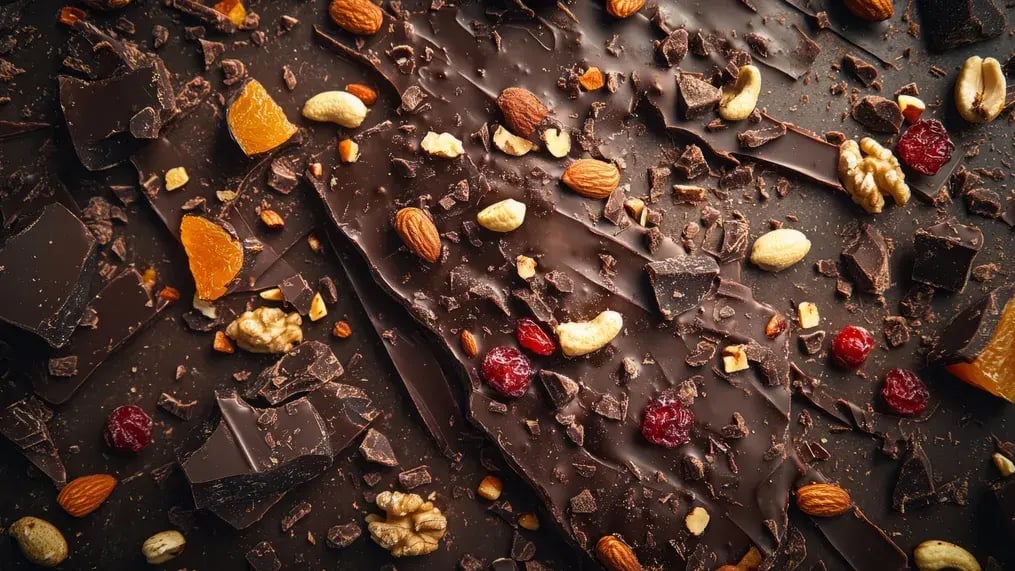
Put a sheet of parchment paper on a flat tray or baking sheet, smoothing out the wrinkles so that the finished bark sets with an even surface. Make sure your crushed Oreos, nuts and dried fruit are measured and portioned out before you begin, as bark sets quickly after being poured, and there won’t be much time to measure ingredients mid-process without risking an uneven spread.
Step 2: Melt the Chocolate
Gently melt the chocolate either in the microwave in 20 to 30-second bursts, stirring between bursts, or in a double boiler over gently simmering water on the stove. If using a double boiler, make sure no water touches the chocolate, as even a single drop will cause the chocolate to seize and turn grainy and clumpy almost instantly, spoiling the smooth, glossy texture you’re after for a good bark. It also means keeping the outside of the bowl dry and not covering the bowl in a way that condensation will collect and drip down into the melting chocolate.
Step 3: Spread & Sprinkle
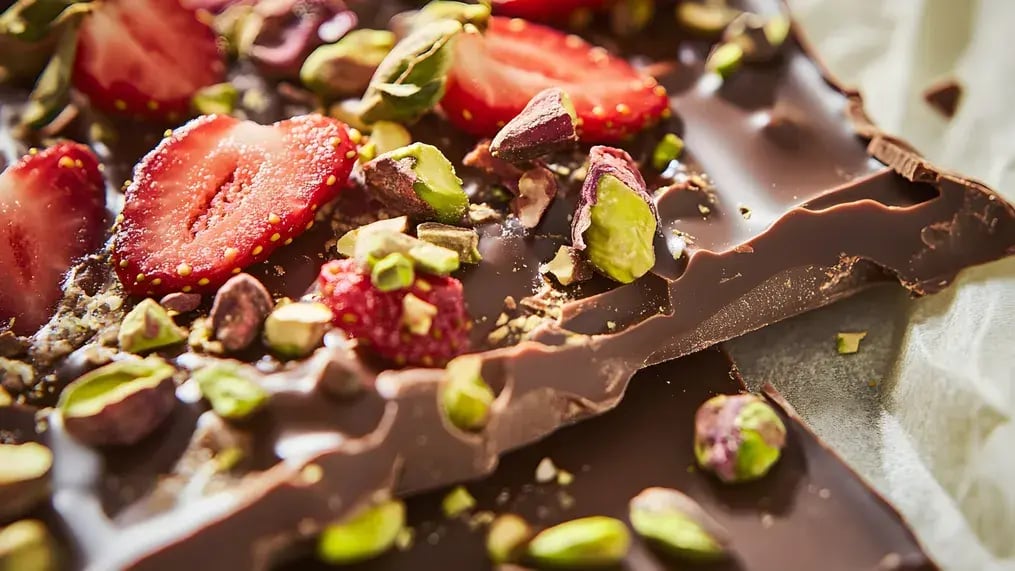
Pour the melted chocolate onto the prepared parchment paper and spread it into an even layer with an offset spatula, moving from the center towards the edges. Once the chocolate has been poured, work quickly, as it begins to set quickly at room temperature, and toppings need to be scattered and pressed in gently while the chocolate is still soft enough for them to properly adhere, rather than just sitting loosely on a surface that has already begun to harden up.
Step 4: Set It
Let the bark come to room temperature or refrigerate until the bark is completely firm and is no longer glossy or soft to the touch, about 30 minutes to an hour, depending upon the temperature of the room and how thick the layer of chocolate was when poured. This will go a lot quicker in a cool room, but in a warm kitchen you may need to pop it in the fridge to get a clean, firm set in any reasonable amount of time.
Step 5: Break & Serve
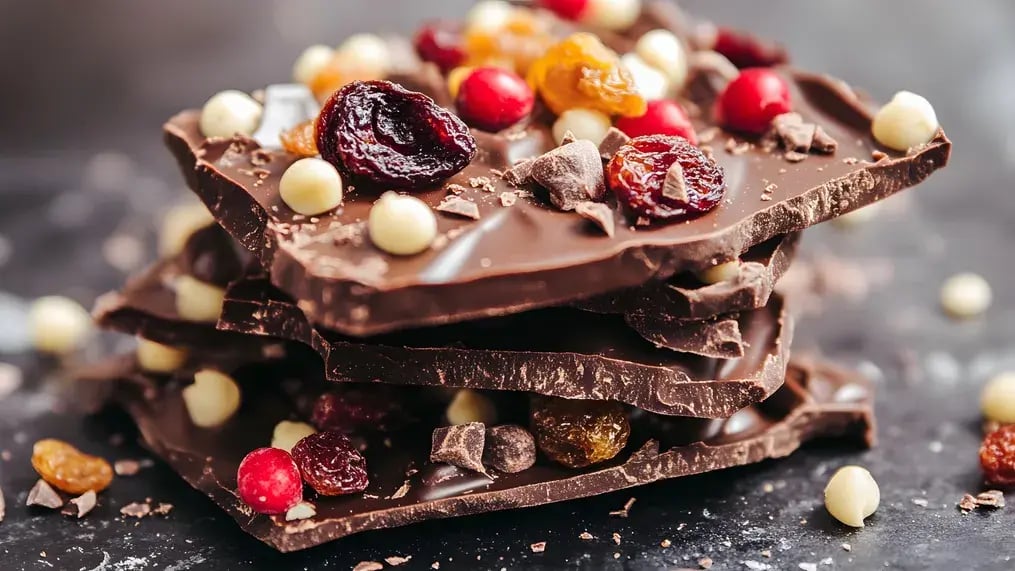
Once set, the bark can be broken by hand into uneven, irregular pieces for a rustic, artisanal look—which tends to suit gifting or casual serving best. Or if the idea is a more polished and orderly presentation, such as for a dessert platter or bakery-style packaging, it can be cut with a sharp knife into clean, uniform squares.
Variations to Try
For holidays like Diwali or Christmas, make it festive by substituting the regular toppings with edible glitter, colored sprinkles, or holiday-themed candies in colors and themes associated with the holiday. The same base recipe will take on a different look and feel. For a marbled effect, pour a thin layer of melted white chocolate over the set dark chocolate base, then lightly swirl the two together with a toothpick or skewer, creating a striking pattern that looks far more elaborate than the minimal effort it takes to achieve.
Storage Tips
As long as it is away from direct heat or sunlight, the bark will remain fresh for up to a week when stored in an airtight container at room temperature, retaining its snap and texture. In humid climates, refrigeration is the better bet to make sure the chocolate does not soften or develop a dull, waxy bloom on the surface, a cosmetic problem caused by the fat or sugar rising to the surface when the temperature fluctuates. Bark that has been kept in the fridge is worth bringing back to room temperature for a little while before serving, as chocolate is richer and snaps better when it is not ice cold.
Frequently Asked Questions
Can I use milk chocolate instead of dark chocolate for this bark? 
Yes, you can use milk chocolate, but it will be much sweeter, and it will not be vegan unless you specifically use a dairy-free milk chocolate alternative.
How do I prevent my chocolate from seizing while melting?
Never let the chocolate touch water or moisture while melting; heat gently in small doses rather than in continuous, high, direct heat.
Is this recipe nut-free and friendly for school snacks?
Yes, you can leave out the nuts altogether or replace them with sunflower or pumpkin seeds to create a nut-free version that can be taken to school.
How long does homemade chocolate bark stay fresh?
This bark stores well for up to a week at room temperature in an airtight container, or longer if stored properly in a humid environment under refrigeration.
Like This Article?
More Like This




Popular Articles


Trending Web Stories


Curated Recipes