


It is as simple as it sounds, for this Orange vanilla cake combines the subtleness of vanilla and the refreshing zest of orange with plenty of creaminess in the cake

In itself, both vanilla cakes with their subtle flavor, and orange cakes with their unmissable zest, are excellent flavors. But when you bring them together, the flavor medley is absolutely irresistible. So, we bring you this orange vanilla cake which brings the goodness of vanilla bean and the orange zest with a lot of sour cream to balance the flavors.
Orange Vanilla Bean Cake

Servings: 15
Ingredients
- 225 gm unsalted butter, slightly softened
- 400 gm sugar
- 3 large eggs, room temperature
- 240 gm sour cream
- Juice from 1 medium-sized orange
- 3 tbsp orange zest (from 2-3 oranges)
- 2 tsp vanilla bean paste
- 1 tbsp orange extract
- 340 gm cake flour
- 1 ½ tsp baking powder
- ½ tsp baking soda
- ½ tsp salt
- Orange coloring gel (optional)
For the orange cream cheese frosting

- 340 gm unsalted butter, softened
- 460 gm cream cheese, softened
- 2 tsp vanilla bean paste, to taste
- 1 ½ tsp orange extract, to taste
- ½ tsp salt
- 800 gm confectioners sugar
- Orange coloring gel (optional)
Instructions
- Preheat the oven to 180°C. Grease and flour three 20cm round cake pans to prevent sticking.
- In a medium bowl, whisk together cake flour, baking powder, baking soda, and salt until well combined. You want to ensure there are no lumps in the dry ingredients.
- In a separate bowl, add the sour cream, orange juice, orange zest, vanilla bean paste, and orange extract. Blend with a fork until the mixture is smooth. Set aside.
- In the mixer bowl, beat the softened butter until completely smooth. Gradually add the sugar and mix on medium speed for three to five minutes until the mixture becomes notably lighter in color and very fluffy. If using orange coloring gel, add it now.
- Add the room temperature eggs one at a time, mixing thoroughly after each addition until the yellow of the yolk completely disappears before adding the next egg.
- With the mixer running on low speed, begin alternating between adding the flour mixture and the sour cream mixture. Start with one-third of the flour mixture, then half the sour cream mixture, another third of the flour, remaining sour cream, and finish with the last third of the flour. Mix just until each addition is incorporated. Do not overmix.
- Divide the cake batter evenly between the three prepared pans. Use the back of a spoon or spatula to smooth the tops of each layer.
- Place pans in preheated oven and bake for 25-30 minutes. Start checking for doneness at 25 minutes by inserting a toothpick into the center of each cake. The toothpick should come out clean or with just a few moist crumbs. Allow cakes to cool in the pans for 5-10 minutes before turning out onto cooling racks.
For the Frosting:
- In a large mixing bowl, beat the softened butter on medium speed until it becomes completely smooth and creamy, with no lumps remaining.
- Add the softened cream cheese to the whipped butter. Mix on low to medium speed until the two are fully combined and no streaks remain. Scrape down the sides of the bowl as needed.
- Pour in the vanilla bean paste and orange extract. Mix until fully incorporated into the butter-cream cheese mixture.
- Begin adding the powdered sugar gradually, mixing at a low speed to avoid a sugar cloud. Continue adding and mixing until all sugar is incorporated and the frosting is smooth. Add orange coloring gel at this point if desired.
- If the frosting seems too soft for immediate use, refrigerate for 15-20 minutes to firm up the consistency.
Assembly:

- Once the cakes are completely cool, place the first layer on the serving plate or cake board. Spread a generous layer of frosting evenly across the top. Add the second layer and repeat with frosting. Place the final layer on top.
- Apply a thin crumb coat of frosting over the entire cake, making sure to fill in any gaps between layers. This doesn't need to look perfect - it's just to seal in the crumbs. Place cake in freezer for 15 minutes or refrigerator for 30 minutes until this coat is firm.
- After the crumb coat has chilled, apply the final coating of frosting, making it as smooth or textured as you like. For a textured look, use a small offset spatula to create swirls and patterns in the frosting.
Like This Article?
More Like This

No Bake Sweet Treats to Enjoy Alongside a Cup of Coffee
5 mins
Jun 29, 2024

The Art of Pastry Decoration: 8 Easy Techniques and Beautiful Recipes
4 mins
Jun 29, 2024
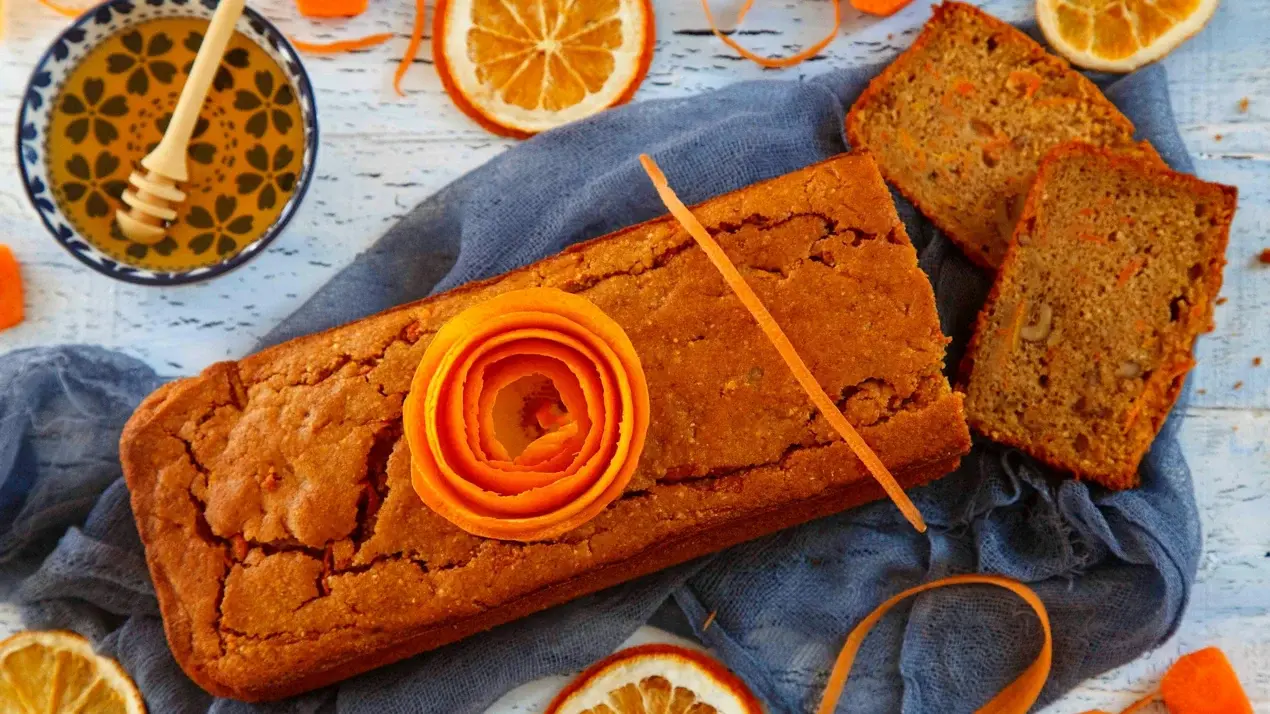
Soft Orange Loaf with Bournville Drizzle How to Get That Bakery Finish
3 mins
Oct 24, 2025
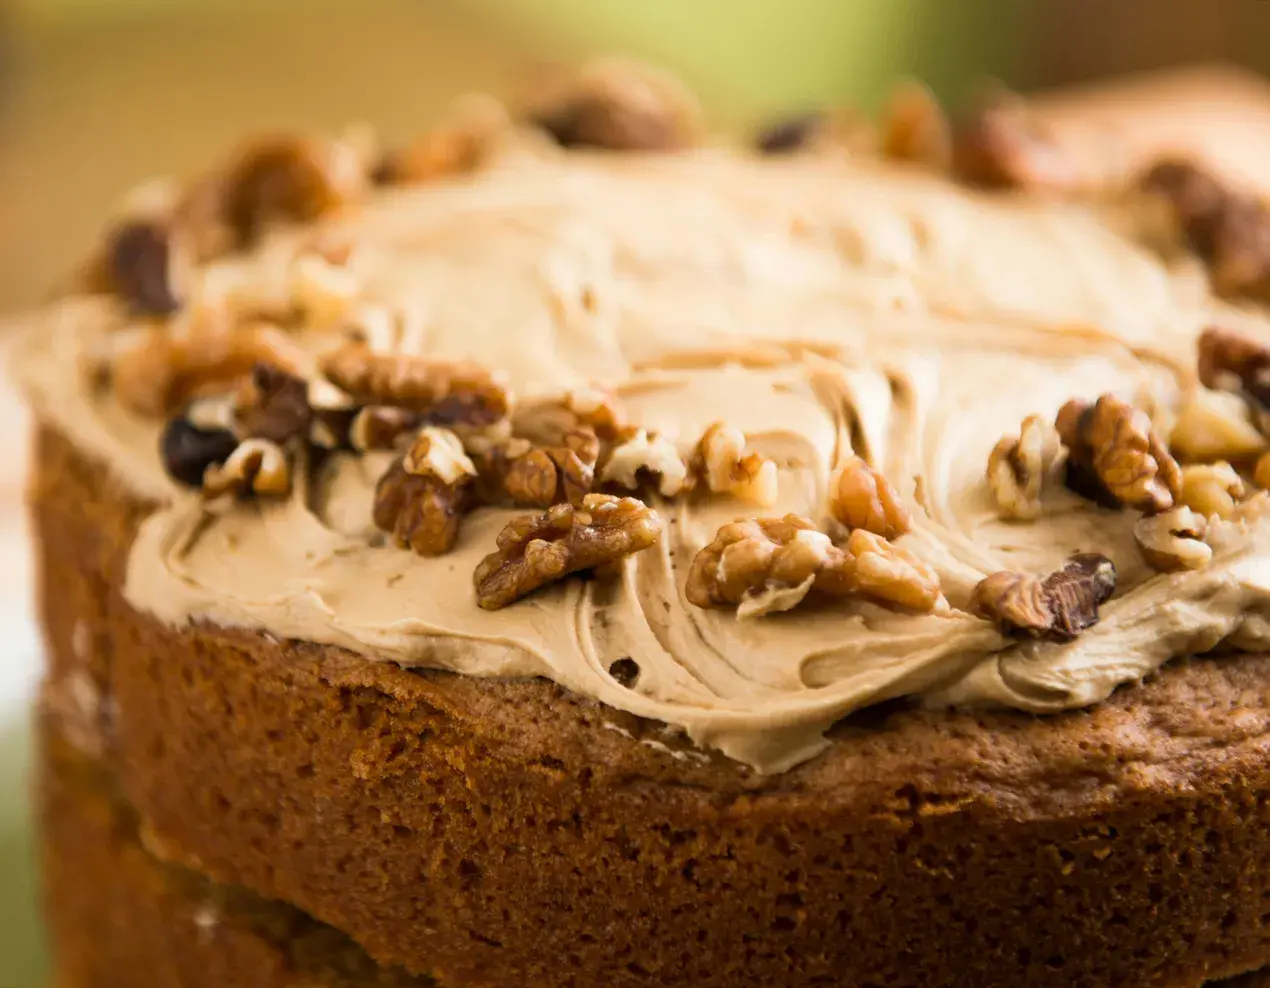
Orange Chocolate Frosting with Hazelnuts: For Cakes, Bars & More
3 mins
Oct 6, 2025
Popular Articles

Corporate Celebrations: Festive Independence Day Office Party Dessert Ideas
3 mins
Jul 5, 2026

The Sweet Grand Finale: A Complete Guide To Onam Sadhya Menu Sweet Dishes
3 mins
Jul 2, 2026


Beginner-Friendly Festivities: Easy Kerala Desserts For Onam First-Timers
3 mins
Jun 30, 2026

Innovation On The Banana Leaf: Modern Twists On Traditional Onam Sweets
4 mins
Jun 30, 2026
Trending Web Stories


Curated Recipes

Dairymilk Sheet Cake
1:05 hourseasy

Classic Bournville Hot Fudge Sundae
20 minseasy

Oreo Pistachio Icecream Cake
12 hoursmedium

Super Easy Oreo Brownie Cake
25 minseasy

Cocoa Cake With Bournville Ganache
1:05 hoursmedium