


Follow this step-by-step Silk chocolate milk mousse recipe and discover a dessert that’s easy to make and delicious to eat.

Chocolate milk mousse is one of those elegant desserts that manages to be rich yet airy, luxurious yet effortless. It’s the kind of dish that feels like a restaurant treat but can be made at home with a handful of ingredients. When done right, a chocolate milk mousse delivers the depth of chocolate, the creamy comfort of milk, and the irresistible lightness that only a well-whipped mousse can offer. So if you’re making a Silk chocolate milk mousse recipe or following a recipe that calls for the addition of a different chocolate, some basics remain the same. And keep in mind that whether you’re preparing it for a special occasion or simply indulging in a quiet treat, mastering the art of chocolate milk mousse requires some finesse. Here are seven essential steps to help you whip the perfect one every time.
Step 1: The ingredients
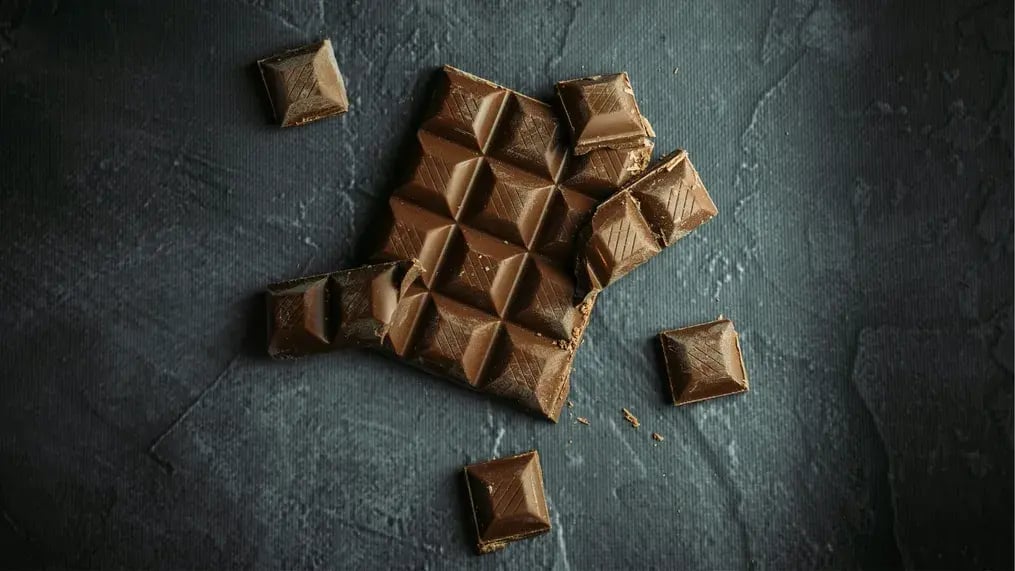
The foundation of any mousse is the chocolate, so don’t skimp on quality. Use good quality chocolate with at least 40% cocoa solids. Cadbury Silk, or baking-quality dark or milk chocolate work well, depending on your preference for intensity and sweetness. And pair this with full fat milk, which provides a creamy texture and enhances the melt in your mouth quality of the mousse. Avoid skimmed or low fat versions since they don’t mix in as smoothly and may result in a watery mousse.
Step 2: Melting the chocolate
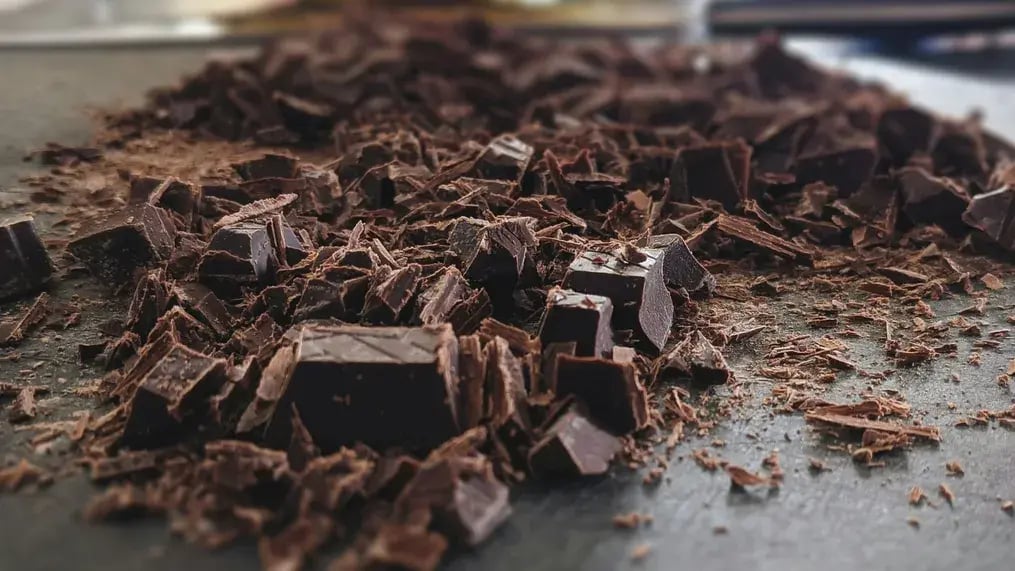
The process of melting chocolate is delicate. Chop the chocolate finely before melting. This helps it melt evenly without burning or clumping. Overheat it and it seizes; underheat it and it stays lumpy. Combine the finely chopped chocolate with warm milk and melt the mixture using a double boiler or microwave in short bursts. If using a double boiler, ensure that the bottom of the bowl doesn’t touch the simmering water. Stir slowly and continuously. The milk helps in thinning out the chocolate, giving you a smoother base for the mousse. Avoid adding cold milk directly to hot chocolate as it can shock the chocolate and cause it to split. Make sure both are at a similar warm temperature.
Step 3: The cooling
Once your chocolate and milk mixture is melted into a glossy, lump-free sauce, let it cool to room temperature. This is a critical but often overlooked step. If you add hot chocolate directly into whipped cream, it can cause the cream to collapse, turning your mousse into a runny mess. Patience pays here. Let it cool enough to touch comfortably but not so much that it begins to harden. To quicken the process, pour the mixture into a wide bowl, cover it lightly, and let it rest for 15 minutes.
Step 4: Whipping the cream
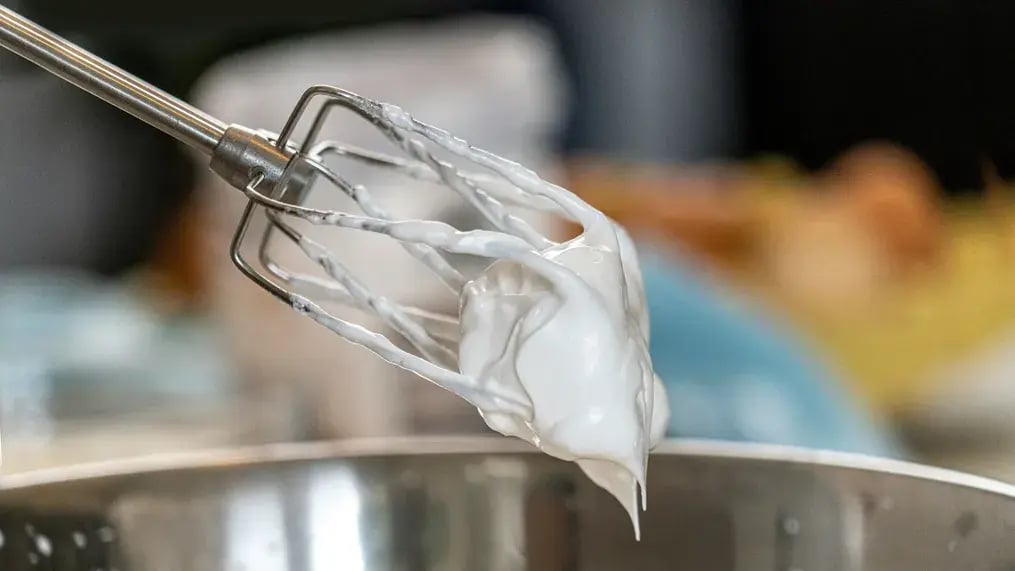
Cream is the ingredient that gives mousse its lightness and body. Use chilled, heavy whipping cream with at least 35% fat. Beat the cream until it forms soft peaks, enough that the cream holds its shape but the tips droop gently when the whisk is lifted. Over-whipping leads to stiff peaks and a grainy texture. Under whipping won’t give your mousse enough structure. Soft peaks strike the perfect balance, allowing you to fold the cream into the chocolate base without deflating it. If you like an extra airy mousse, you can also whip egg whites to soft peaks and fold them in after the cream.
Step 5: The mixing
Folding is where the magic of mousse happens. Gently combine the cooled chocolate mixture with the whipped cream using a spatula in slow, circular motions. The goal is to combine the two without knocking out the air you've carefully whipped into the cream. Add a third of the whipped cream first and stir it into the chocolate to loosen the mixture. Then fold in the remaining cream in two batches. Use a cut and fold motion -- slice through the center with the spatula, sweep it along the bottom, and turn the bowl slightly with each movement. Avoid overmixing, which can cause the mousse to deflate and become dense.
Step 6: The chilling
After folding, spoon the mousse into individual serving glasses or bowls. Smooth the tops or leave them artfully swirled. Cover each serving loosely with cling wrap and refrigerate for at least 6 hours. Chilling helps the mousse set to the perfect spoonable consistency while enhancing its flavor and texture. The chocolate flavor becomes deeper, and the texture firmer yet still silky. Don’t skip this step or rush it in the freezer. Freezing can create ice crystals and ruin the delicate creaminess of the mousse.
Step 7: The garnish
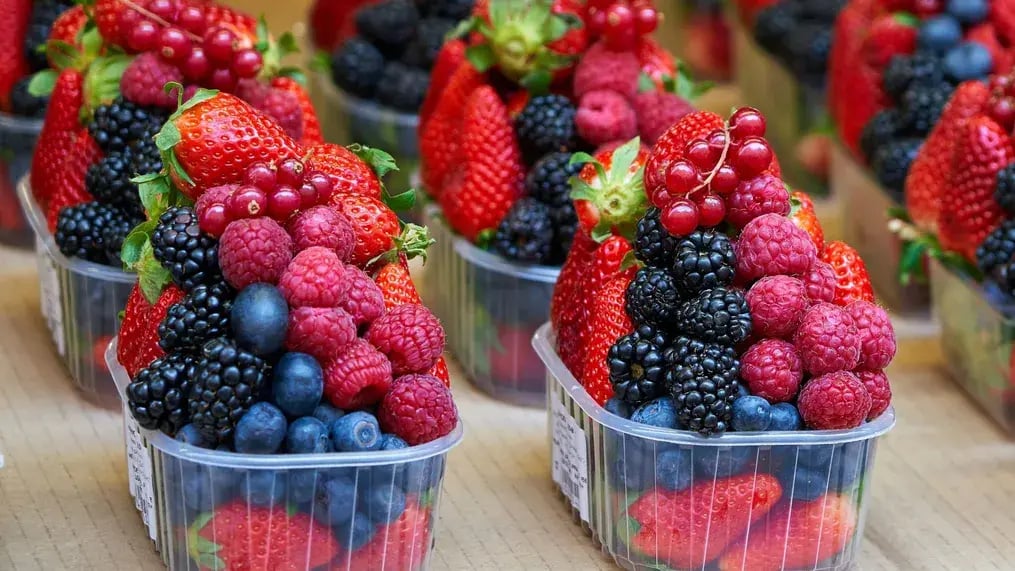
A mousse may be humble in preparation, but the right garnish can make it feel luxurious. Add a light topping just before serving, which can include fresh berries, grated chocolate, a dollop of whipped cream, chocolate curls, or even a few edible rose petals. If you want a textural contrast, sprinkle chopped nuts, cookie crumbs, or toasted coconut on top. A dusting of cocoa powder or icing sugar can also elevate its visual appeal with minimal effort. The garnish adds flavor and texture to every bite, so don’t skip it.
Like This Article?
More Like This


Popular Articles


Trending Web Stories


Curated Recipes


