


If you’re planning to make a no-bake Oreo cheesecake with hazelnuts and Chocobakes layer, keep these important tips in mind for assured success.
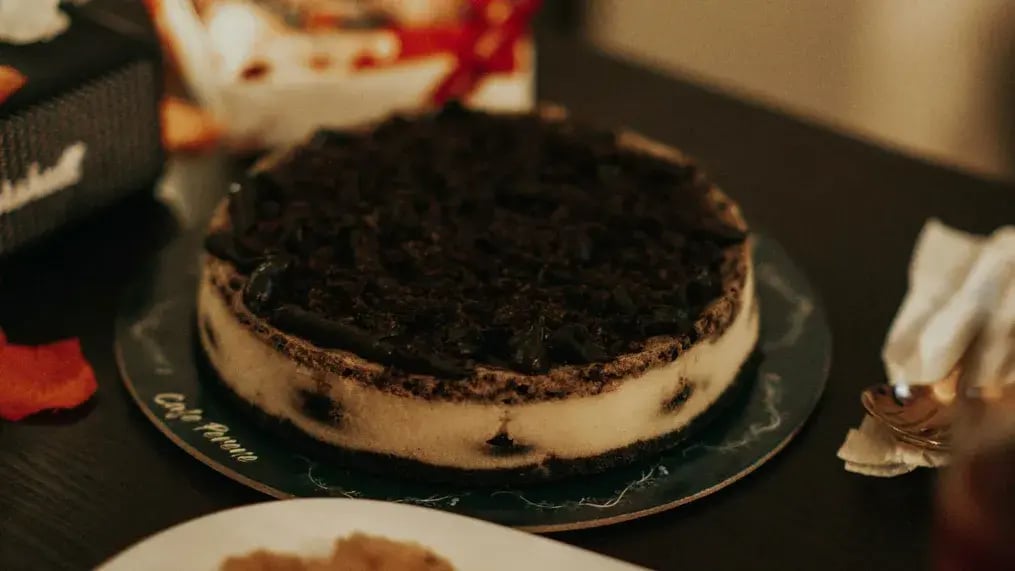
There’s something deeply exciting about a no-bake Oreo cheesecake with hazelnut and Chocobakes layer. It's smooth, rich and requires no heat, but only patience and precision. The crust is soft and crunchy, the filling is soft yet substantial and the whole cake tastes like a marvel. So here are 5 tips to keep in mind for a firm and creamy cheesecake.
The cream cheese
Use full-fat cream cheese. This is not the time to think about calories. Low-fat or spreadable cream cheese simply won’t give you the rich body or firmness needed for a creamy no-bake dessert. The higher fat content stabilizes the cheesecake and gives it that dense, smooth texture that holds up when sliced.
Always use brick-style cream cheese. The whipped tub versions are too light and airy for this dessert. And before using it, let the cream cheese sit out for about 20 minutes so it can come to room temperature. This ensures it blends smoothly without lumps.
The mixing
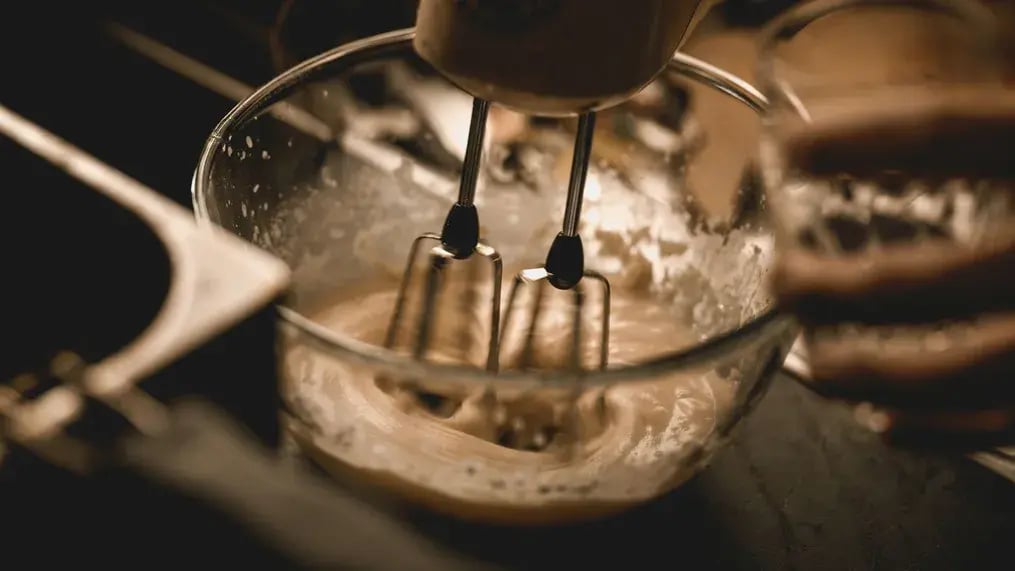
The methods of mixing the ingredients matter just as much as the actual ingredients that you’re using. When mixing your cheesecake base, beat the cream cheese and sugar first until smooth and fluffy. This sets the tone for a creamy and sweet dish. Then, in a handheld mixer or stand mixer, whip your heavy cream separately until soft peaks form. The aeration adds lightness to the cheesecake without compromising structure. Also, chill your mixing bowl and beaters before whipping the cream, because cold tools make your peaks stiffer and more structured.
But later, gently fold the whipped cream into the cream cheese mixture. Use a spatula and make soft, circular motions. Rough handling will deflate your cream, and lead to a flat cheesecake. So basically, you need to be mindful about where to use strength and where to be gentle.
The rest
A no-bake cheesecake needs time. It needs to be in the fridge for at least 6 to 8 hours, and ideally overnight. This allows the cake to solidify its form, and for the flavors to seep in deeply and thoroughly.
Rushing the chilling process will leave you with a cheesecake that’s too soft to slice or serve, so be patient. Ideally, plan so you have time to let it sit in the fridge overnight. And if your fridge is too full, meaning that its coolness is divided between too many items, then keep the cheesecake on the middle shelf, since there the temperatures are most stable. This is a little trick to avoid uneven setting.
The stabilizer
Consider adding a stabilizer to your mix. A tablespoon of gelatin dissolved in warm water can help the cheesecake set firmer, especially if you’re serving it outdoors or transporting it. For vegetarians, agar-agar works just as well. But always let the gelatin cool slightly before folding it into your cream cheese mix, or you’ll risk curdling the texture.
And if you want to keep things simple, even melted white chocolate folded into the batter can lend a firmer structure while adding sweetness. But remember, this isn’t a rule. It’s more of a suggestion, especially useful if your environment is a bit too warm or unstable. In case you are going ahead with the melted white chocolate, remember to adjust the sugar and other sweet elements so that the cheesecake isn’t too sweet because of the chocolate.
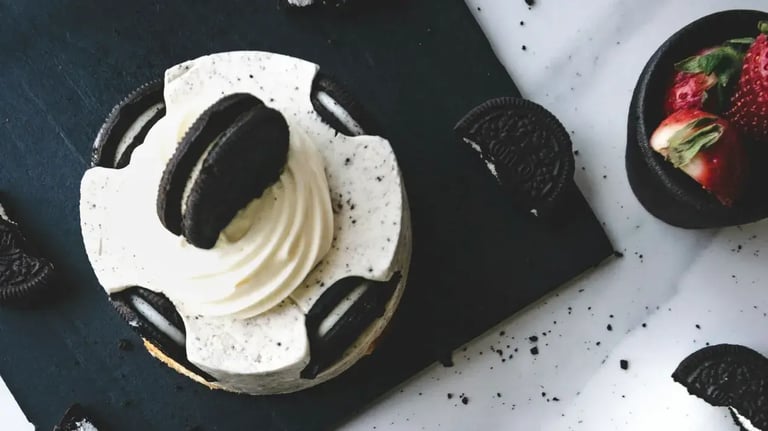
The Oreos
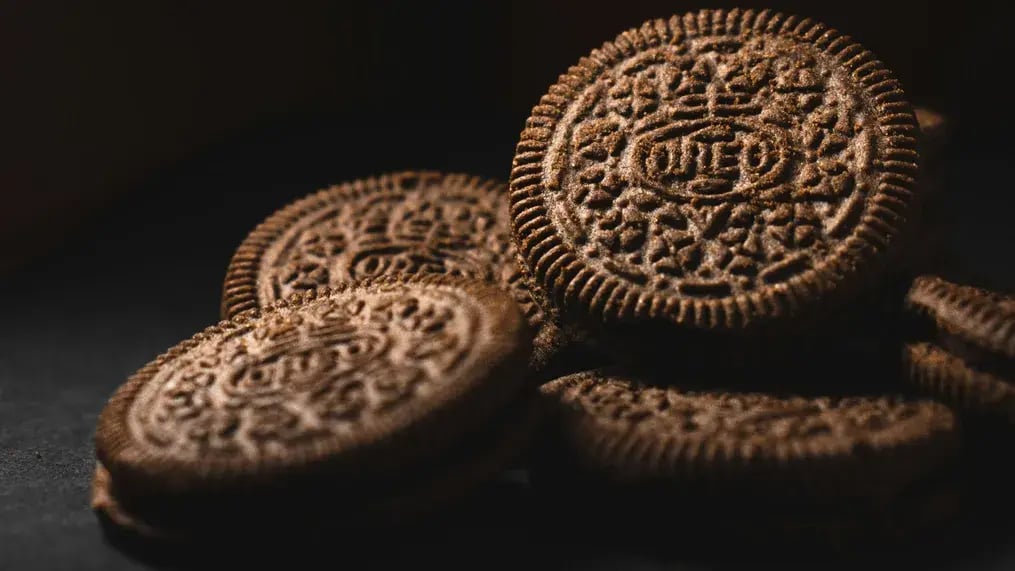
The crust and mix-ins are what elevate your Oreo cheesecake from basic to breathtaking and give that special Oreo kick to the whole cheesecake. Use whole Oreos with the filling intact when making the crust since the cream acts as a natural binder when mixed with butter. So cruch the Oreos with their cream in a handheld mixer or stand mixer and then mix in the butter, then press that into the base of the pan evenly. Also, place your crust in the freezer for 10 minutes before adding the filling on top. That firms it up without needing to bake.
While the Oreos in the crust are as fine as wet sand, for the Oreo pieces in the filling, don’t crush them too much. You want bite-sized chunks that offer a crunchy surprise in the cream. Too fine, and they’ll disappear. Too large, and they’ll ruin the texture. Also, reserve some Oreo bits for garnishing the top.
Like This Article?
More Like This


Popular Articles


Trending Web Stories


Curated Recipes


