


When making no-bake Oreo dessert cups for dad on Father’s Day, follow these steps to get it just right and make delicious desserts.
Few desserts balance the richness of cream with the crunch of chocolate quite like Oreo dessert cups. Perfect for parties, weekend indulgences, or spontaneous sweet cravings, these individual sized treats are as delightful to assemble as they are to devour. And for a Father’s Day celebration, these no-bake Oreo dessert cups for dad are a great way of making him smile. So whether you're an amateur home cook or a seasoned dessert lover, Oreo dessert cups are a no bake marvel that requires minimal ingredients and delivers maximum satisfaction. Here’s how to make them in 7 easy steps.
Step 1: The ingredients
To start, make sure you have all your ingredients ready. You’ll need:
- 25 Oreo cookies (classic or your preferred flavor)
- 2 tablespoons melted butter
- 1 cup heavy whipping cream (chilled)
- 200 grams cream cheese (softened)
- ½ cup powdered sugar (adjust to taste)
- 1 teaspoon vanilla extract
- Optional toppings:
- chocolate shavings
- crushed Oreos
- whipped cream
- mini Oreos
Step 2: The Oreo base
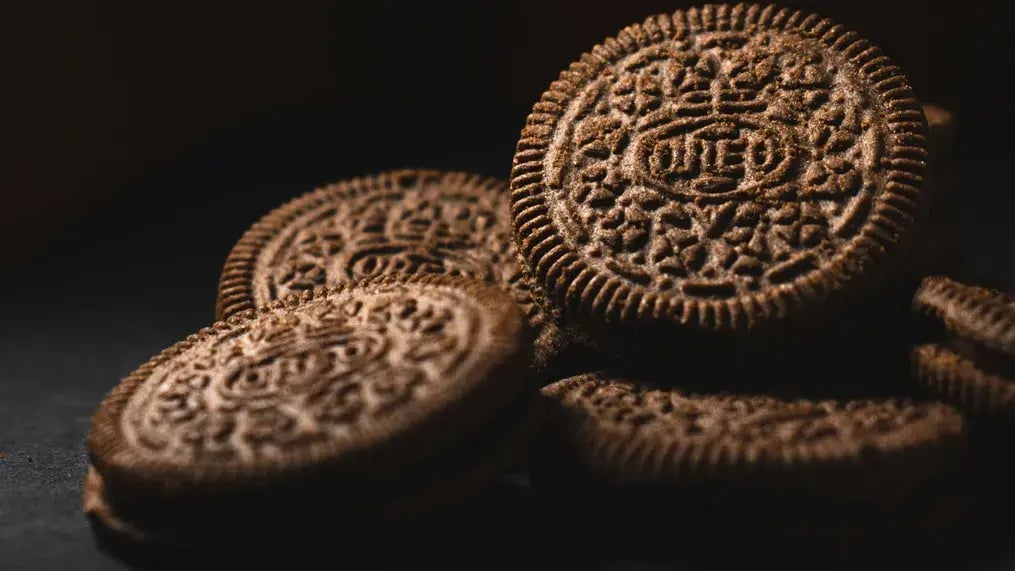
Start by separating about 15 Oreos for the base layer. Crush them finely using a food processor or place them in a ziplock bag and use a rolling pin. Once crushed to a coarse sand-like texture, mix the crumbs with 2 tablespoons of melted butter. The butter binds the crumbs together, forming a solid base.
Spoon the mixture evenly into the bottom of your dessert cups or small glasses. Press gently with the back of a spoon to compact the crumbs and create a crust like foundation. Refrigerate for at least 10 minutes while you prepare the filling.
Step 3: The whipped cream
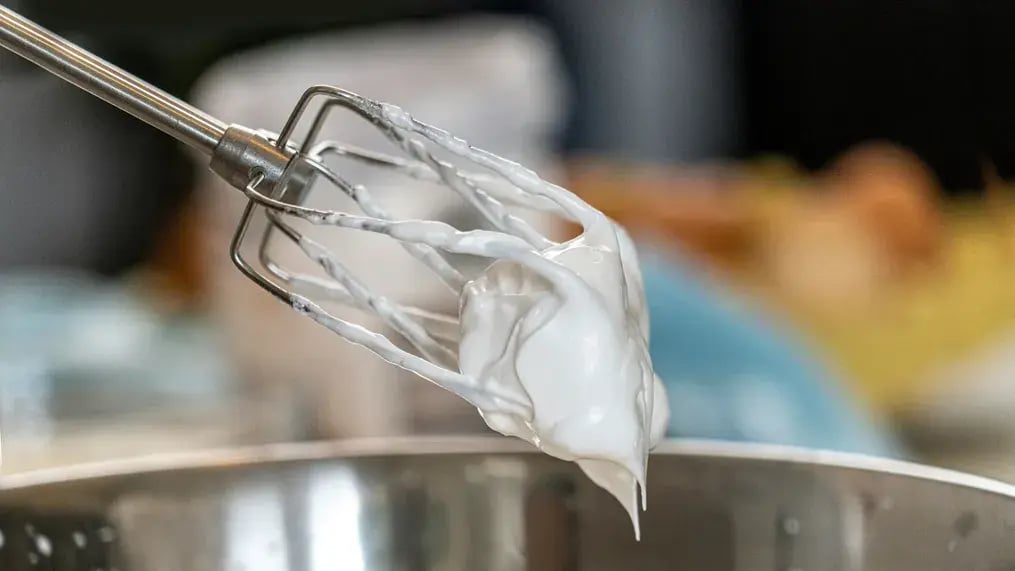
In a chilled mixing bowl, pour 1 cup of heavy whipping cream. Using an electric mixer or a whisk and beat the cream until soft peaks form. This takes about 5 minutes on medium-high speed. Be cautious not to over whip, and keep in mind that you’re looking for a light, pillowy texture. Set aside a few spoonfuls if you want to use some for the topping later.
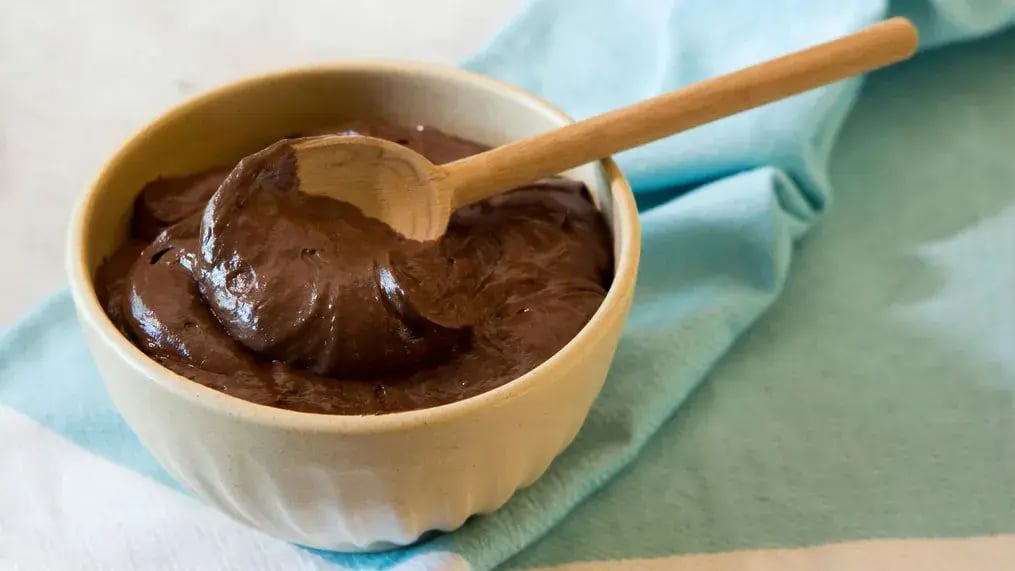
Step 4: The cream cheese
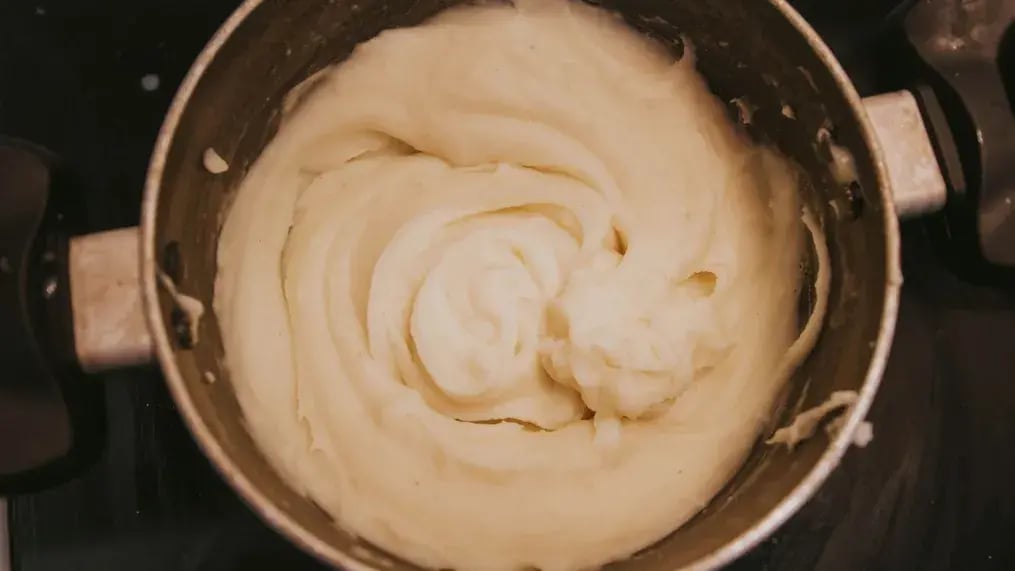
In another bowl, add the softened cream cheese and powdered sugar. Beat using a handheld mixer or stand mixer until the mixture is smooth, creamy, and lump free. Add in the vanilla extract to elevate the flavor.
Once your cream cheese is ready, gently fold in the whipped cream using a spatula. Be careful not to deflate the whipped cream. Folding gently ensures a light, mousse like consistency. Your creamy Oreo filling is now ready.
Step 5: The Oreo crunch
Take the remaining Oreos and crush them into chunks which are not too fine, nor too big. You want bits that give a nice crunchy surprise with every bite. Fold these crushed Oreos into the cream filling. The result is a rich mixture with both smoothness and texture, a perfect balance of creamy and crunchy.
Step 6: The assembling
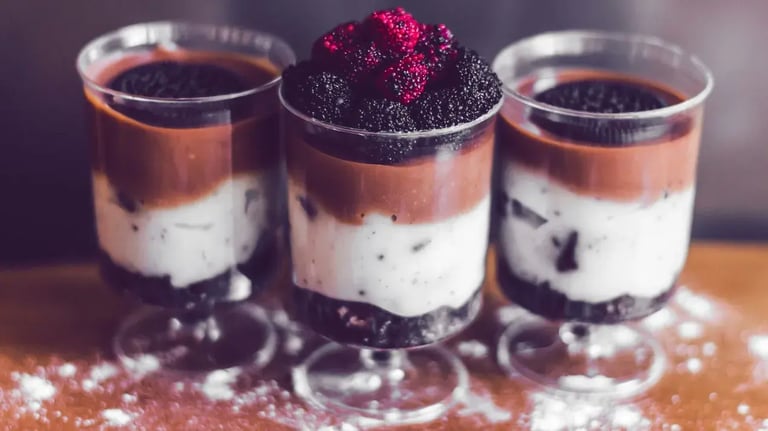
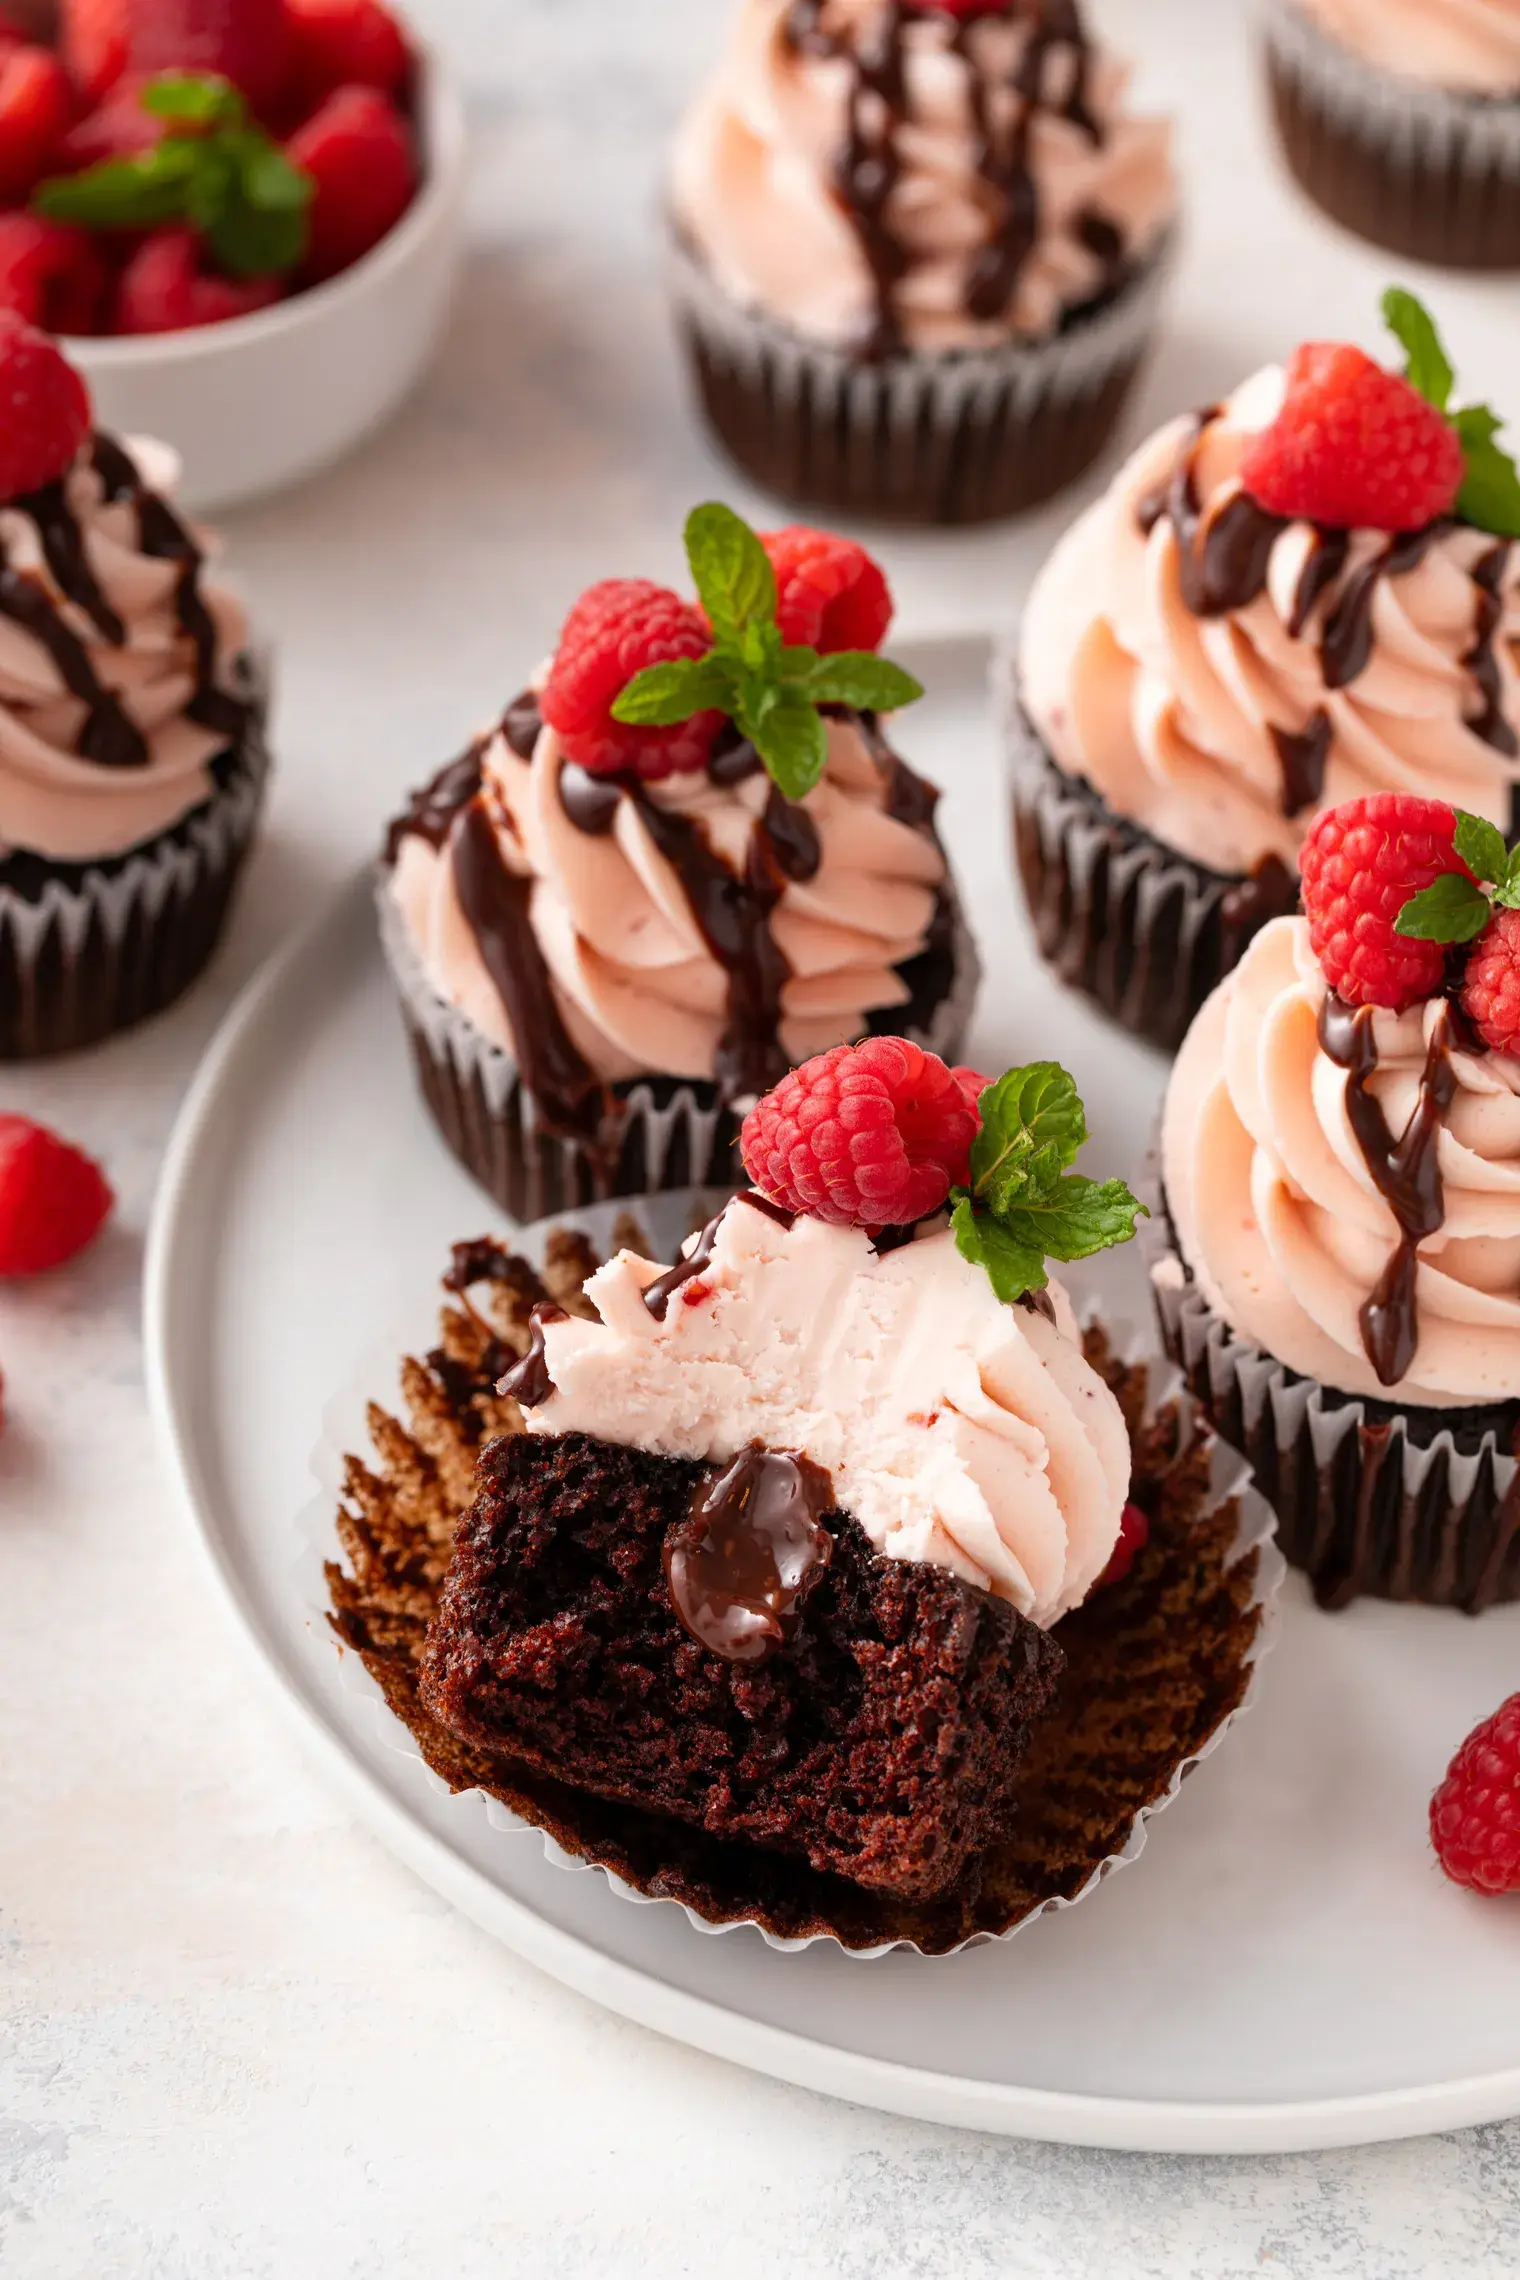
Spoon or pipe a generous layer of the Oreo cream filling over the chilled crust. If you want to add more layers, alternate with additional Oreo crumbs or whipped cream. Basically, add some of the whipped cream on the Oreo crust, then add more crushed Oreos, creating a layer, then more whipped cream filling on top, and finish off with more Oreos. Or, finish with a topping of your choice, which could include crushed Oreos, chocolate shavings, piped whipped cream, or a mini Oreo perched on top for a playful touch. The layers not only add visual appeal but also give a variety of textures as you dig through each cup.
Step 7: The serving
Once assembled, refrigerate the Oreo dessert cups for at least 2 hours before serving. This allows the flavors to meld, and the texture to set properly. The cream firms up slightly while the Oreo base holds strong, creating a beautiful contrast between the crunchy bottom and the fluffy top.
Serve cold with a small spoon. Each bite delivers a satisfying crunch, velvety creaminess, and that unmistakable Oreo flavor.
Tips:
- Add a chocolate ganache layer in the middle for a richer twist.
- Try flavored Oreos like mint, strawberry, or peanut butter for a fun variation.
- Make it vegan by substituting dairy free cream cheese and plant based whipping cream, and using vegan butter and cookies.
- These cups can be made a day in advance, making them ideal for entertaining.
Like This Article?
More Like This


Popular Articles


Trending Web Stories


Curated Recipes


