The perfect cassata with cherries and Dairy Milk chunks recipe needs the perfect tips and tricks guide, so here is one. Do read on
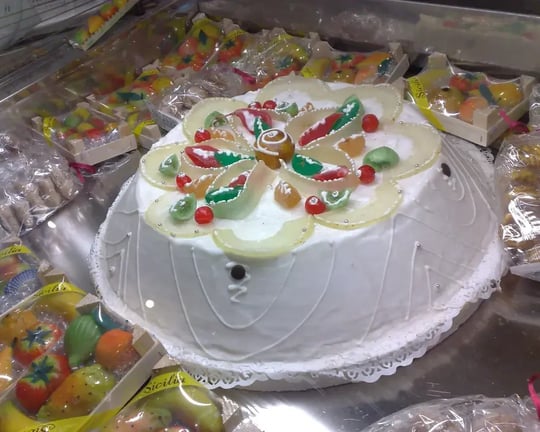
Cassata is an Italian dessert that needs quite a bit of patience and fridge time, and if you are making a cassata with cherries and Dairy Milk chunks, you need to be extra careful. The temperature, assembly, and getting the timing right matter to get the perfect dessert in the end that looks and tastes like the authentic one. So, here are some tips to aid your baking and freezing journey.
1. Cool Cake to Room Temperature
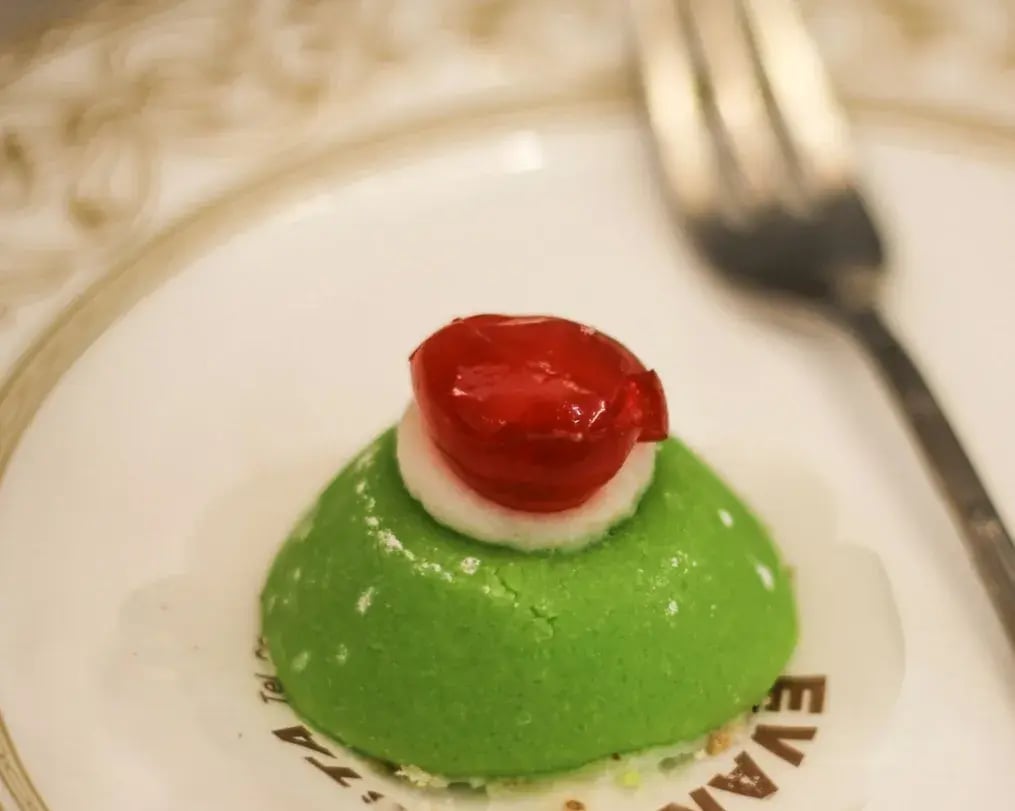
Avoid slicing a warm cake loaf. Internal heat softens the crumb and destabilizes the surface. Let the baked base rest on a wire rack for at least 60 minutes. Do not refrigerate to speed this up; cold air hardens the crust and promotes tearing when cut. Wait until the cake is fully neutral in temperature before touching it with a knife.
2. Cut Even Horizontal Slabs with Steady Hands
Use a long bread knife or slicing blade with serrations. Pressing down will crush the sponge; only saw in slow, horizontal strokes. Keep the blade parallel to the counter. Mark uniform height guides on the loaf’s side using toothpicks or a ruler. Divide into three consistent layers. If one layer domes, shave it flat. Irregular cuts tilt the entire structure and push the ricotta filling toward the sides. Cut on a flat surface, not in your hand.
3. Use Syrup to Trap Moisture and Bind the Crumbs

Brush all exposed interior surfaces with simple syrup. One thin coat per layer prevents drying and adds stickiness without soaking. Use a silicone brush or pastry brush with control. Focus on the corners and edges, those dry first and crack during refrigeration. Syrup also enhances adhesion between the sponge and ricotta.
4. Pack Ricotta Filling Without Overloading
Mix the ricotta evenly just before spreading. Stir gently to redistribute cherries and Dairy Milk pieces. Don’t mash, chunks must stay whole. Apply a moderate amount using an offset spatula. Avoid pressing it in. Keep a buffer of 1-1.5 cm from the edges. This margin prevents overflow when the top layers are added. Overfilling leads to sideways bulging and internal gaps. The filling must sit flat, not domed.
5. Align Cake Layers to Prevent Slippage
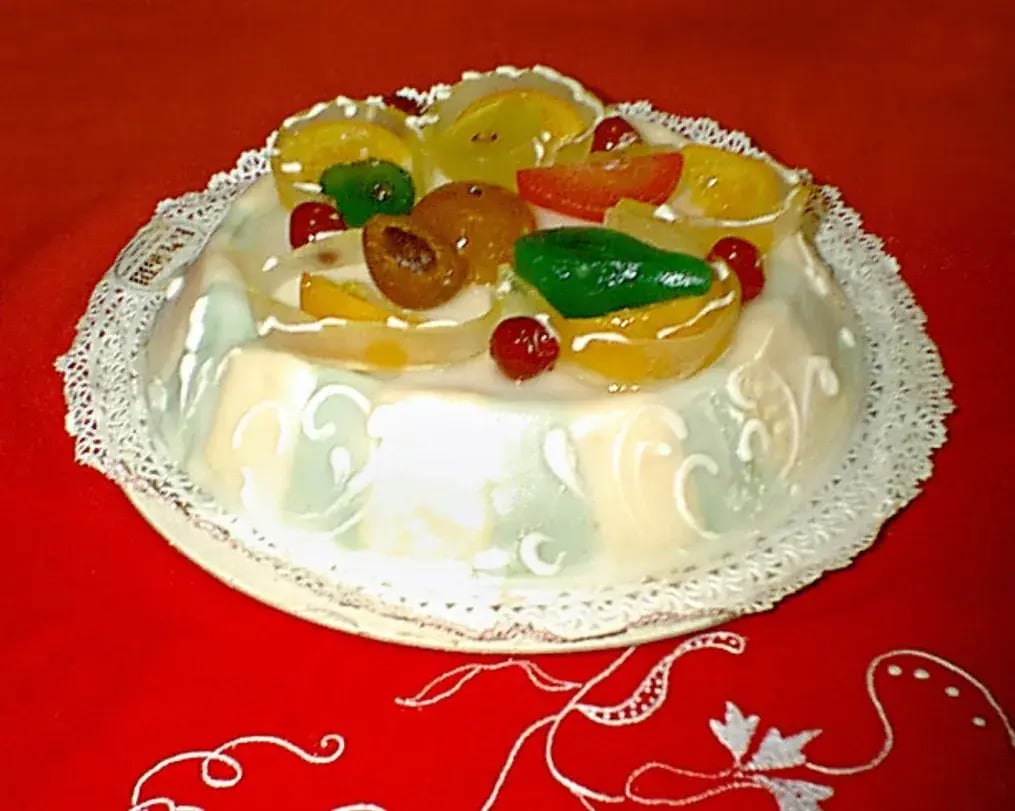
Before stacking, look at the loaf from above. Line up the layers so all sides match. Adjust placement before pressing down. Misaligned slabs will shift during refrigeration and shear under frosting. Press gently with palms, starting from the center and moving outward. This releases air pockets and settles the filling without spreading it too far.
6. Flash Freeze Before Applying Frosting
Place the assembled but unfrosted cassata in the freezer for 25-30 minutes. Use a baking sheet or cake board underneath for flatness. Cover loosely with wax paper or perforated wrap, never airtight plastic at this stage. This freeze sets the filling. Without this step, the top layer may sink or the filling may ooze under the pressure of the spatula. Partial freezing also prevents frosting from mixing with crumbs.
7. Apply a Crumb Coat, Then Frost Smoothly in Layers
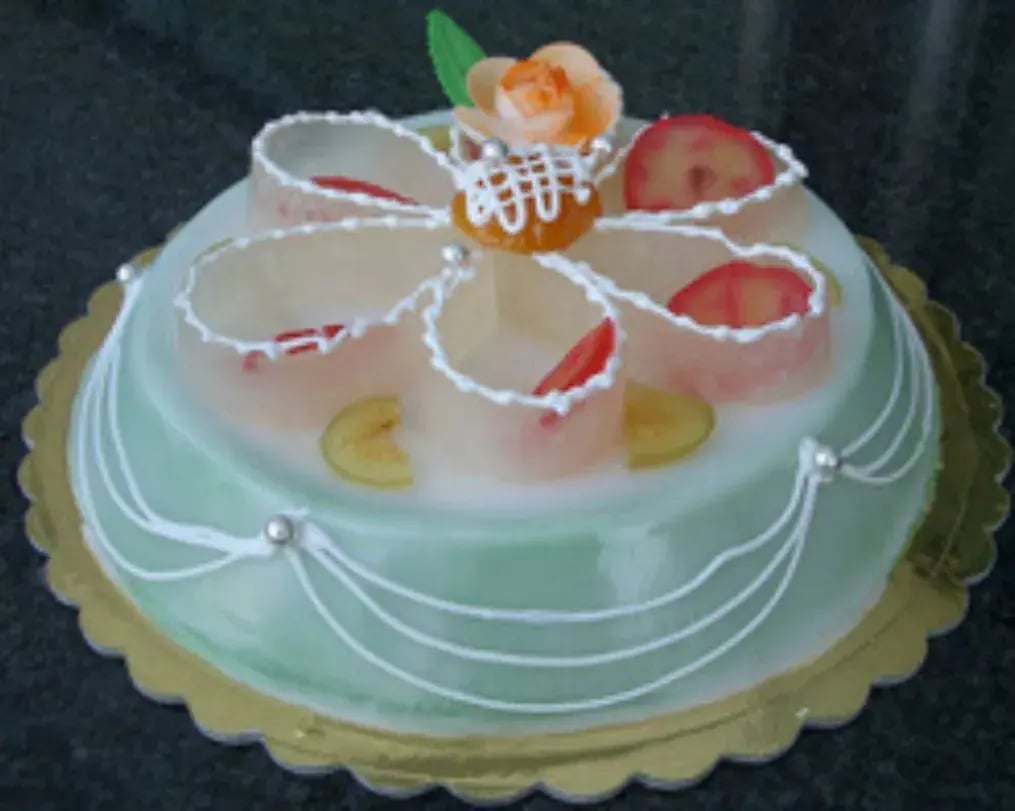
Start with a thin crumb coat. Spread a minimal layer of frosting to trap loose particles. Return the cassata to the freezer for 10-15 minutes. Once set, apply the second, thicker coat. Use a cooled metal spatula and rotate the cake often. Start at the center of the top, push toward the edges, then work downward over the sides. Keep strokes long and continuous. Frosting must glide, not drag.
8. Store Under Loose Wrap to Protect the Finish
Wrap carefully but not tightly. Use wax paper, foil tenting, or a domed cake cover. Never use cling film directly on the frosting; it sticks and lifts the top layer. Place in the coldest section of the refrigerator, far from the doors. Avoid humidity. If condensation appears, dab with a paper towel; don’t rub. Moisture buildup causes smudging and dissolves the cocoa butter in Dairy Milk chunks, ruining the feel of the dessert.
9. Freeze for Longer Storage with Correct Wrapping
To deep freeze, first chill uncovered until firm. Then wrap in parchment, followed by foil. Place inside a hard-sided container for protection. Avoid ziplock bags; they compress and distort the cake. Defrost inside the refrigerator overnight, still wrapped. Never thaw at room temperature, as frosting separation occurs rapidly. The cherries will remain stable when thawed slowly; fast defrosting softens them and leaches syrup into the sponge.
10. Cut Using a Heated Knife for Clean Layers
This is right after you cut the cake for the final assembly, and also for after serving the cake to guests after plenty of fridge time. For that, dip a chef’s knife in boiling water, then wipe dry. Slice downward in one smooth stroke. Do not saw, like you would for wood. Rinse and reheat the knife between cuts. This keeps the slices clean and prevents dragging the Dairy Milk chunks through the layers.
Like This Article?
More Like This



Popular Articles


Trending Web Stories
Curated Recipes


