


Want to make Oreo Crusted Strawberry-Rhubarb Crumble Bars with a crisp base? Read on to know the steps and make it this way!

There are times that many baker experience slicing into a nicely-looking dessert, only to discover the foundation absolutely soft or nearly soggy. It becomes frustrating when the rest of it is appealing. Whether baking for a little family dessert or preparing for the holiday spread, the integrity of a dessert is as important as its taste. And making Oreo Crusted Strawberry-Rhubarb Crumble Bars, the foundation is what can ruin the whole experience.
Let's begin with rhubarb, it's not a plant known to every Indian family, but one worth acquainting oneself with. Rhubarb resembles reddish-colored celery and contributes an organic pungency that slashes through sweet foods. Strawberries are already favorite fruits in India during chilly months, so rhubarb works as a well balanced, introducing a dash of zing.
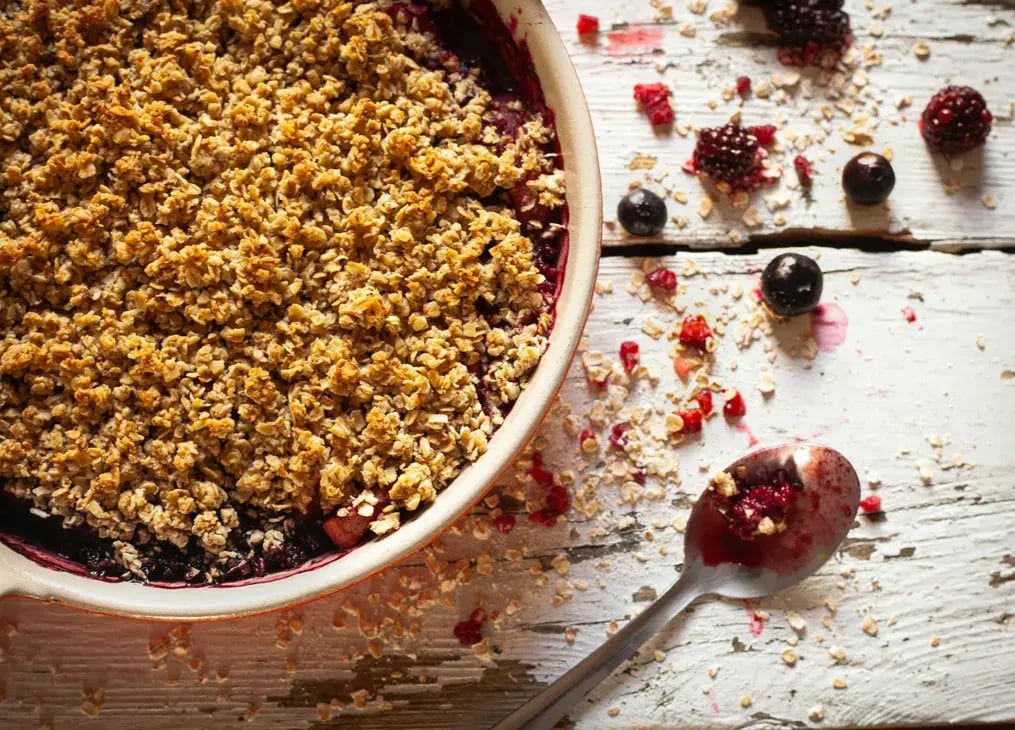
The real charm of these crumble bars lies in the contrast, the crisp base, the jammy center, and the crumbled top. But getting that Oreo crust just right is an art. It shouldn’t turn soft from the fruit or lose its bite after cooling. And since we’re using real ingredients with high moisture content like strawberries and rhubarb, the base needs some special handling. Here's your step-by-step guide to maintaining that crust crispy, well-defined, and ready to wow. .
1. Pre-bake the Crust
The greatest error in creating bars or pies is skipping the pre-bake. In a dessert such as Oreo Crusted Strawberry-Rhubarb Crumble Bars, this process shouldn’t be skipped. After you've pressed down the crushed Oreo mixture into your pan, put it into the oven prior to adding the filling. This brief baking time (typically around 10 minutes) sets the crust and dries out some of the excess moisture in the cookie mixture.
2. Always use Melted Butter, Not Softened Butter
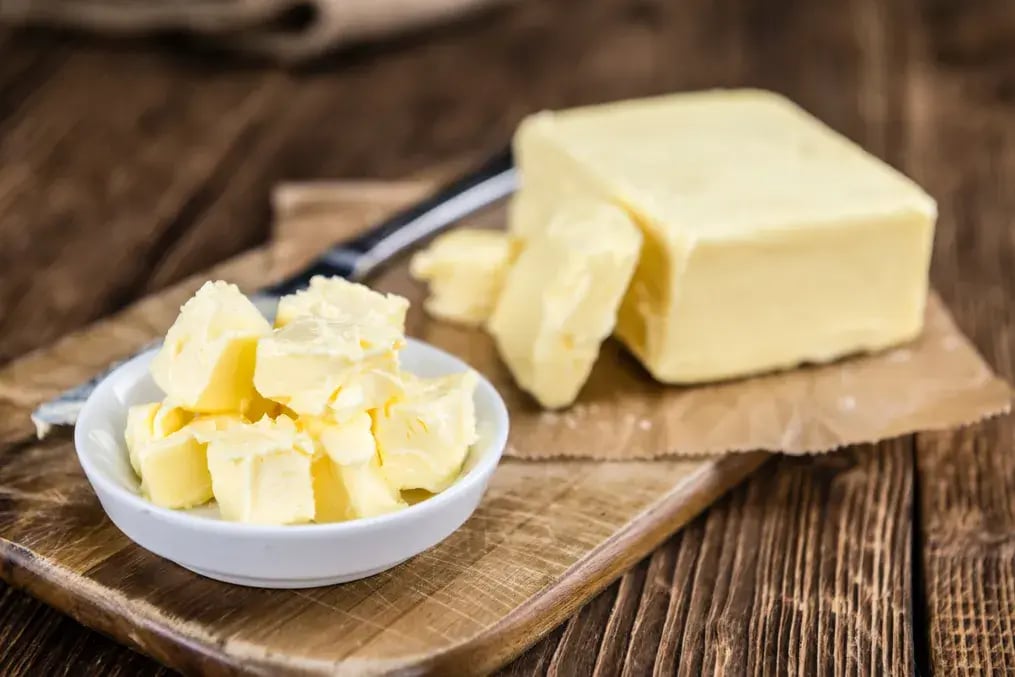
When mixing your Oreo crumbs, don't use softened or room temperature butter. Instead, use melted butter. The heat ensures each crumb is evenly coated, creating a tight bond when the crust is baked. Melted butter builds a harder, tighter crust that is more biscuit-like when cooled.
3. Chill the Base Before Adding the Filling
After your Oreo crust has been pre-baked and cooled, add an extra firm layer by putting it in the fridge for 10–15 minutes prior to filling it with your rhubarb-strawberry mixture. Freezing hardens the butter once more, so the crust won't absorb moisture when it returns to the oven.This works magic especially in hot kitchens or in summer. It keeps your base from beginning to soften before it reaches the heat once more. It might seem like a minor break, but it is noticeable that helps hold the base together. It is like locking up the strength prior to the last layer going on.
4. Add Cornflour to the Filling
The strawberries and rhubarb contribute a lot of moisture, and that's perfect for the jam-like filling in the center, but it's also the enemy of your crust. To help combat this, blend a little cornflour or arrowroot into your fruit filling before topping your crust with it.
These starches soak up excess water and thicken the fruit layer during cooking, keeping it from dripping downwards. This ensures the moisture is kept within the centre and your Oreo crust stays firm. It's an easy repair but one that keeps every slice of your dessert staying firm without becoming soggy at the bottom.
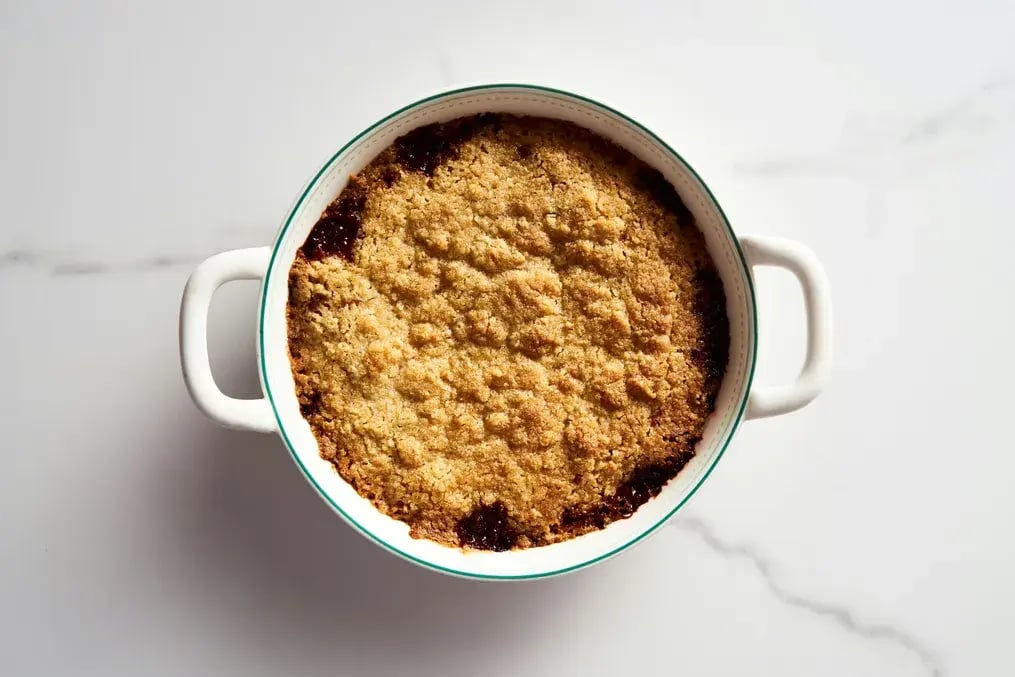
5. Use a Lined and Slightly Elevated Pan
Here’s a structural tip that often goes unnoticed, use a baking dish lined with parchment, and if possible, opt for one with a slight rim or elevated centre. This helps the crust bake evenly from all sides, including underneath. Flat pans with little airflow under the base can cause uneven baking, which makes the centre soft even if the edges are crisp.Panning also aids in cooling. After baking, you can remove the whole dessert cleanly, where it will cool on a rack. Cooling on a hot tray traps the steam beneath, which makes the crust soft. That little adjustment enhances the overall texture without altering your recipe.
6. Don't Overload the Filling
Although it is tempting to throw in big spoonfuls of strawberries and rhubarb to make your bars that much more decadent, be careful of the proportion. An over-abundance of filling equates to too much moisture, which will begin to work its way down before baking is even complete.
Stick to an even layer, not over 1.5–2 cups of total fruit for an 8x8-inch pan. The amount provides sufficient coverage without overpowering the crust. If uncertain, spread lightly and don't force it into the crust. Allow the fruit to settle on its own so that it does not press down on the base and disturb its integrity.
7. Allow Bars to Cool Entirely Before Slicing
The most frustrating step of all, and yet the most important one. As soon as your Oreo Crusted Strawberry-Rhubarb Crumble Bars are done baking, control the temptation to cut them immediately. Let them cool completely at room temperature, and then refrigerate them for a minimum of 2 hours.
This cooling time lets the butter in the crust set, the fruit filling firm up, and the structure stabilise. If you cut them too soon, you'll find the crust crumble or go soft where the filling leaked. A cooled bar cuts cleanly, with a neat appearance and a nice strong satisfying bite.
Like This Article?
More Like This


Popular Articles


Trending Web Stories


Curated Recipes


