


Start taking notes because here’s everything you need to know to make a no-bake Oreo cheesecake with hazelnuts and Chocobakes layer.

We love cheesecakes as much as the next person. They’re silky and creamy, with a surprising crunch. But making them can be quite the stressful hassle. So we decided to bring you a recipe that’s simple to follow, eliminating all that unneeded stress, while still having fun additions. Imagine a cheesecake with not just Oreo infusion but also having an entire Chocobakes layer. This layered beauty is full of texture and flavor of different varieties. So follow this guide to make the delicious no-bake Oreo cheesecake with hazelnuts and Chocobakes layer.

Ingredients:
For the crust:
- 24 Oreo cookies (with filling)
- ¼ cup unsalted butter, melted
For the cheesecake filling:
- 450 g cream cheese, softened
- 1 cup powdered sugar
- 1½ cups heavy cream, cold
- 1 tsp vanilla extract
- ½ cup hazelnut spread
For the Chocobakes layer:
- 6 Cadbury Chocobakes, roughly chopped
- 2 tbsp milk (optional, for smoother texture)
For garnish:
- Crushed Oreos
- Chocolate shavings or curls
- A drizzle of hazelnut spread
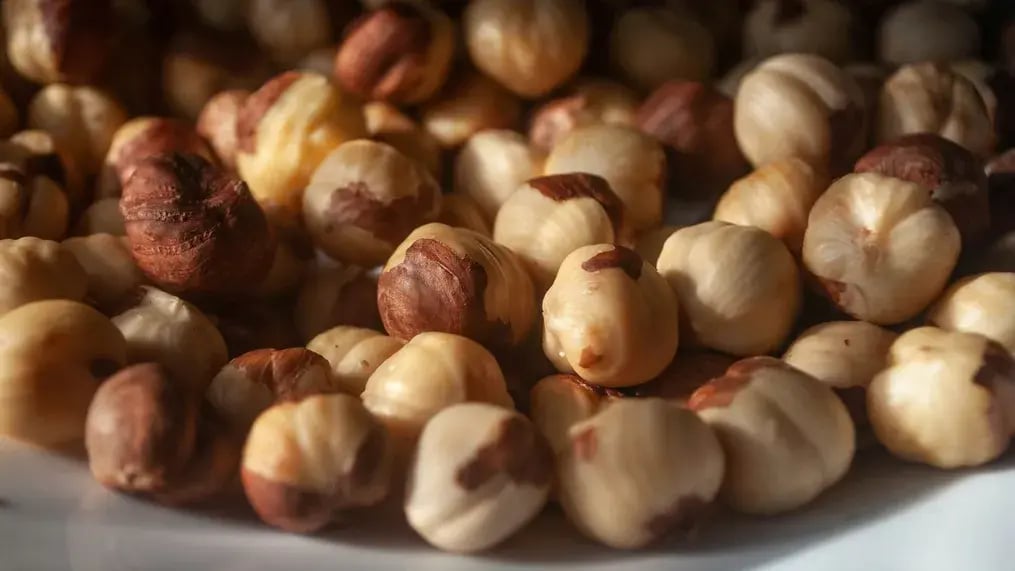
- Whole hazelnuts
Method:

- Place the Oreos in a food processor and blend until they become fine crumbs. The filling adds just enough moisture to make them stick together. Stir in the melted butter until everything resembles dark sand. Press this mixture firmly into the base of a springform pan. Use the back of a spoon or your fingers to pat it down and even it out. Pop it into the refrigerator while you prepare the filling to let it set and chill.
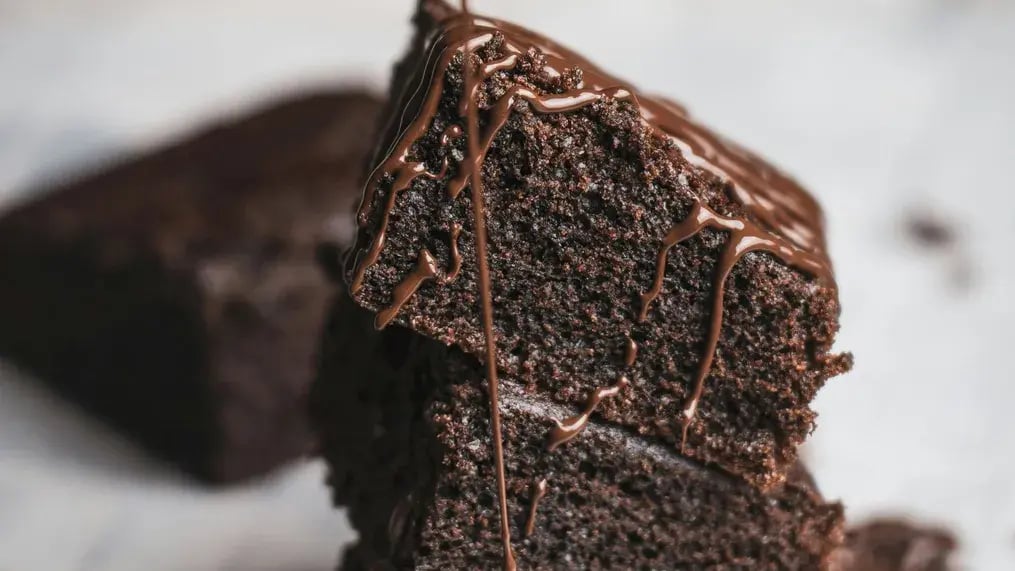
- In a small saucepan or microwave-safe bowl, gently heat the chopped Chocobakes with 2 tablespoons of milk, just enough to soften the cookies and blend them into a thick, fudgy layer. Don’t overheat; the mixture should be creamy, not soupy. Once it cools slightly, spread this chocolatey mix over the Oreo crust. Return the pan to the fridge.
- In a large bowl, use a handheld mixer or stand mixer to beat the softened cream cheese and powdered sugar until smooth. Then add the vanilla extract and continue to beat until it’s smooth, light and airy.
- In another bowl, whip the heavy cream until soft peaks form.
- Gently fold the whipped cream into the cream cheese mixture. Be patient and soft, since mixing too hard will cause the mixture to lose its structure.
- Now separate the mixture into two portions. Leave one as is. In the second, fold in the hazelnut spread until fully combined.
- Once it’s set, bring out your crust and Chocobakes base from the fridge. Pour the plain cream cheese layer over it and smooth it out. Then gently spoon the hazelnut-infused cream cheese layer on top. Swirl lightly with a skewer if you want a marbled effect, or keep the layers distinct, whichever look you prefer.
- Now refrigerate the entire cheesecake for at least 6 hours, but preferably overnight. This will make it firm, give the structure time to hold and solidify, and give the flavor time to seep and spread.
- Once set, remove the cheesecake from the pan with care. Top it with a generous sprinkle of crushed Oreos, chocolate curls or shavings, a drizzle of warmed hazelnut spread, a few whole hazelnuts for a crunch, or anything else you want to add.
- Use a hot knife to cut through each slice. Serve chilled with a cup of espresso or even a bold black tea. Each bite is going to be creamy, crunchy, nutty, and silky with a chocolate undercurrent, so make sure that whatever you’re serving alongside is up to the mark.
Notes:
- This recipe is relatively hassle-free since it doesn’t require any baking. But don’t take the chilling process lightly. That’s an important part of the process.
- The filling calls for cream cheese and heavy cream. Make sure these ingredients are at room temperature when using. If they are too cold they will be stiff and not mix in properly with the other ingredients, and the resultant mix will be uneven and clumpy. And if it’s too hot you risk melting it, which will make it lose all structure and the mix will be too runny. So ensure the ingredients are kept out at room temperature for about 20 minutes before using, so they have the time to naturally soften and be ready to use.
Like This Article?
More Like This


Popular Articles


Trending Web Stories


Curated Recipes


