


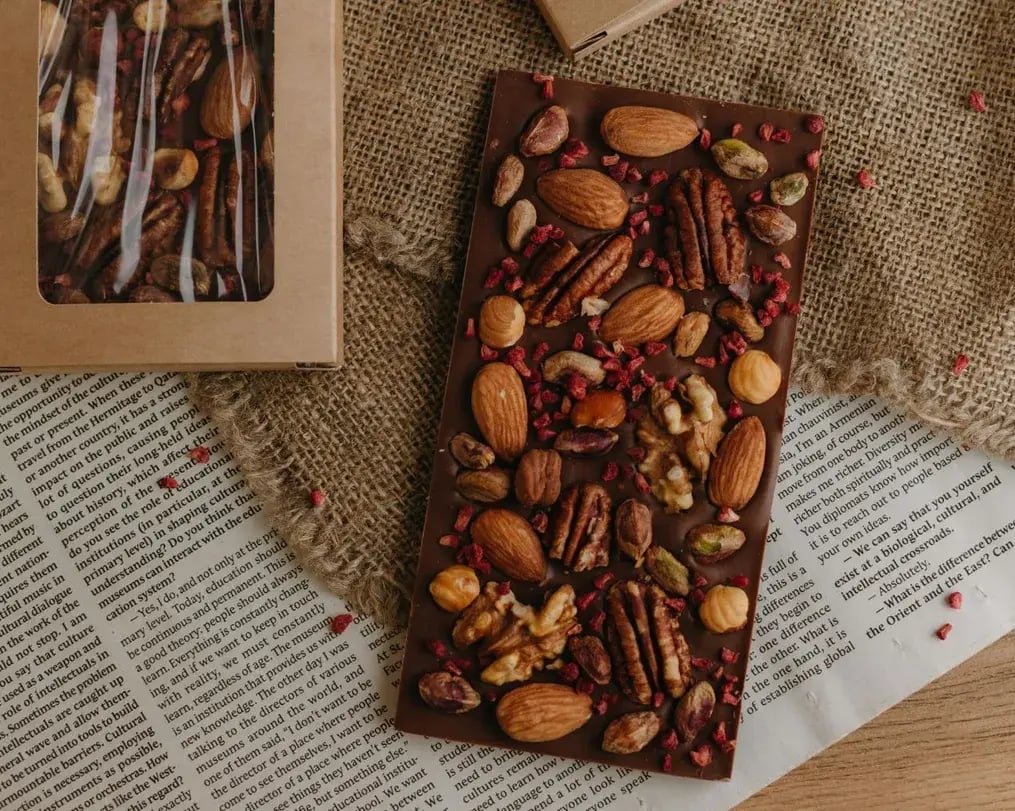
If you want a snack that is healthy you might want to try these chocolate covered dry fruits, that are a delicious snack
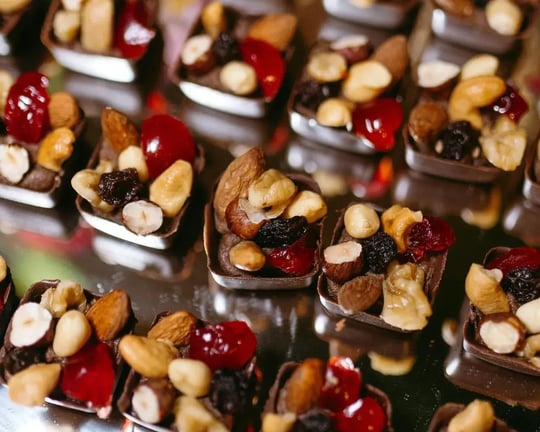
If you're after a snack that’s simple to make but still feels a little special, packed with a lot of nutrients, these chocolate covered dry fruits are a solid choice. They come together fast, barely needs any time, keeps well in the fridge, and hit that sweet spot between healthy and indulgent. No fancy tools or hard-to-find ingredients – just a few pantry staples and a bit of melting and rolling.
What makes this recipe stand out isn’t just how easy it is – it’s how customizable and rewarding the process feels. With just a handful of ingredients and a bit of creativity, you can roll, dip, and sprinkle your way to a tray full of irresistible bites. And whether you're gifting them in a pretty box or sneaking one straight from the fridge, these little treats deliver big on flavor and charm.
Chocolate Covered Dry Fruits
Ingredients:
- 14 ounces dried fruit
- 2 tbsp peanut butter
- 2 tbsp water
- 1 cup dark chocolate chips or chunks
- Flaky sea salt
Optional flavour add-ins:
- ½-1 tsp vanilla or orange extract
- ¼-1 tsp cinnamon
Method:
- Add the dried fruit, peanut butter, water, and optional flavour add-ins into a food processor or blender. Run it until smooth, scraping down the sides with a spatula as needed.
- Use a spoon to scoop the fruit mixture into your hands and roll them, into 1-inch balls.
- Arrange the rolled balls on a baking sheet or cutting board lined with parchment paper.
- Use a double boiler method or use the microwave oven to melt the chocolate, over low heat. Make sure to stir in between.
- Remove the melted chocolate from the heat and using a fork, dip the sticky fruit bites in melted chocolate. Suspend the chocolate covered dry fruits over the chocolte bowl for a bit, to let excess chocolate drip back into the bowl.
- Arrange the chocolate covered dry fruits on the lined baking sheet or cutting board.
- Immediately sprinkle the chocolate covered dry fruits with flaky sea salt.
- Transfer the chocolate covered dry fruits into the refrigerator, for 30 minutes, until the chocolate is set. Cover and store the chocolate fruit bites in the refrigerator, covered, for up to 1 week.
Tips & Tricks
- Choose soft dried fruit. Dates, figs, or apricots work best because they blend smoothly without needing to soak them. If you're using tougher fruits like raisins or dried mango, soak them in warm water for 10-15 minutes, then drain well before blending.
- If the mixture is too dry or crumbly, add more water a little at a time (start with 1 teaspoon). Avoid adding too much at once or it’ll become sticky and hard to shape.
- For a smoother rolling process, lightly wet your hands or wear food-safe gloves. It’ll keep the mixture from sticking to your fingers.
- Chill the rolled fruit balls in the freezer for about 10-15 minutes before dipping them in chocolate. This helps them firm up and hold their shape when coated.
- Use a fork or skewer to dip each ball into the melted chocolate. Let the excess drip off by gently tapping the fork against the side of the bowl. It helps avoid chocolate pooling around the base.
- Line your tray with parchment or wax paper so the coated balls don’t stick as they set. Avoid aluminum foil – it can tear and make a mess.
- Add toppings right after dipping. The chocolate sets quickly once cooled, so sprinkle flaky salt, chopped nuts, or even shredded coconut while it’s still wet.
- Use good-quality dark chocolate (around 70% cocoa or higher) for a richer flavor and better melt. Chocolate chips work, but chopped chocolate bars usually melt more evenly.
- Melt chocolate slowly. Use a double boiler or microwave in short bursts (15-20 seconds), stirring in between to avoid burning or seizing.
- Store in an airtight container in the fridge for up to a week. They’re great straight from the fridge, but can also sit out for a few hours if you’re gifting or serving them.
- Want to make a big batch? Double the recipe and freeze extras in a sealed container. Let them thaw for a few minutes before eating.
Like This Article?
More Like This


Popular Articles


Trending Web Stories


Curated Recipes


