


Try this amazing peanut butter fudge recipe with chocolate, serve it or store it away for snacking when the munchies hit.
If you want a no-bake fudge that is simply made with 4 ingredients, takes about ten minutes to put together, and doesn’t require any special equipment, you should try this peanut butter fudge recipe. It uses creamy peanut butter with butter, condensed milk and the dreamy and bittersweet Cadbury Bounrville dark chocolate. Everything is done in the microwave and set in the refrigerator. You melt, mix, pour, chill, and cut the fudge once it sets. That’s it. If you want clean layers, smooth cuts, and a result that holds up in the fridge or on a gift tray, follow the instructions and the tips below for the best results.
Chocolate Peanut Butter Fudge Recipe
Ingredients:
- 2 cups Cadbury Bournville Dark Chocolate, chopped
- 4 tbsp butter, divided
- 1 can (14 ounces) sweetened condensed milk, divided
- 1/2 cup creamy peanut butter
Method:
- Grease an 8-inch and 2-inch depth baking pan with butter, then line it with parchment paper, with ample overhanging on all sides of the pan.
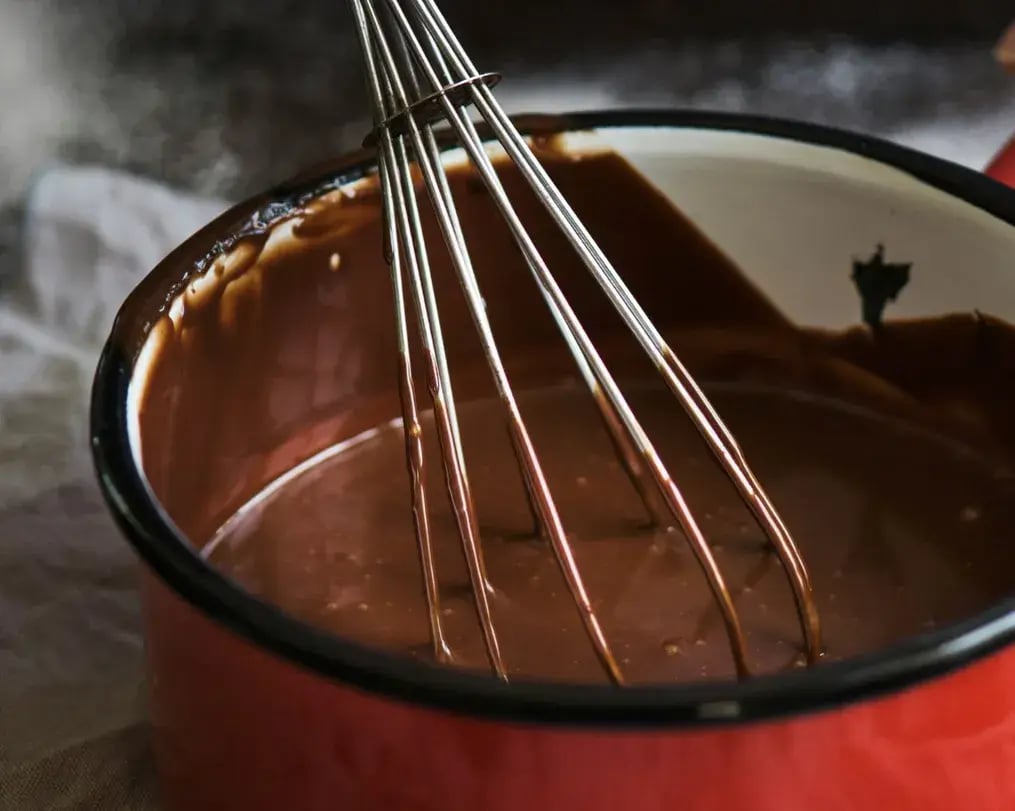
- Add the chopped Bournville dark chocolate, half of the butter, and 1 cup of the condensed milk to a big microwave-safe bowl. Heat it for 2-3 minutes, and every 30 seconds, pause to stir the whole concoction until smooth.
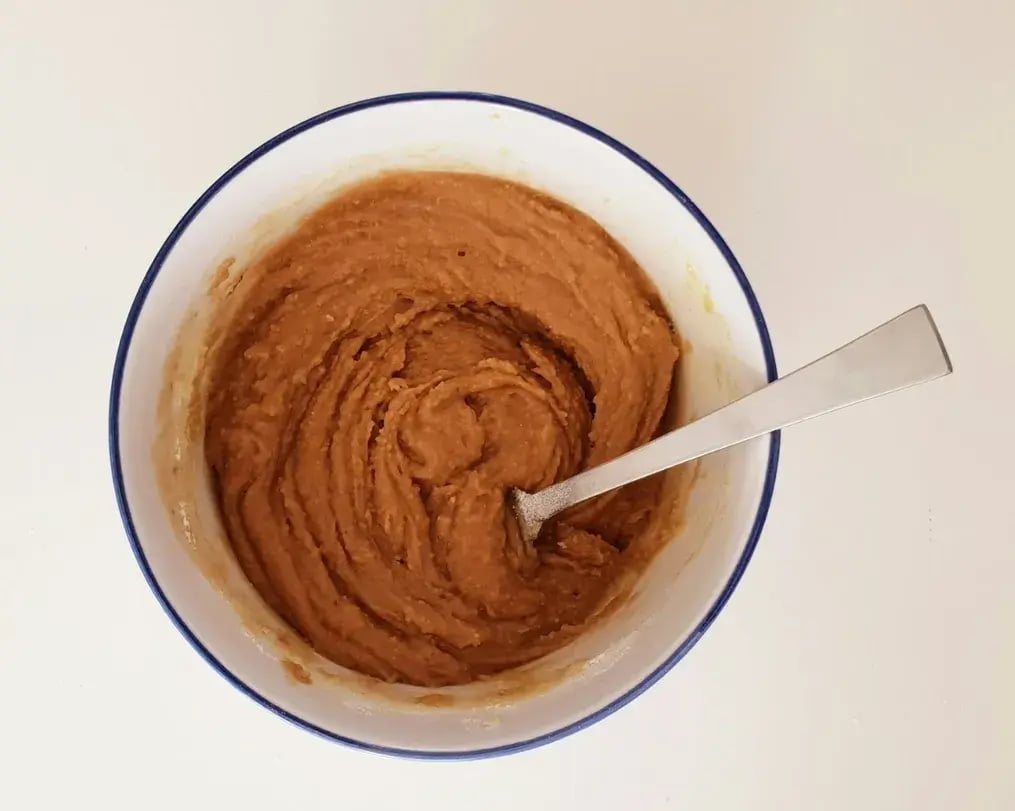
- Take another bowl, add the creamy peanut butter, the remaining butter, and the sweetened condensed milk. Use a small rubber spatula to scrape out every ounce of the condensed milk from the can. Heat the bowl in the microwave in 30-second increments until the concoction is smooth, for about 1 minute.
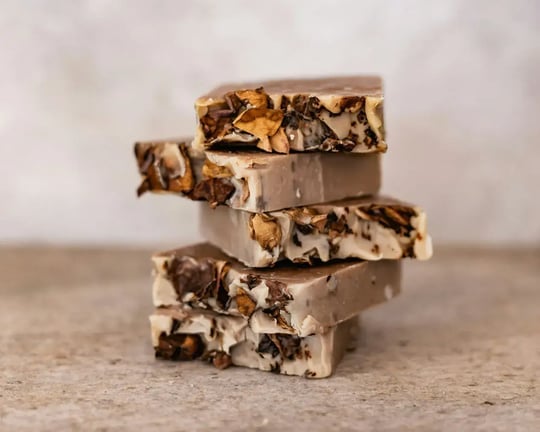
- Pour the chocolate liquid into the prepared square pan, then pour the peanut butter mixture on top. Use a butter knife or the back of a spoon or fork, to swirl the peanut butter portion into the chocolate portion.
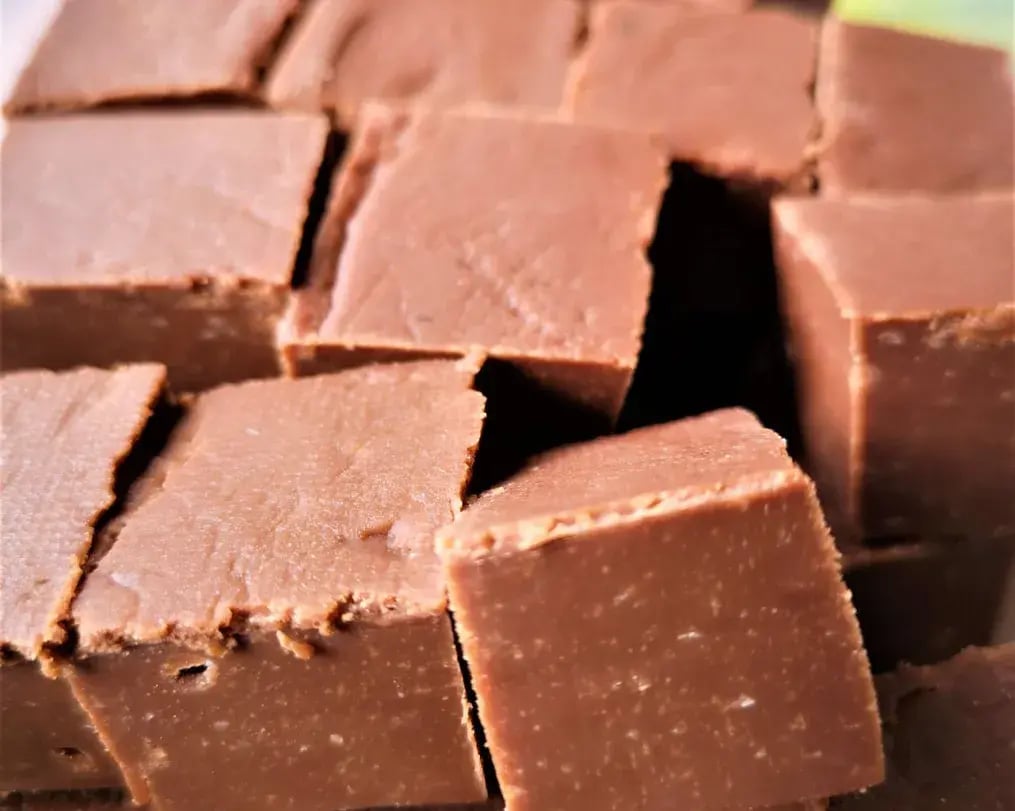
- Refrigerate until firm, about 2 hours. Lift the fudge from the pan using the overhanging parchment paper. Cut into 2-inch squares with a sharp, preferably hot knife for clean cuts.
- If planning to gift, pack them in a festive air-tight tin or in ziplock bags tied with ribbon. Keep it in a cool and dry place.
Tips & Tricks
- Don’t use natural peanut butter, for it separates fat, making the fudge greasy, and mess with the whole outcome of the fudge. Use regular creamy peanut butter, it melts evenly and sets properly.
- Don’t be tempted to save time by mixing everything at one go. Use separate bowls to make the chocolate and peanut butter mixtures. They have different fat contents and behave differently when heated. Melt them separately for better layering and swirls.
- Chocolate that’s microwaved too long becomes dry and grainy. Peanut butter gets stiff and loses spreadability. Heat in 30-second intervals, and stir after each; it should look just barely melted, not bubbling or oily.
- Both mixtures thicken as they cool, so you need to act quickly when layering them. As soon as both are melted and smooth, pour and swirl immediately. If either layer starts to set, swirling becomes impossible.
- Don’t just stab the fudge with a knife and stir randomly. Use a knife or skewer and do 2-3 clean figure-eight motions. That gives you distinct marble patterns that cakes and breads tend to have, instead of a muddy mess.
- The fridge sets the fudge fast, but it can get condensation on top. Let it cool at room temperature for 30-60 minutes before refrigerating if you want a matte, clean surface. Or just refrigerate uncovered.
- The fudge won’t jiggle or firm up like Jell-O, so trust the process. It will still look soft after 2 hours, but if it’s been chilled the whole time, it’s set. Don’t keep poking or you'll mess up the swirl.
- Run a large chef’s knife under hot water, wipe dry, then slice. This prevents cracking and keeps the square edges clean.
- Only parchment paper releases clean when your fudge is all ready to be lifted out of the pan. Foil tears and wax paper sticks and ruins the bottom of the fudge.
- Cut into squares, wrap in wax paper or parchment, and store in a tin or bag. If you stack them without wrapping, they can fuse together, especially in warm weather.
Like This Article?
More Like This


Popular Articles


Trending Web Stories


Curated Recipes


