


This guide teaches you how to make chocolate coated jelly with fruit candy so you can surprise everyone you serve it to

For those who crave the perfect blend of chewy and creamy, tangy and sweet, chocolate coated jelly fruit candy offers a delightful balance that’s hard to resist. Chocolate and fruit are a time tested pairing, but when you bring in the element of texture with firm yet yielding jelly encased in a silky coat of chocolate, it elevates the experience. The tang of fruit jelly contrasts beautifully with the smooth sweetness of chocolate, creating a bite sized treat with minimal effort. Whether served at a festive gathering, gifted in elegant packaging, or simply enjoyed as a homemade indulgence, this easy to make treat promises joy in every bite. With just a few basic ingredients and simple steps, you can craft a glossy chocolate shell around vibrant jelly fruit centers that melt in your mouth and leave a rich, fruity finish. These candies can also be customized to match personal preferences or seasonal flavors. Raspberry, orange, mango, or mixed berry jellies all pair beautifully with dark, milk, or white chocolate. So here’s a complete guide to making your own chocolate coated jelly fruit candies in five simple steps.

Ingredients:
For the jelly fruit center:
- 1 cup fruit juice (orange, raspberry, mango, or pomegranate)
- 2 tbsp sugar (adjust depending on juice sweetness)
- 2 tbsp lemon juice (adds a touch of tartness)
- 2 tbsp gelatin (or agar-agar for a vegetarian option)
For the chocolate coating:
- 200 g good-quality dark, milk, or white chocolate
- 1 tsp coconut oil or neutral oil (for a glossy finish)
Optional:
- Chopped nuts, dried fruit bits, or shredded coconut for topping
- Edible glitter or gold leaf for festive flair
Step 1: The jelly
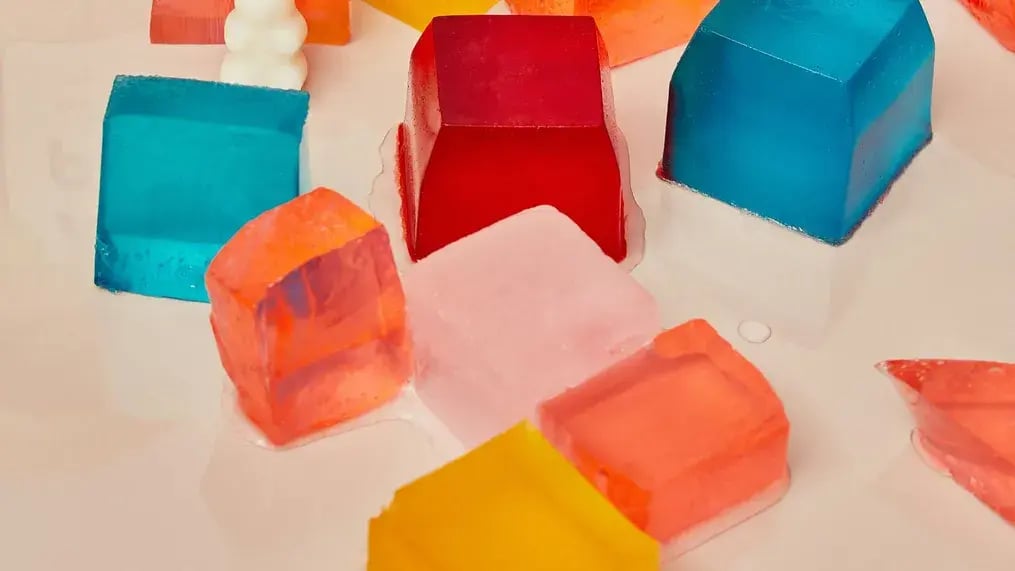
Start by preparing the jelly centers. In a saucepan, pour in the fruit juice, sugar, and lemon juice. Stir to combine. Sprinkle the gelatin over the surface and let it bloom for 5 minutes. Then, gently heat the mixture over medium heat, stirring continuously until the gelatin dissolves completely. Do not let it come to a boil. Once the mixture is smooth, pour it into a silicone candy mold or a small parchment lined tray. You can use silicone molds in fun shapes like hearts or stars to add a touch of personality to your candy. Refrigerate for 2 hours, or until the jelly has fully set. If using a tray, cut the jelly into bite-sized squares once firm.
Step 2: The chocolate
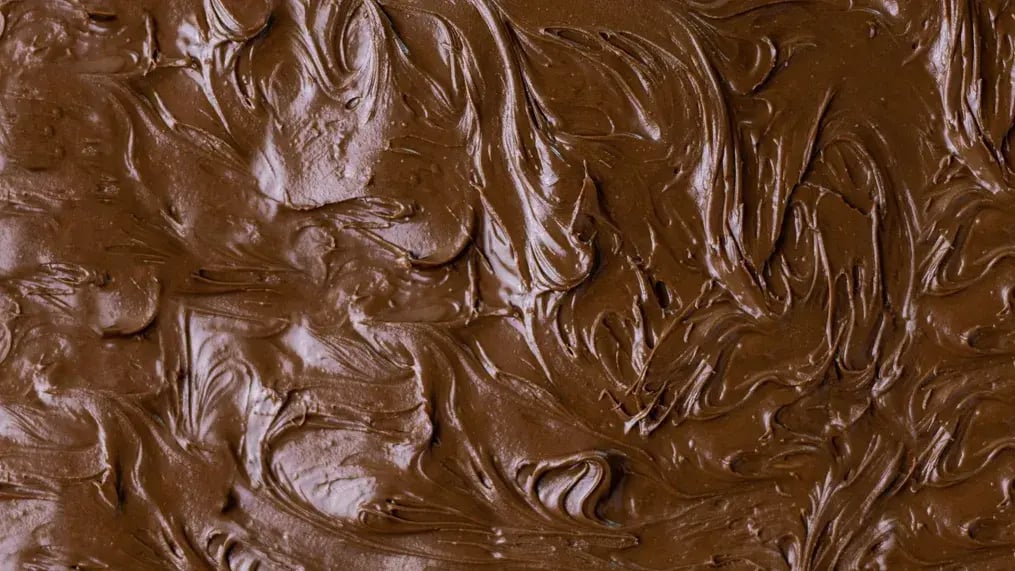
While the jelly sets, melt your chocolate. Use a double boiler or microwave in 20 second intervals, stirring in between, until smooth. Stir in a teaspoon of coconut oil to help thin the chocolate and give it a glossy finish once set. Make sure your jelly pieces are completely cold before dipping. Warm chocolate can soften or melt unset jelly, so patience ensures a proper result.
Step 3: The coating
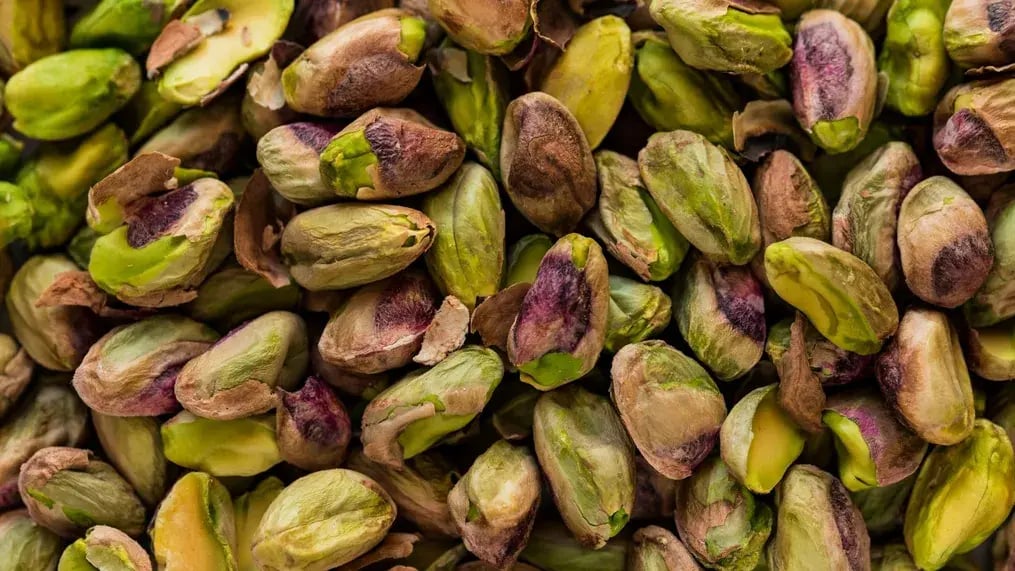
Once the jelly is set and the chocolate is melted, you’re ready to dip. Using a fork or dipping tool, lower one jelly piece at a time into the melted chocolate. Let any excess drip off before transferring the coated candy to a parchment lined tray or cooling rack. Repeat until all the jelly pieces are coated. You can leave them as is or decorate them while the chocolate is still wet. For instance, you can top with crushed pistachios for color and crunch, dried rose petals for a pretty look, shredded coconut for a crunch or even sea salt flakes for a bit of a light kick.
Step 4: The setting
Once dipped and decorated, allow the candies to set at room temperature for about 45 minutes or refrigerate them for 15 minutes. The chocolate should firm up to a satisfying snap, contrasting perfectly with the soft jelly inside. Avoid freezing as it may cause the chocolate to crack or the jelly to melt when thawed.
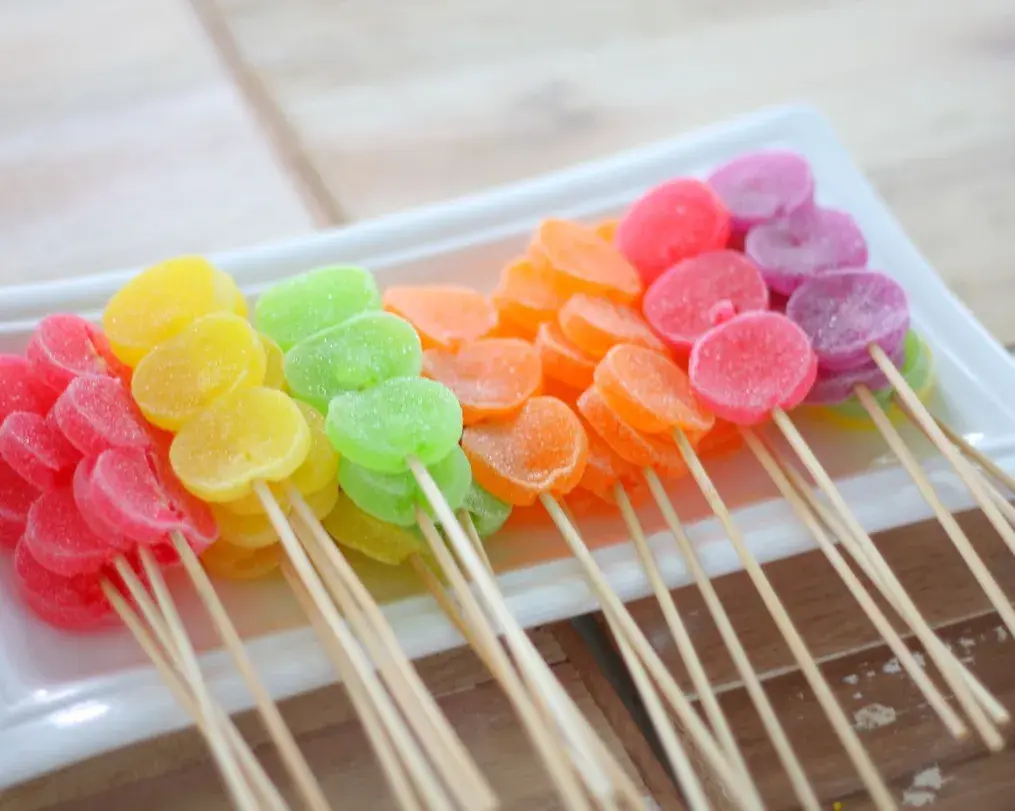
Step 5: The serving
Your chocolate coated jelly fruit candies are now ready to be served. Arrange them on a platter for a party, wrap them in cellophane for festive favors, or box them for a thoughtful homemade gift.
Store them in an airtight container in a cool, dry place for up to one week. Refrigerate if necessary, especially in warm areas, but be aware that the condensation may slightly dull the chocolate’s shine.
Like This Article?
More Like This


Popular Articles


Trending Web Stories


Curated Recipes


