







 Antara Basu


4 mins
Aug 6, 2026
EN
हिं
Triple-Layered Chocolate Oreo Base Mousse Recipe Recipe
Author :Antara Basu
 View Profile
|
Antara Basu


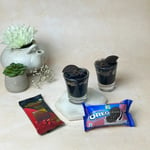
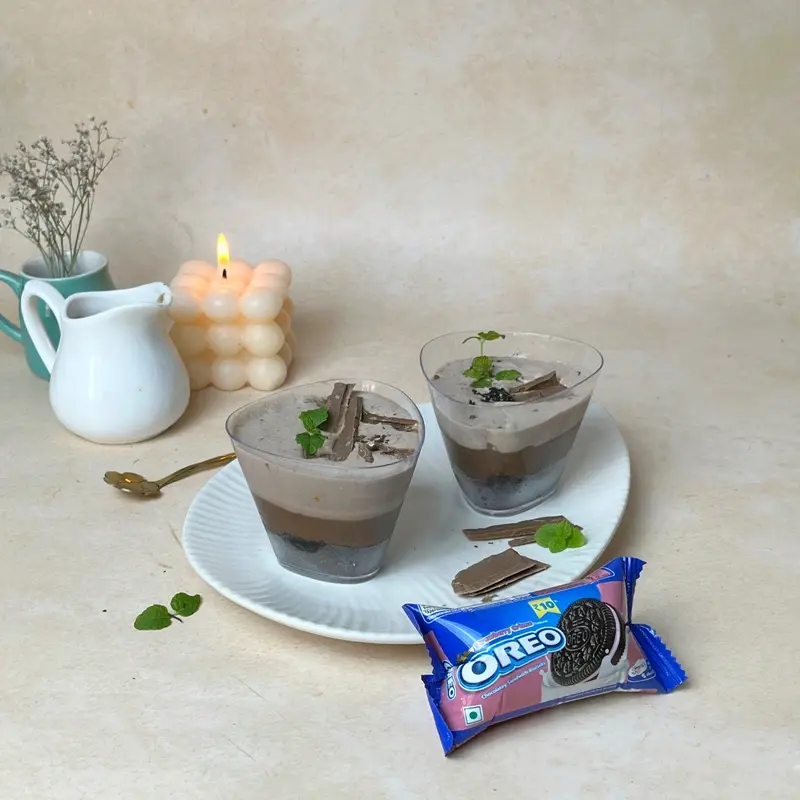
Wondering how to add more fun to the regular chocolate mousse recipe? Try this triple-layered chocolate Oreo base mousse. This one is an absolute delight.

Difficulty:easy

Serves:2

Time:4:32 hours

Contains egg: No
Current URL:
Published Title: Triple-Layered Chocolate Oreo Base Mousse Recipe
Updated Title: Triple-Layered Chocolate Oreo Base Mousse Recipe
Main category: Featured Brands
Hub: Oreo
Spoke: Fusion
Recommended words: 500-600
Words added: 920
New Word Count: 1146
Keywords:
- tripl......Read More
Ingredients
2
Servings
For the Recipe
- 10 Oreo cookies: Create a crunchy, chocolatey base with a familiar cream-filled flavor.
- 8 pieces Cadbury Bournville Dark Chocolate: Bring a deep cocoa flavor and rich dark chocolate layer.
- 5 pieces Cadbury Dairy Milk: Add a smooth, creamy milk chocolate layer with a sweeter finish.
- ½ cup whipping cream: Gives the mousse its light, airy texture.
- ¼ cup heavy cream: Helps melt and blend the chocolate into a smooth, silky mixture.
Directions
How to Make
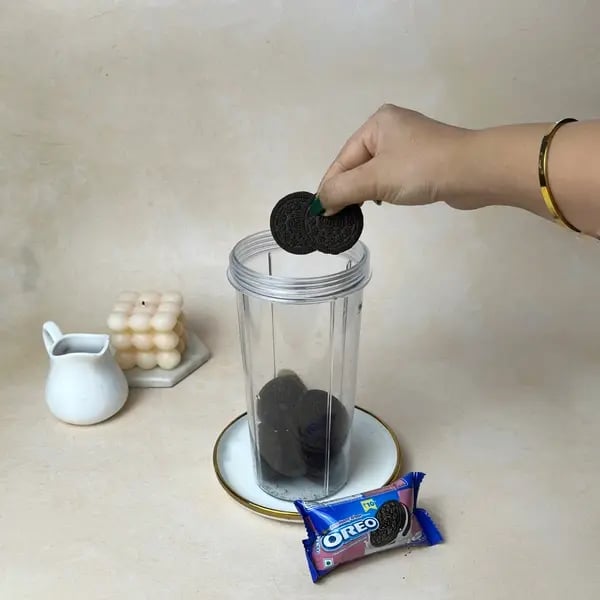
Step 1: Prepare the Oreo Base
Add the Oreo cookies to a food processor and blend until they form fine crumbs. For a richer, buttery base, you can mix the crumbs with a little melted butter.
Step 2: Set the Cookie Layer
Divide the Oreo crumbs between six serving glasses or ramekins. Press them firmly into the bottom using the back of a spoon. Refrigerate while preparing the mousse.
Step 3: Whip the Cream
Place the whipping cream in a chilled bowl and whip until stiff peaks form. Be careful not to over-whip, as the cream should remain smooth and airy.
Step 4: Prepare the Dark Chocolate Mixture
Break the Bournville chocolate into small pieces. Add warm heavy cream and stir until the chocolate melts completely and becomes smooth. Let the mixture cool to room temperature before combining it with whipped cream.
Step 5: Create the Dark Chocolate Mousse
Gently fold the cooled Bournville mixture into part of the whipped cream. Use a light folding motion to maintain the mousse's airy consistency.
Step 6: Add the First Mousse Layer
Pipe or spoon the dark chocolate mousse over the chilled Oreo base. A piping bag helps create an even layer without leaving chocolate marks along the glass.
Step 7: Prepare the Dairy Milk Layer
Melt the Dairy Milk chocolate with the remaining warm heavy cream. Stir until silky smooth, then allow it to cool slightly before adding the whipped cream.
Step 8: Fold in the Cream
Gently fold the Dairy Milk mixture into the remaining whipped cream. Avoid vigorous stirring, as this can remove the air and make the mousse dense.
Step 9: Add the Final Layer
Pipe the Dairy Milk mousse carefully over the dark chocolate layer. Smooth the surface gently or leave it slightly swirled for a decorative finish.
Step 10: Chill and Garnish
Refrigerate the finished mousse for at least 4 hours so the layers can set properly. Before serving, garnish with chopped chocolate, Oreo crumbs, or chocolate shavings.
Tips & Tricks for a Perfect Triple-Layered Chocolate Oreo Base Mousse
Make a Firm Oreo Crust:
Mix the Oreo crumbs with a little melted butter and press firmly into the glasses for a sturdier base.
Sift Dry Ingredients:
If using cocoa powder or powdered sugar in any variation, sift them together first to prevent lumps.
Use a Piping Bag:
Pipe each mousse layer slowly for clean, defined edges and a professional appearance.
Chill Between Layers:
Refrigerate or briefly freeze each layer for about 15 minutes before adding the next to keep the colors and textures distinct.
Cool the Chocolate:
Never mix hot melted chocolate directly with whipped cream. Let it cool to room temperature first to prevent the cream from melting.
Choose Good-Quality Chocolate:
A good-quality chocolate melts smoothly and gives the mousse a richer flavor and better texture.
Why Do Layered Mousse Desserts Impress Every Time?
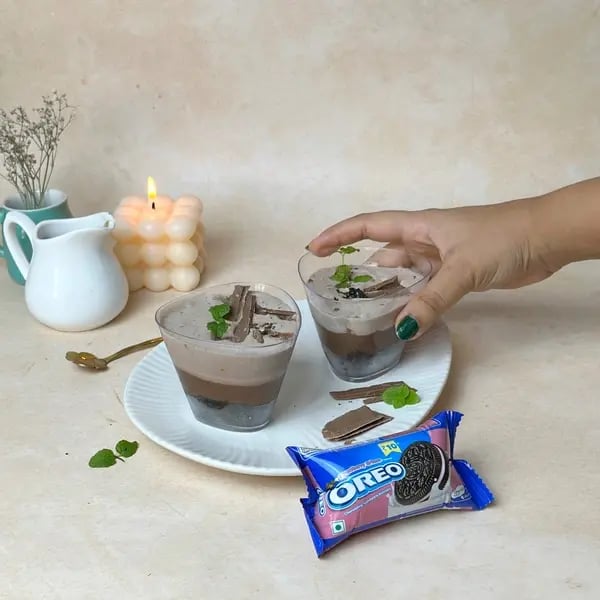
A triple layered chocolate Oreo base mousse brings together flavor, texture, and presentation in one dessert. The dark Oreo base provides a crunchy contrast to the soft mousse, while the Bournville layer delivers deep cocoa notes and Dairy Milk adds a smooth, creamy sweetness. The three distinct layers also make each serving look polished without requiring complicated decorating skills.
Served in clear glasses, the contrasting colors become part of the presentation. This makes the dessert especially appealing for dinner parties, birthdays, festive gatherings, or romantic celebrations. It can be prepared ahead of time, allowing you to focus on your guests instead of assembling dessert at the last minute.
Pro Tips for Clean, Defined Layers
Chill Before Layering:
Give each mousse layer enough time to firm up before adding another.
Keep Chocolate Cool:
Use chocolate mixtures that are cooled but still fluid enough to pipe.
Pipe From the Center:
Work slowly and keep the piping tip close to the previous layer for an even finish.
Avoid Overfilling:
Leave a little space at the top for garnishes.
Use Clear Glasses:
Transparent serving glasses showcase the contrasting layers beautifully.
How to Store Your Layered Mousse
Cover the glasses tightly with plastic wrap or place them in an airtight container.
Refrigerate for up to 3 days.
Keep the mousse chilled until ready to serve.
Add crunchy garnishes such as Oreo crumbs just before serving to maintain their texture.
Step 1
Add the Oreo cookies to a food processor and blend until they form fine crumbs.
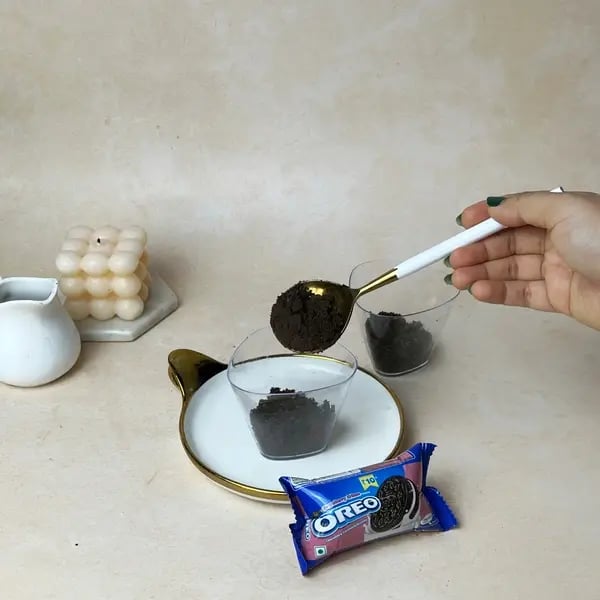
Step 2
Divide the Oreo crumbs between six serving glasses or ramekins.
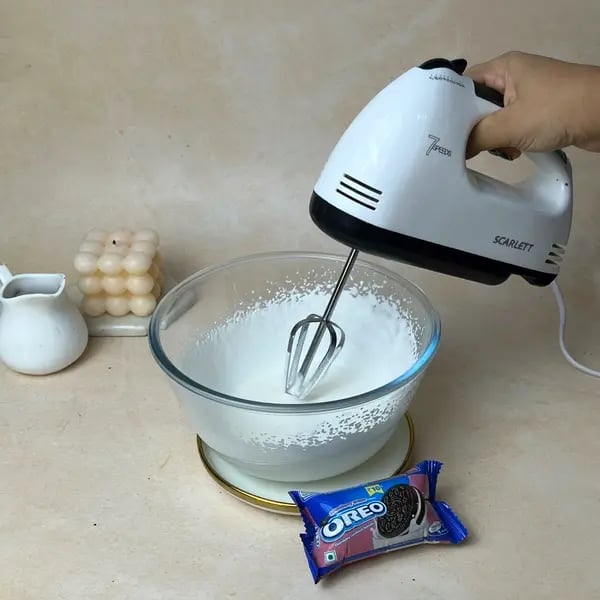
Step 3
Press them firmly into the bottom using the back of a spoon.
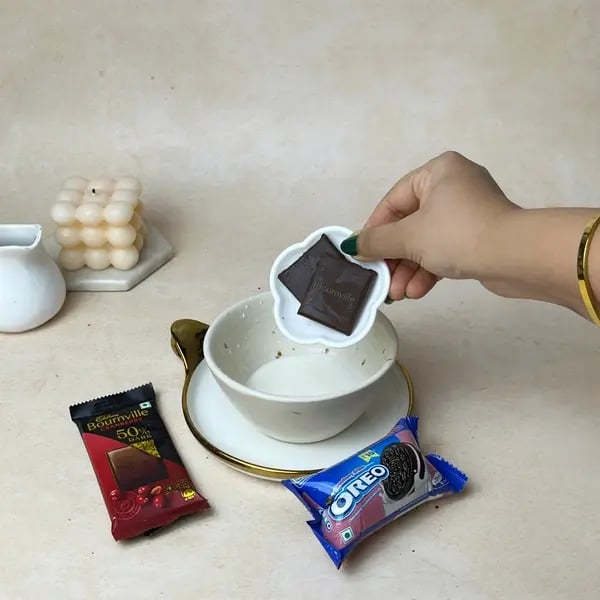
Step 4
Refrigerate while preparing the mousse.
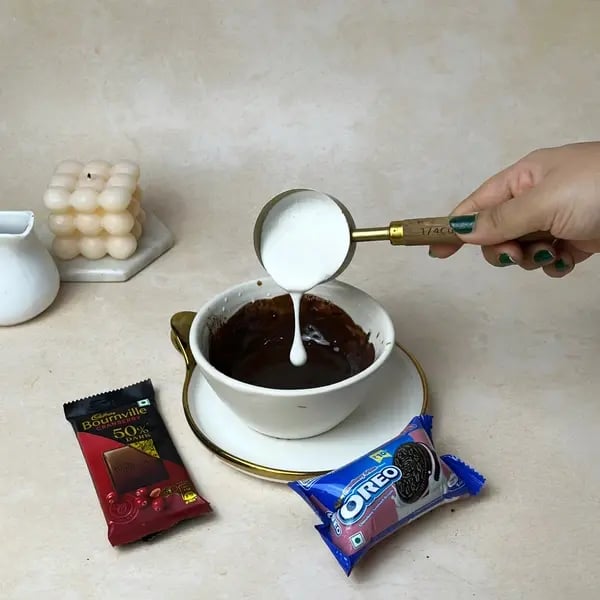
Step 5
Place the whipping cream in a chilled bowl and whip until stiff peaks form.
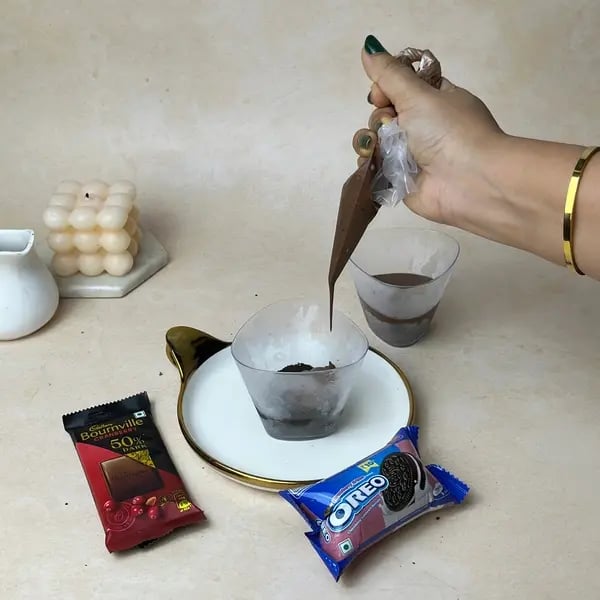
Step 6
Break the Bournville chocolate into small pieces.
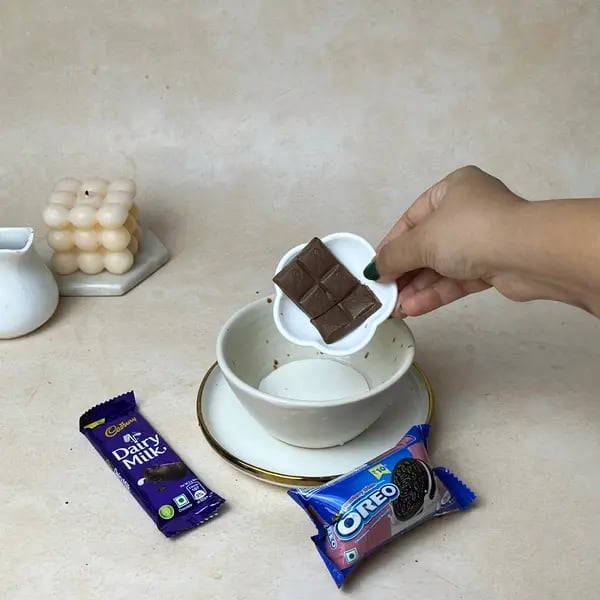
Step 7
Add warm heavy cream and stir until the chocolate melts completely and becomes smooth.
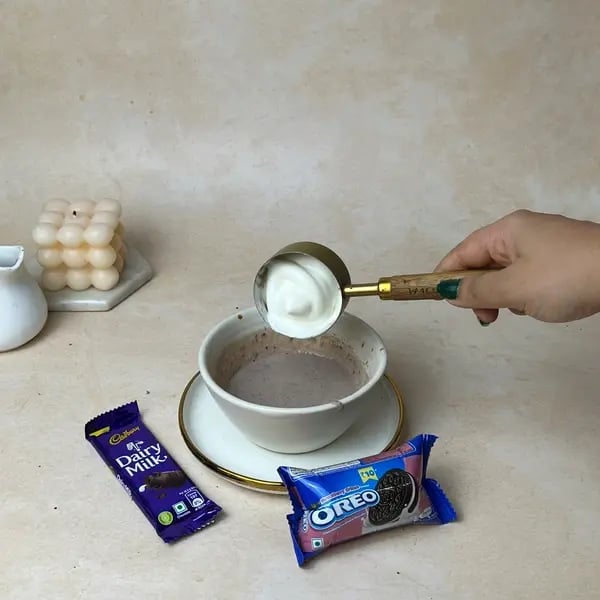
Step 8
Let the mixture cool to room temperature before combining it with whipped cream.
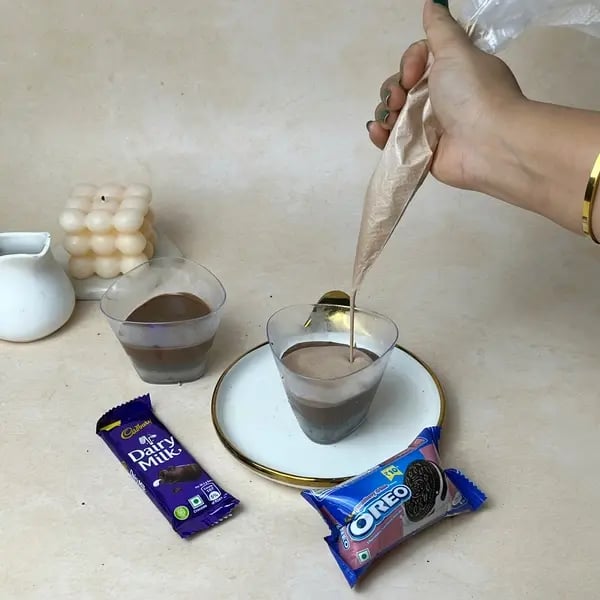
Step 9
Gently fold the cooled Bournville mixture into part of the whipped cream.
Step 10
Pipe or spoon the dark chocolate mousse over the chilled Oreo base.
Step 11
Melt the Dairy Milk chocolate with the remaining warm heavy cream.
Step 12
Stir until silky smooth, then allow it to cool slightly before adding the whipped cream.
Step 13
Gently fold the Dairy Milk mixture into the remaining whipped cream.
Step 14
Pipe the Dairy Milk mousse carefully over the dark chocolate layer.
Step 15
Refrigerate the finished mousse for at least 4 hours so the layers can set properly.
Step 16
Garnish with chopped chocolate, Oreo crumbs, or chocolate shavings.
Tips:
For a richer, buttery base, you can mix the crumbs with a little melted butter.
Be careful not to over-whip, as the cream should remain smooth and airy.
Use a light folding motion to maintain the mousse's airy consistency.
A piping bag helps create an even layer without leaving chocolate marks along the glass.
Avoid vigorous stirring, as this can remove the air and make the mousse dense.
Smooth the surface gently or leave it slightly swirled for a decorative finish.
Make a Firm Oreo Crust: Mix the Oreo crumbs with a little melted butter and press firmly into the glasses for a sturdier base.
Sift Dry Ingredients: If using cocoa powder or powdered sugar in any variation, sift them together first to prevent lumps.
Use a Piping Bag: Pipe each mousse layer slowly for clean, defined edges and a professional appearance.
Chill Between Layers: Refrigerate or briefly freeze each layer for about 15 minutes before adding the next to keep the colors and textures distinct.
Cool the Chocolate: Never mix hot melted chocolate directly with whipped cream. Let it cool to room temperature first to prevent the cream from melting.
Choose Good-Quality Chocolate: A good-quality chocolate melts smoothly and gives the mousse a richer flavor and better texture.
Chill Before Layering: Give each mousse layer enough time to firm up before adding another.
Keep Chocolate Cool: Use chocolate mixtures that are cooled but still fluid enough to pipe.
Pipe From the Center: Work slowly and keep the piping tip close to the previous layer for an even finish.
Avoid Overfilling: Leave a little space at the top for garnishes.
Use Clear Glasses: Transparent serving glasses showcase the contrasting layers beautifully.
Cover the glasses tightly with plastic wrap or place them in an airtight container.
Refrigerate for up to 3 days.
Keep the mousse chilled until ready to serve.
Add crunchy garnishes such as Oreo crumbs just before serving to maintain their texture.
Yes. You can use only Bournville or Dairy Milk, but the dessert will have a single chocolate flavor rather than contrasting dark and milk chocolate layers.
The previous layer may not have been chilled enough, or the next chocolate mixture may have been too warm. Chill each layer and cool melted chocolate before adding it.
Absolutely. Prepare the mousse several hours ahead and refrigerate it. Add the final garnishes just before serving.
Keep it refrigerated in an airtight container and enjoy it within 3 days for the best texture and flavor.
Like This Recipe?

Thank you for rating the recipe!
Recipe by Categories
Popular Articles
Sweet Celebrations Effortless Office Party ...

Teddy Bear Chocolate Cookies: Perfect Bakes For ...
5 mins
Sep 30, 2026

Kid-Friendly Patriotism: Tricolor Sweets for ...
3 mins
Jul 8, 2026

Patriotic Palates: Vibrant Indian Sweets in ...
3 mins
Jul 9, 2026

The Colors of India: Exquisite Saffron, ...
3 mins
Jul 10, 2026
Recommended Recipes